
Simple Garden Mosaics Little Hands Can Create
Youngsters love colouring in – a wet day and the pencils and crayons come out, along with the colouring in books, and a happy few hours are spent making favourite characters have blue hair with pink stripes. Winter school holidays will often see many of us resorting to the colouring in books - this year we'd like to share and outdoor colouring in idea. There are plenty of stencils available to download online - some examples available HERE - but as with all things youngster inspired; why not let them make up their own minds about what they'd like to create?
Mosaics can be made up of everything from bottle tops, buttons and bits of broken tiles to broken china plates, while some of the earliest mosaics were made of natural pebbles, originally used to reinforce floors but then arranged decoratively so they are not only a way to dance between the tulips, they are also lovely to look at and will brighten many a space.
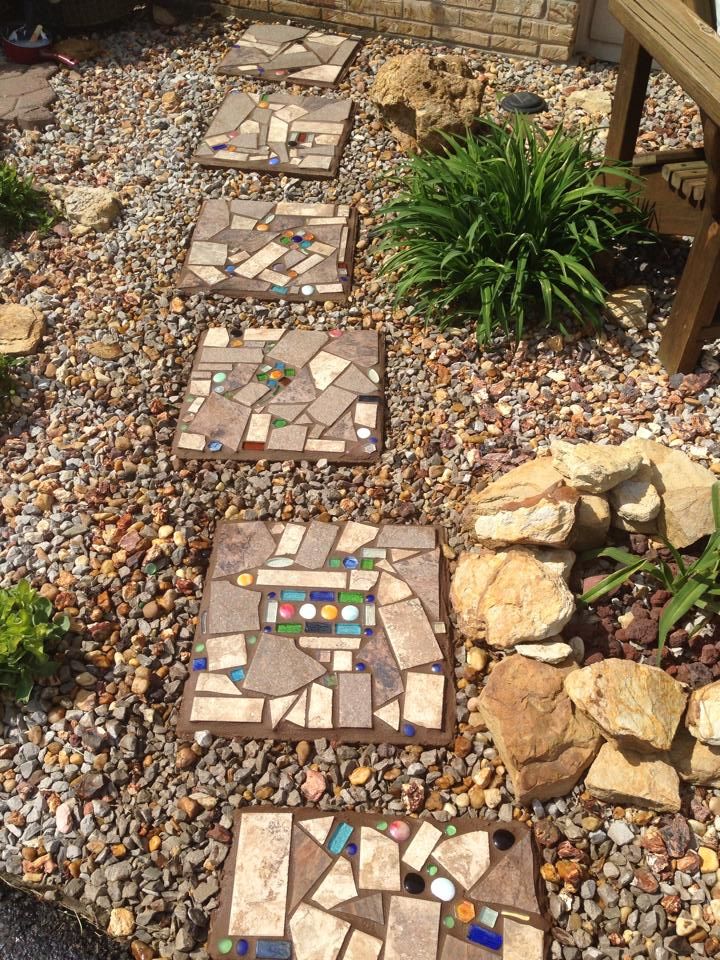 In a previous School Holidays DIY project we showed you how to make mosaic flowerpots - any surface or shape may be used of course - a birdbath, a concrete paver or pavers if you're going to create something with every member of the family joining in to make one, and then help lay the path these can make in the garden, or even a piece of wood. As long as the adhesive will stick to it and you can grout it to protect that brilliant design, something great can be made this school holidays that will last for a lot longer and bring a smile every time you see it. If you choose the piece of wood option make sure you seal the surface of the wood first with some good varnish or a wood stain to protect it.
The Mosaic basic needs are:
• Mosaic tiles – We selected some bottle tops, glitter glass mini mosaics (the youngsters chose those) and to break up the squares a bit, choose irregular shaped mosaic stones - if you're going down the concrete paver mosaic path alike us, even see if you can find a few items that will light up by incorporating something with that luminosity you find in solar lights.
• A baseboard – you can make mosaics on all sorts of things like picture frames, vases and plant pots as shown before. We decided to keep it simple and used some concrete pavers as we wanted to make a path - when deciding to make mosaic pavers for stepping stones or a path in the garden, be mindful that some tiles have a slippery surface and you don't want anyone slipping when stepping on the finished work. Either choose bits and pieces that won't do this, or if the youngsters must have something shiny and brilliant, try and place those around the perimeter of the paver so its centre remains good for walking on.
• Grout – if you are creating with children you should do the grouting yourself or use kid-safe grout due to chemicals and dust that can be inhaled whilst doing this. If using traditional grout be sure to wear gloves and a dust mask.
• Glue – You can buy speciality mosaic tile glue or a craft glue - just ask at your local Johnson Brothers store, tell them what you want to use it for, and their trained friendly staff will be able to help out with the best products.
• A palette knife or similar for mixing and spreading the grout on with
• A sponge or cloth to wipe the excess grout off with
How To:
It’s a good idea to plan out your design. You can do this by tracing around your concrete paver on a piece of paper to get the correct size and designing your tiles to fit the space. Alternatively you could design the layout of your tiles on a second paver and transfer them over to the first one once you are happy with it.
Once your design is laid out it’s time to glue the tiles onto your baseboard. Once dry you can apply the glue directly to the back of each tile with a brush, gluing the tiles down one at a time, or you can apply the glue across the whole surface and just stick the tiles straight on in your pre-planned design.
It’s best to wait 24 hours to allow the glue to dry completely before adding the grout. When you are ready set out some backing paper or a plastic tablecloth to protect your table surface before mixing up a batch of grout according to the directions on the label.
To add your grout you just tip it on to the top of the tiles, scrape it across so it goes down in between all the cracks, and then use your sponge or cloth to wipe it off the surface of the tiles immediately whilst it is still wet. The grout will then take another 24 hours or so to dry completely leaving you with a finished mosaic artwork.
Also available (more below):
- DIY Toy Box and Snow Globes: School Holidays Fun - Winter 2015
- DIY Wooden Toy Cars and Perfect Painted Flowerpots: School Holiday Fun - Winter 2015
- Make Your Own Scooter or Skateboard: Summer 2016 Fun
- School Holidays DIY Ideas for Children: Little Vegetables Garden, Swing, Windchimes
- DIY Mushrooms and Vege Kits: School Holidays Fun Winter 2018 for Curious Kids
- Woodworking Projects for Beginners: School Holidays Fun Winter 2018 - Simple Storage Box + Wood Tool Box
- How To Water Your Plants When Away On Holidays + Some April 2019 School Holidays Fun For Outdoors; A Skateboard Swing Or Indoors; Grow Or Make Pot Plant People
- An Artfull Garden - for Winter School Holidays 2019
How To Lay A Simple Concrete Slab
Living in Pittwater means we’re often required to replace cement slabs that have been undermined by water passing through the earth or because our block of land is on a slope and time will cause cracks to appear in the places we park cars. This Issue a simple step-by-step process to lay a small concrete slab in your garden.
Tools you will need:
- Cement screed
- Wooden float
- Cement float
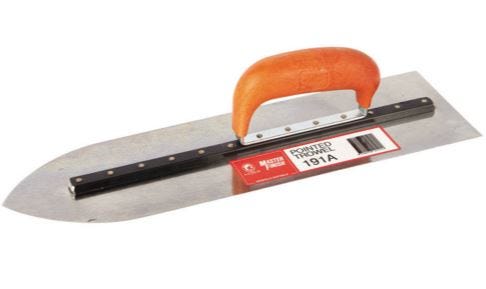
- Steel trowel
- Edging trowel
- Jointing trowel (groover)
- Spirit level
- Tape measure
- Shovel
- Mattock
- Hammer
- Timber saw
- Carpenters’ square
- Rake
- Tamper or plate compactor for compacting the base material
Materials you will need:
- Concrete Mix
- Lengths of timber for formwork
- Timber stakes
- Reinforcing mesh
- Double headed or clout nails for easy removal
- Road base or crusher dust to bed slab
Before you get started:
Calculate how much concrete you will need. If there is a specified concrete strength required for your project (i.e. N20/10) you must call in the professionals and have the concrete delivered via a truck - it’s the only way to ensure a specified final strength of concrete. A handy guide is any amount of concrete under 0.1m3 you can easily mix yourself using bags of Concrete Mix. For jobs between 0.1m3 and 0.5m3 then consider mixing your own using cement, sand and aggregate. For any job over 0.5m3 where access isn’t an issue then it is best to have pre-mixed concrete delivered from a ready mixed concrete company.
.JPG?timestamp=1593860397820)
Most Builders will tell you that ideally concrete should be placed and finished during the early morning, before air temperatures and wind speed rise and the air humidity drops - so aim to book the concrete truck for then. Ensure you have any relevant approvals or permits. Ensure there are no pipes or services below the ground; contact Dial Before You Dig on 1100 or via their website www.1100.com.au for advice on the locations of submerged pipes and cables. If you're simply replacing an old slab that has become cracked and uneven, as in this example, unless you're digging deeper, it's simply a matter of getting the old concrete out and setting up to install the new slab.
Safety:
Before you begin any project, please ensure you protect yourself with the following:
- Boots
- Face mask
- Gloves
- Googles
- Long pants & sleeves
- Wellington (Gum) Boots
Protect your skin and eyes - cement based products are alkaline and can cause burns to exposed skin or eyes, so don't just buy the googles and face mask, wear them. When working outdoors, be SunSmart - Slip on some sun-protective clothing – Slop on sunscreen - Slap on a hat - Seek shade - Slide on some sunglasses.
1. Lay your formwork
- Measure, mark using a Carpenters square, cut squarely and nail the formwork together so that the internal measurement is the required dimensions for the slab.
- With square or rectangular slabs, ensure that the formwork is true to square by measuring the diagonals between the opposite corners - these must be equal for the shape to be correctly square.
- NB: The height of the timber used for your formwork should equal the thickness of your concrete slab to enable you to screed the finished surface level with the top of the formwork.
2. Measure the area to be dug out
Place the formwork in situ and use a spade to mark around the outside edge of the formwork. This will mark the area you will need to dig out to the required depth.
3. Excavate the area for the concrete slab
- Move the formwork out of the way and dig out the area for the slab to the required dimensions. Allow an extra 5 cm of depth for a bed of crusher dust or road base under the slab.
- Place the formwork back in position and ensure that it is level using a spirit level. You might need to dig a trench to ensure that the formwork is set at the correct height. Backfill against the formwork so that it stays in place, and hammer in timber pegs at 100 cm intervals on the outside of the formwork to hold it firmly in position whilst you pour your slab.
- NB: Ensure the pegs are level with or below the top of the formwork so that it is possible to screed the surface when the concrete is poured.
4. Prepare the Slab Bedding
Place a bed of road base or crusher dust 6-7cm thick, rake it to a level surface and tamp it down firmly all over to a thickness of 5cm. This provides a stable surface for the slab.
NB: The secret to a crack-free slab is a firm, well drained base so for larger areas consider hiring a plate compactor to do the base preparation work properly.
5. Install the Reinforcing Mesh
If reinforcing mesh is required, cut it to fit inside the formwork allowing 5 cm clearance between the formwork and end of the bars so the reinforcing will be completely covered in concrete. Use plastic bar chairs placed closely together to support the reinforcing mesh and hold it in the centre of the slab. The reinforcement must be at least 5cm above the compacted base and around 4 cm below the top of the slab.
NB: Do not allow the reinforcement to sag between the supports or sit directly on the compacted road base; it is important that it is fully encased by the finished concrete.
6. Pour the Cement Mix
Prior to placing the concrete, soak the compacted base with water to minimise moisture loss. Start by placing the concrete against one edge of the formwork and add further batches working away from the edge, spreading with a shovel to ensure that all of the edges and corners of the formwork are completely filled. Fill all the way to the top of the formwork, using your shovel to tamp the product into position to get any air pockets out of the concrete. Level the concrete with a screed held against the top of the formwork and by working from side to side and moving from one end of the formwork across to the other. It is necessary to repeat this process to ensure that the surface is flat. Fill in any low spots as you work the surface.
NB: Be ready to keep on filling the cavity with concrete from when you start until the formwork is completely full. This is not a job where you can take a long lunch break half way through, so enlist a few hands on shovels to help spread it if needed.
.JPG?timestamp=1593860269617)
.JPG?timestamp=1593860982793)
.JPG?timestamp=1593860910961)
7. Finishing the concrete slab surface
Water (bleed water) will appear on the surface and then gradually evaporate. Do not work the surface at all while the bleed water is present. When it has evaporated and the surface has stiffened a little, use a float to flatten the concrete and remove any ridges from the initial screeding. If you require a very smooth surface finish use a steel trowel. However, this may be too slippery for outdoor concrete - particularly for pathways so alternatively broom the concrete or use a wooden float to produce a textured, non-slip surface.
Work the concrete in a circular motion angling the trowel towards you and slightly off the surface to prevent it from digging into the concrete.
.JPG?timestamp=1593861075357)
.JPG?timestamp=1593861131774)
.JPG?timestamp=1593860545572)
.JPG?timestamp=1593860663630)
.JPG?timestamp=1593860730588)
.JPG?timestamp=1593860785425)
.JPG?timestamp=1593861228305)
.JPG?timestamp=1593861314823)
8. Edging the Concrete
Use an edging trowel around the entire perimeter of the concrete which will also compact the edges of the concrete. For larger slabs, use a jointing trowel to provide control joints at 150cm intervals, by creating a straight groove around 2cm deep in the slab. The inclusion of control joints will control cracking.
As it dries concrete will shrink slightly and adding control joints creates a straight line break rather than allowing random cracking to form.
.JPG?timestamp=1593861376681)
.JPG?timestamp=1593861450270)
.JPG?timestamp=1593861485218)
9. Curing the Concrete
Moisten the surface and edges of the slab using a hose on a gentle spray twice daily for 7 days - do not soak it unless this is a larger slab; if it is, employ professionals. Curing provides a continuous supply of moisture to ensure a better surface quality and a stronger slab. Curing must start the same day – as soon as you have finished the surface.
.JPG?timestamp=1593861579870)
10. Remove the Formwork
Formwork may be carefully removed after 24 hours. You can walk on the surface after 3 days but avoid any heavy loads for at least 7 days.
.JPG?timestamp=1593861652701)
Tools & Products To Help You Get This Job Done
Steel mesh and lumber for formwork was ordered over the phone and delivered from Johnson Brothers Mitre 10 - you can order many items over the phone - details below.
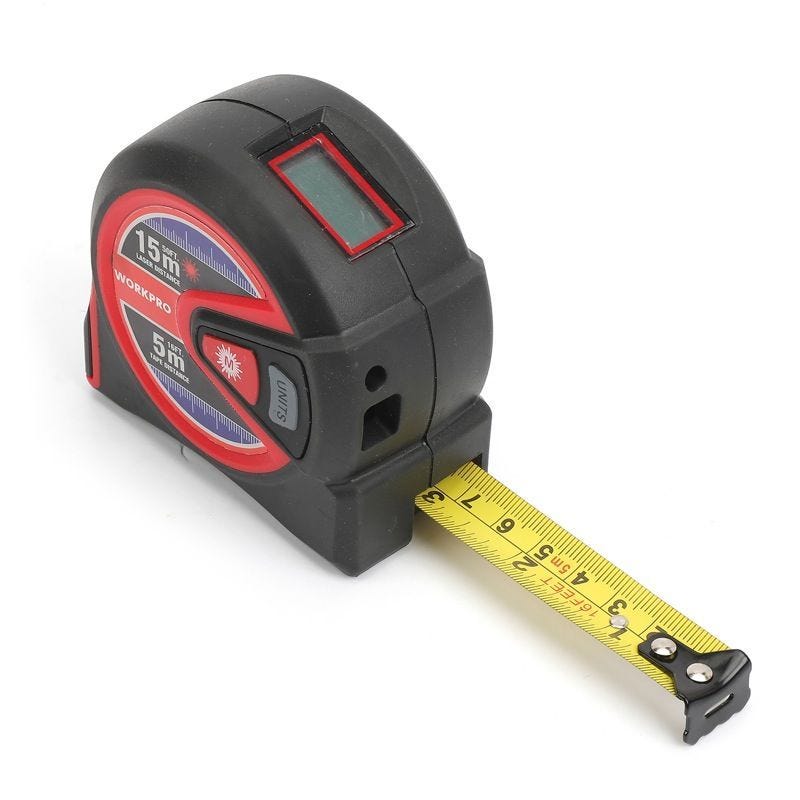
Workpro 2 In 1 Laser Tape Measure: $59.00
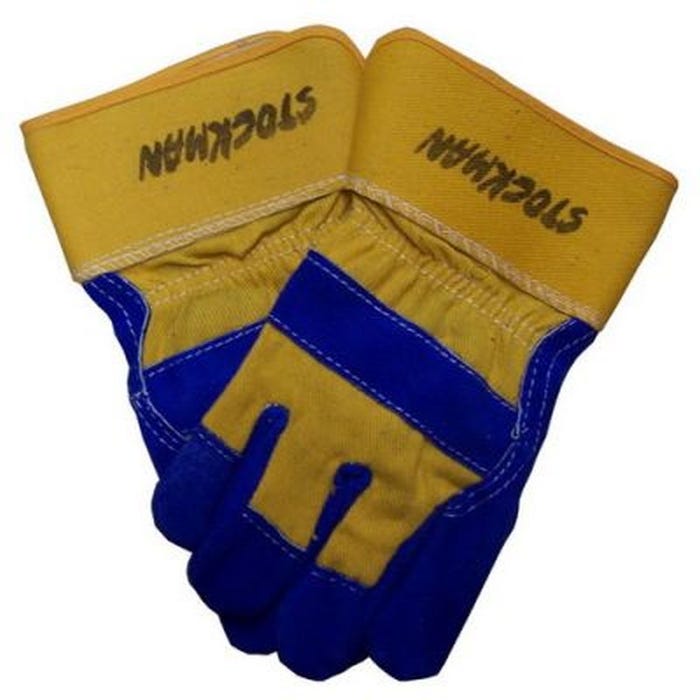
Glove Work Mens Premium Leather: $5.99
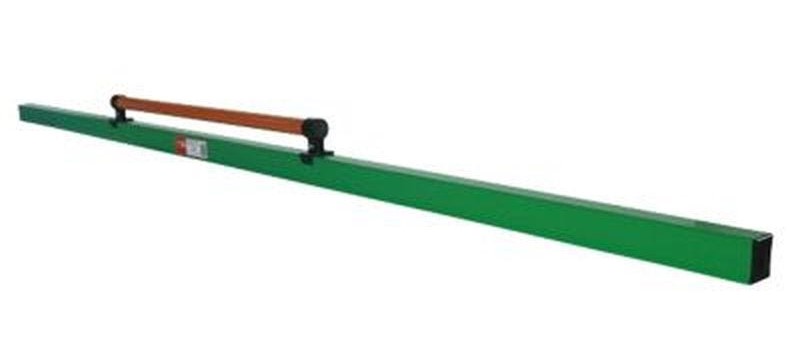
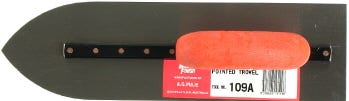
Screed Alumunium C24 2400mm: $59.00 Concrete Finishing Trowel: $29.99
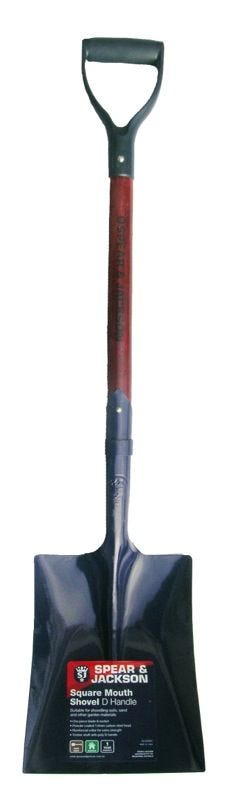
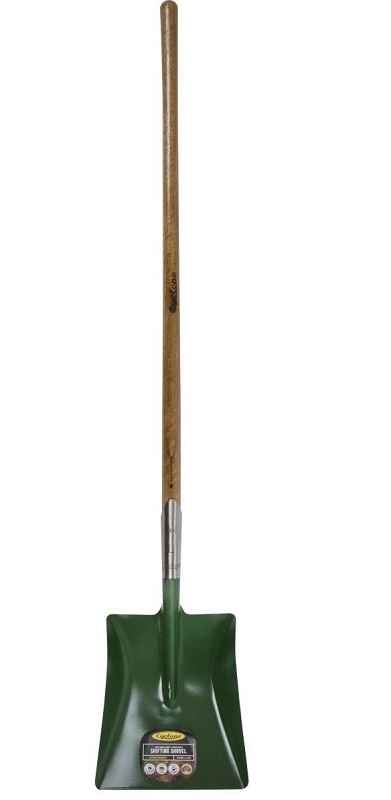
Spear & Jackson Square Mouth Shovel: $19.95 Cyclone Shovel Long Handle Square Mouth Medium: $60.50 Masterfinish Concrete Floor Finishing Trowels: $36.99

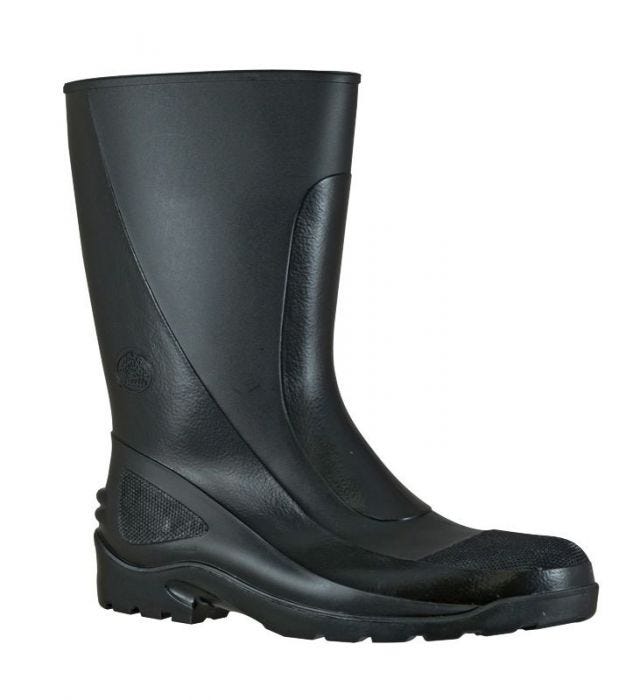
Bata Handyman Knee Length Gumboot: As low as $22.99 Bata Safety Gumboot: As low as $32.99
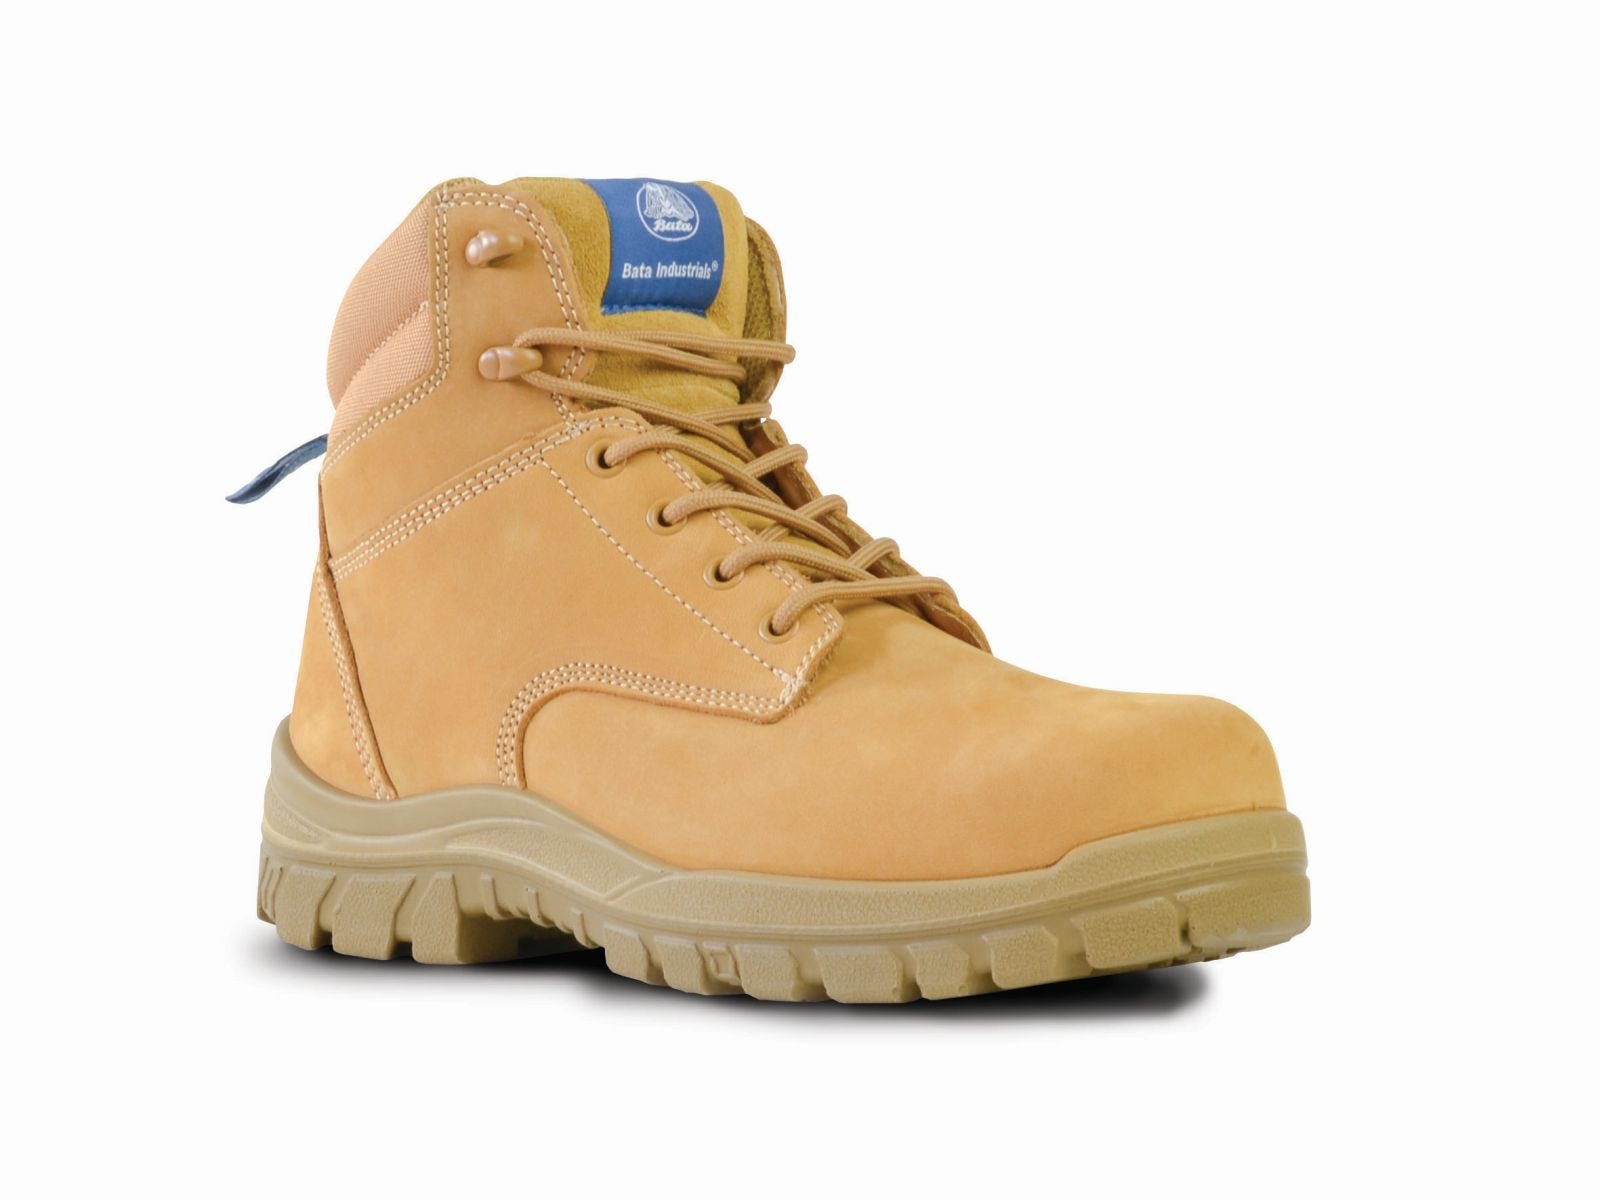
Bata Titan Steel Cap Nubuck Leather Boot: $99.00
Johnson Brothers Mitre 10 Update: Shop Online Options
Intending to keep our customers and staff safe, we present some additional ways for both our retail and trade customers to do business with us.
Trade and Retail Pick Up
Express Pick up Mona Vale
- Call Johnson Bros Mitre 10 Mona Vale, and we will pick & pack your order and have it ready for you to pick up in 2 hours. (Stocked Lines Only)
- Drive into our undercover Trade Drive-Thru area at 73 Bassett St Mona Vale, and your order will be ready for pick-up.
- Our team members will help you with your load and finalise payment/paperwork
Express Pick up Avalon
- Call Johnson Bros Mitre 10 Avalon, and we will pick & pack your order and have it ready for you to pick up in 2 hours. (Stocked Lines Only)
- Drive into our back lane off Bellevue Avenue, and your order will be ready for pick-up.
- Our team members will help you with your load and finalise payment/paperwork
Online Retail Stores Go Live
We’ve launched two eCommerce sites offering 2hr pick up in-store and flat rate delivery options on the northern beaches*.
Jbhmv.com.au (Mona Vale)
Jbhav.com.au (Avalon)
With the ability to leave the product on your doorstep, this provides an option of an entirely contactless transaction.
*Flat rate delivery is not available to trade sales, building supplies and trade quantities
** The stock availability is updated nightly, which may mean the stock is unavailable when the order is placed
Trade Delivery to Site
Maybe not new, but certainly worth a mention again!
We can get almost anything delivered quickly onto site!
As always ring the trade desk direct on 9999 0333 and let them know what you need!
Final Thought
Like everyone, we have found ourselves in a new and uncertain environment, but we’re setting up (and digging in) for the long haul!
We want to acknowledge that the decision to retain over 120 staff and meet any future challenges head-on, could not have happened without the continued support you provide us as customers.
Thank you and stay safe,
The Johnson Family


Click on logo to visit Johnson Brothers Mitre 10 website
Johnson Bros Mitre 10 - Avalon (02) 9918 3315
Johnson Bros Mitre 10 - Mona Vale (02) 9999 3340
JBH Timber & Building Supplies (02) 9999 0333
JBH Fencing & Landscape Supplies (02) 9970 6333
www.johnsonbros.com.au Online store: jbhmv.com.au
