Keeping Cool Over Summer - Garden Ponds for Attracting Birdlife, Dragonflies and for the Soothing Sounds of Water
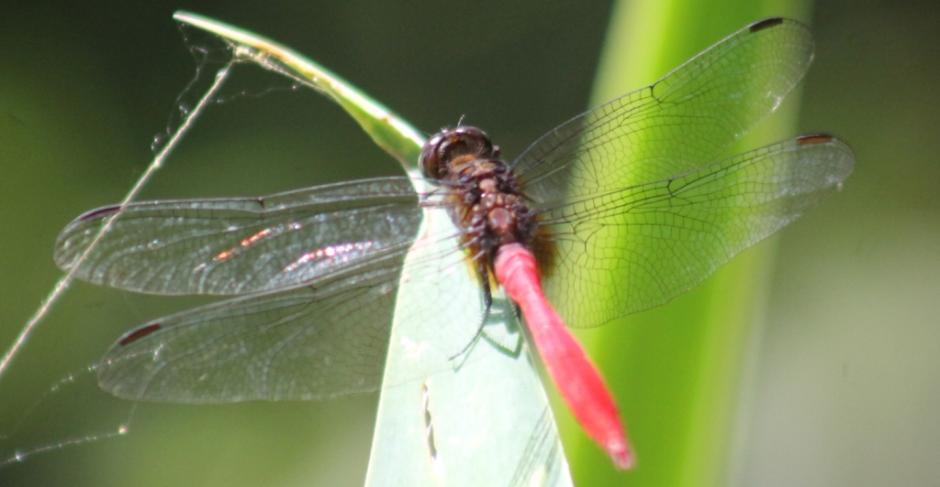
 Anyone who has a pool, pond or fountain in their yard knows these water features enhance the garden and bring Summer butterflies, dragonflies, local frogs and birds into your yard. On one day alone this week we watched a red and blue, then a bright orange and a green and yellow dragonfly chase each other around and round – a good sign your garden is healthy. We also see every bird that flies over the yard return at dawn and dusk, and even during the day, for a quick dip or to have a drink. A great way to look after our local birds and give your children something new to learn about.
There is also something intrinsically soothing about the sound of water, a calmness people of Japanese heritage would attest to and of course, you are creating habitat for all those wonderful native frogs and will then hear their calls. Sitting under a shady umbrella enjoying all you water feature brings into your yard will be an ongoing delight and you will also be adding to our environment by caring for resident birds in providing a ready water source during the hottest days of the year.
Installing a pond, small fountain or birdbath has been made much easier these days. A variety of fountains and water features to suit all tastes are available and as long as there is movement in the water, you will not be adding a mosquito attracting feature to your green areas. If you choose not to install a pump or filter, simply topping up the pond when watering your other plants will freshen the pond environment and keep you mozzie free.
The one we chose took us about a day, with cool drink breaks, to complete.
Materials
 Fine sand, Underlay , Pond liner or concrete mixture – you can also buy ready-made pond underlays/liners now, Rocks of different sizes and varieties, Water – of course!, Material to finish pond edge
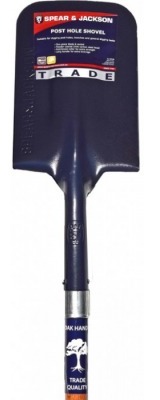
Spear and Jackson Post Hole Shovel (Trade Quality)- $34.00: • Oak timber handle. • 2mm carbon steel head with hammertone powder coated finish
Tools
Garden hose, Spade, Wheelbarrow, Measuring tape, Spirit Level, Rake
Step One
Decide where will you put the pond? Look for somewhere level, on stable ground. Ideally it should be a place that gets a few hours of sun each day. Beware of placing a pond under trees that will shed a lot of leaves. Avoid putting the pond into an area that is prone to flooding. Also remember that pipes and cables may run underground and avoid those areas.
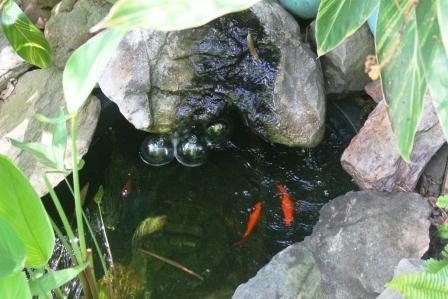
The next thing is working out what kind of pond you want. A large landscaped one for raising koi? or a smaller version? If you want to install koi, check with fish professionals before installing the pond – most say to allow for a pond at least a metre deep and over 2 metres long. You'll also need an electricity supply as these ponds will need a pump and filter. Water gardens can be smaller. And, with the right mix of fish and plants, may not even need a filter. And, will you be using a pool liner - a plastic or rubber base for the pond - or will you be lining the pond with concrete?
Step Two
Outline the shape of the pond. If you're using concrete, or a flexible liner, mark the shape on the ground with the edge of your spade. If you have a pre-formed liner, turn it upside down and trace around it with chalk or spray paint. If you're having an electric filter, pump, drain or hydraulic water feature, you'll need to put the piping for these in place now.
Step Three
 Use your spade to remove the grass and top level of dirt. Then dig the rest of the dirt out. If you're using a pre-formed liner, you'll want to dig a few inches deeper than the liner as these as settled on a base layer of sand. If you're using concrete or flexible liner, remember you'll be adding extra around the edges to ensure anyone standing on the edge doesn't break the edge of the pond. It’s a good idea to have a perimeter ledge a few inches below the surface. This provides a great place for planting water plants and adding decorative rocks.
Mipro® Poly Wheelbarrow - $79.00: • 85L. • Built-in pour lip. • Narrow enough to fit through doorways. • Fully welded 32mm leg assembly and steel tray supports. • Ready to assemble.
Step Four
Once you've finished digging out the shape of the pond, ensure it's level. If it's not level, water can escape out of the low side of the pond. The best way to check your pond is sitting correctly is to place a piece of wood across the pond and then put a spirit level on this to check it’s horizontal. Check this around all sides of the pond too. Once it's level, add a layer of sand about 2 to 3 cm deep along all base surfaces the pond will rest on.
Step Five
If you're using a pool liner, now is the time to add your underlay. Make sure it covers the entire surface of the pond. Lay at least 100mm past the edge of the pond on all sides. Place the liner in the pond. Check there are no sharp little rocks protruding through, as these can tear your liner, then push the liner to the contours of the pond making it as flat as possible, and tucking and folding where necessary.
Step Six
 Place a few smooth stones around the edge to hold the liner in place while you fill the pond. Trim the excess liner to about 100mm from the edge of the pond. Fill the pond with water. As the weight of the water helps settle the liner, some parts of the liner want to pull into the pond. Hold these parts in place as the water fills the liner. Some DIY’ers say it is best to let it settle properly for a few days prior to finishing. Remember to keep liner offcuts if using this method as they may be used for patch and repairs if the liner tears.
Neta Platinum Kat Fitted Hose - $49.00: • 15m x 12mm. • Solid brass fittings.• Knitted hose. • Neta no break 30 year guarantee.
Step Seven
Edge your pond with decorative rocks, concrete, plants, etc. Then trim your excess liner to the outer part of the pond edge. If you're making the pond surface level with the edge, you'll need to ‘seat’ the liner. This means digging a narrow ditch or rim around the pond and burying the outer edge of the liner. This can then be held in place by dirt, rocks, planter pots or by cementing a decorative edge around the pond. Slope the ground around the pond away from the pond - to drain the rain away.
Everything you will need for this project is available at the Narrabeen, Mona Vale and Avalon Johnson Brothers Mitre 10 stores where their trained friendly staff can help you with details and products best suited to your yard and the kind of pond you want.
The new JBH Mitre 10 catalogued is out now, and runs until January 26th, filled with all your Summer garden needs at: HERE - some of the specials now current appear in this page.