January 17 - 23, 2016: Issue 247

How to Install a Solid Core Door and Door Furniture
If you have a noise problem from an active household and want to restore some peace, or even want to upgrade hollow doors to solid core doors for safety reasons or would like to install a solid core door because they are what is used as Fire Doors, or replace rusting door furniture (handle - doorknob) and hinges with stainless steel that will do better in a salt air environment, then this week’s DIY page is for you.
This is a relatively easy job if you have the right tools. You will need an extra pair of hands for some parts of the work, particularly lifting and holding the door in place to check if it is level and fits the door frame – solid core doors are a lot heavier, costs a little more, but they are built to last.
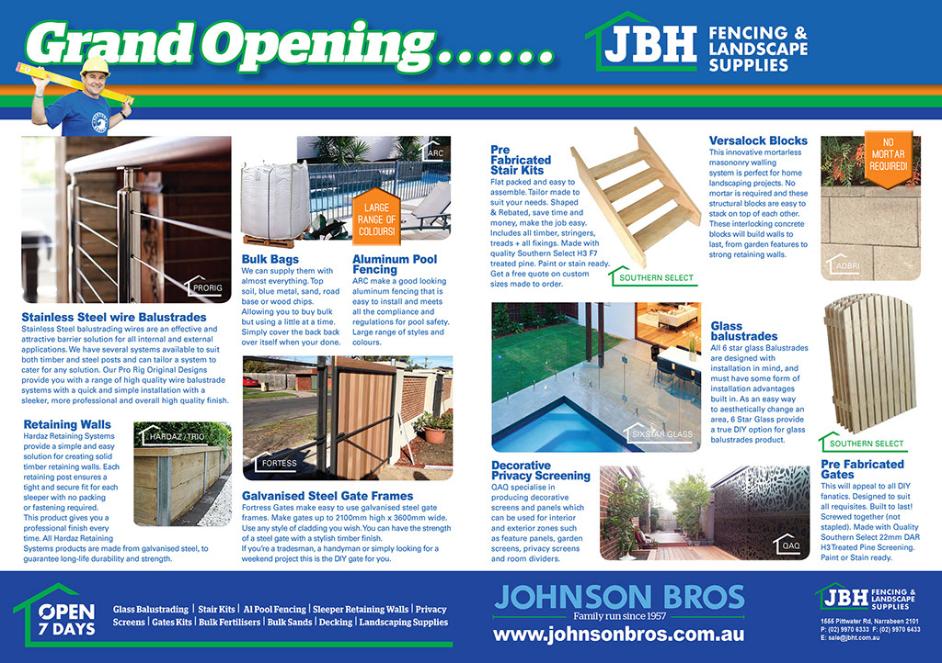
JBH Timber and Building Supplies carries an extensive range of products including structural pine, both treated and untreated, structural hardwood - kiln dried and sawn unseasoned, engineered beams, western red cedar, finger jointed pine moldings, doors, plywood, furniture grade hardwood, Hardies Fibre Cement products, insulation, plywood and other sheet material.
All products shown here associated with doing this DIY project have been taken from the Johnson Brothers Mitre 10 'Get Stuck into Summer' catalougue (on sale January 13 - 26), running some great specials for the garden and home - available to read online here
Tools
Chisels
Tape measure
Drill and bits
Tools
Chisels
Tape measure
Drill and bits
Hammer
Protector glasses/mask/ear muffs
Carpenters pencils
Protector glasses/mask/ear muffs
Carpenters pencils

Dewalt 18V Li-Ion Hammer Drill Driver and Bluetooth Speaker Kit: $279.00 • 2 speed 0-450/1. • 500RPM. • Includes Bluetooth speaker, 2 x 2.0Ah Li-Ion batteries and multi-voltage charger. • DCZ276D2-XE.
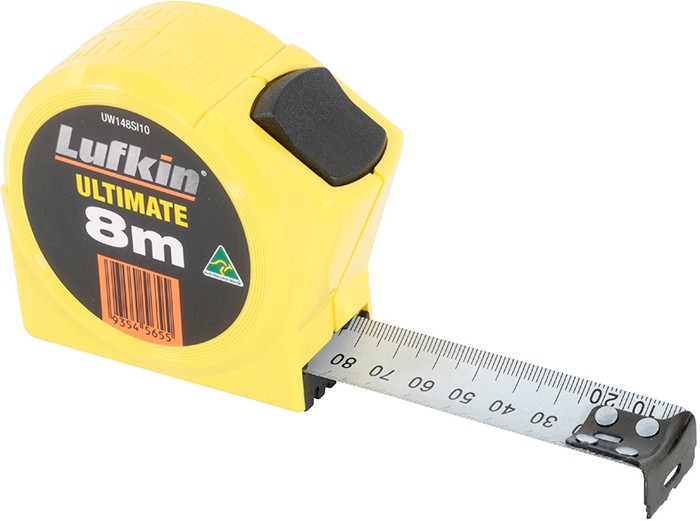
Lufkin Ultimate Tape Measure: $20.00 - • 8m x 25mm. • Available in metric or metric/imperial.
Materials
Solid core door
2 x Stainless steel hinges
Door furniture of your choice (doorknob/handle)
Sealer or primer
Paint to coat (2 coats)
Door stop
Measure two times – cut once
Measure the height of your door cavity (height and width). Most solid core doors come a little longer than standard door frames and will need to be trimmed. Ensure that you also check the door frame is square by measuring the frame diagonally. Measure and mark your trim lines, measure at least twice and cut once. Allow a 5mm gap at the bottom for floor covering, a 3mm gap for the top and sides.
Score the pencil marks on the new door with a sharp utility knife and use a circular saw.
Trim the door to width in the same manner if required.
If removing less than 5mm, use a hand plane instead of a circular saw - plane with the grain.
On top or bottom edges, plane in from the edges to the centre to avoid splintering.
If you have more than 6mm to trim, use a handsaw or circular saw.
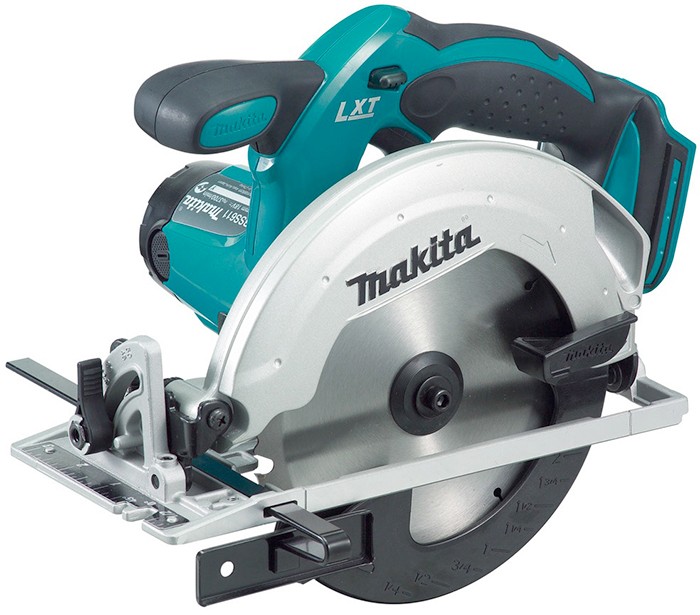
Makita 18V Li-Ion Circular Saw* : $199.00 - • 165mm. • Accepts all 18V Makita batteries • DS611Z.
* Batteries and chargers sold separately unless specified.
Ensure that when cutting, planing or sanding timber that you wear correct safety equipment such as dust mask, goggles and hearing protection.

Protector Icon Clear Safety Specs: $15.00 - • Medium impact. • Adjustable arms. • Anti-fog.
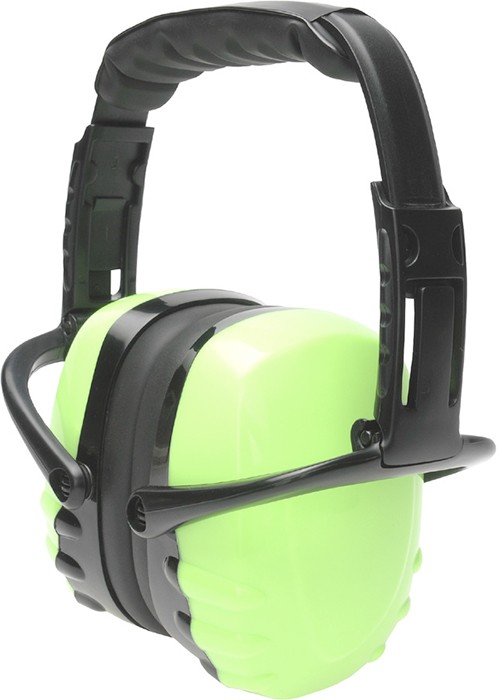
Unisafe Hi-Vis Earmuffs: $18.00 - • 27dB protection.• Folds to compact size.• Hi-vis green.

Bushman Work Boot: $45.00 - • Full leather upper. • Oil and acid resistant. • Available in assorted sizes.
See in store for full range.
Give the edges a light sanding and when using a new timber solid core door it is best to seal with primer or paint the top surface, inner to wall surface and base of the door prior to hanging. You will not be able to do this as well once the door is installed.
Position the door and Hinges
Position the new door into the doorframe and mark the hinge recesses. If it is a new door going into a new frame, mark the top hinge 175mm down from the top of the door and the bottom hinge 280mm from the from the top. If a third hinge is needed, place it equally between the top and bottom hinge.
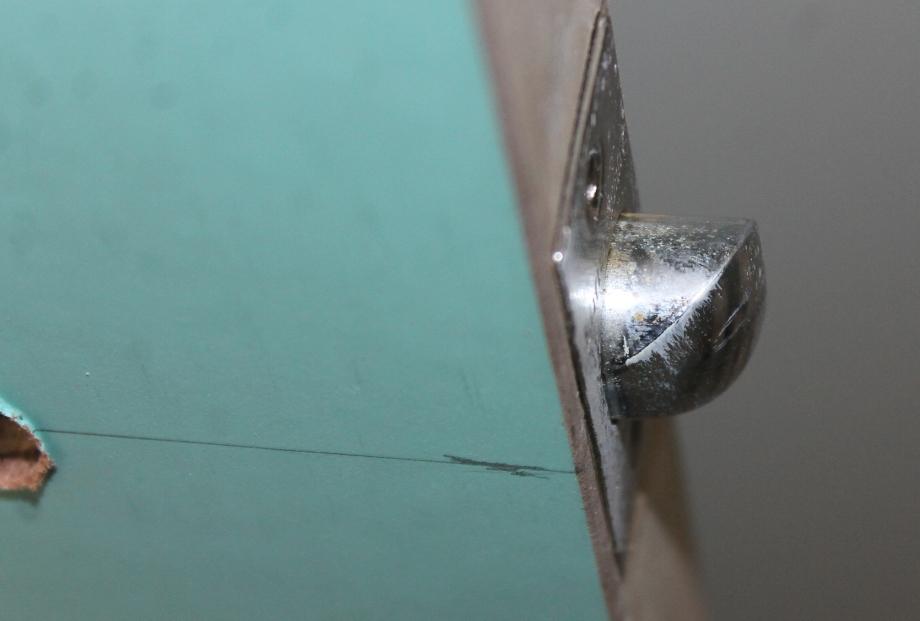
Open the hinge and hold it in place on your mark, with the pin hard against the face of the door. Using a pencil, trace the outline of the hinge onto the door timber. Repeat at the other end. Using a sharp chisel, make a series of cuts along the pencil line. Chisel the recess out until the hinge fits flush with the door’s edge.
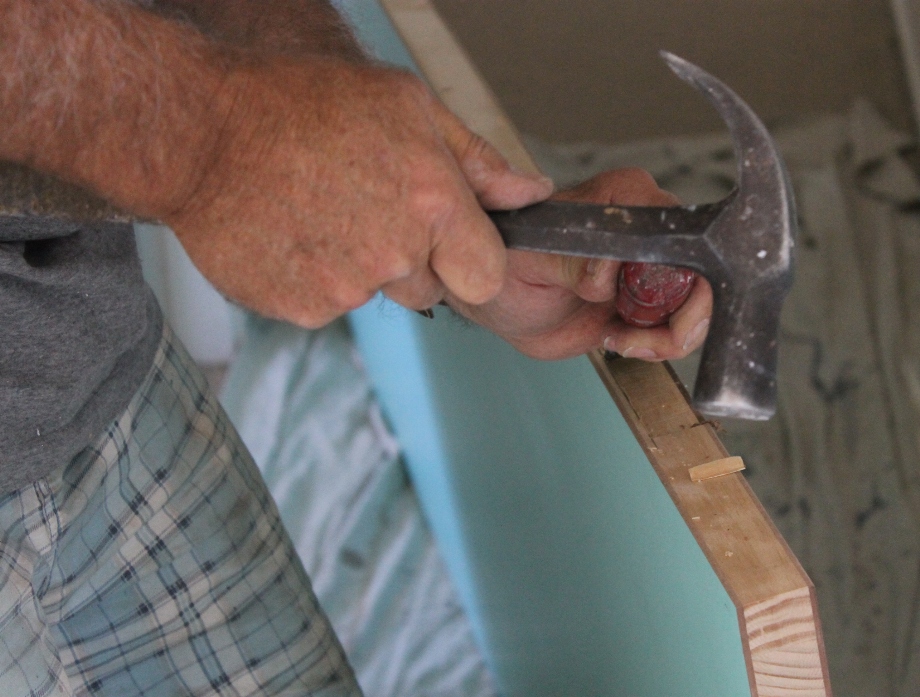
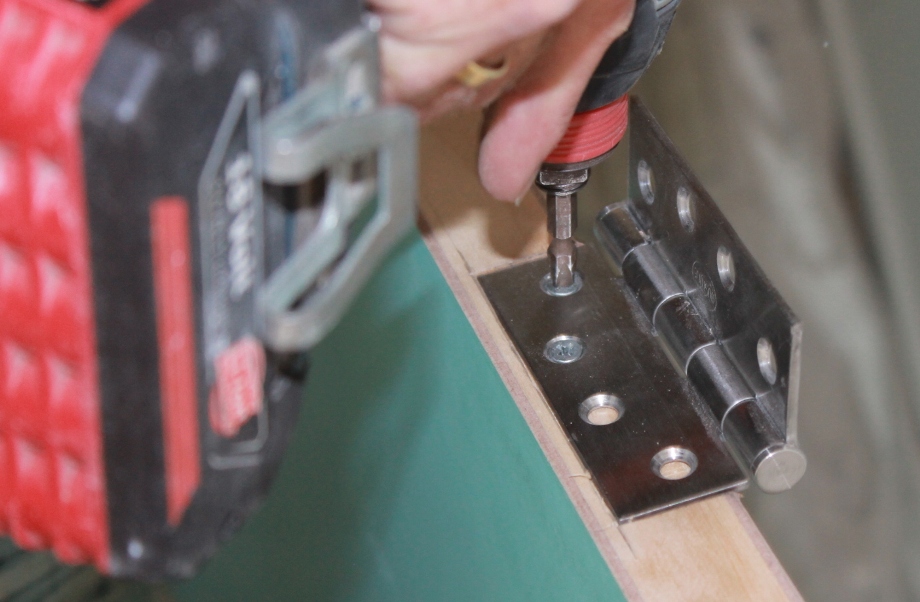
Mark and drill your screw holes, then screw the hinges into place. Place the door at right angles to the opening. Adjust the height with wedges under the door until it’s approximately 3 millimetres from the top of the frame.
Use wedges under the base so the door is level, the hinges are sitting square on the jamb and the top of the door is about 2mm below the door jamb. Then put the top screw into the top hinge and attach each hinge with one screw only. Close the door and check your clearances all-round. Adjust if necessary by lowering or raising your wedges.
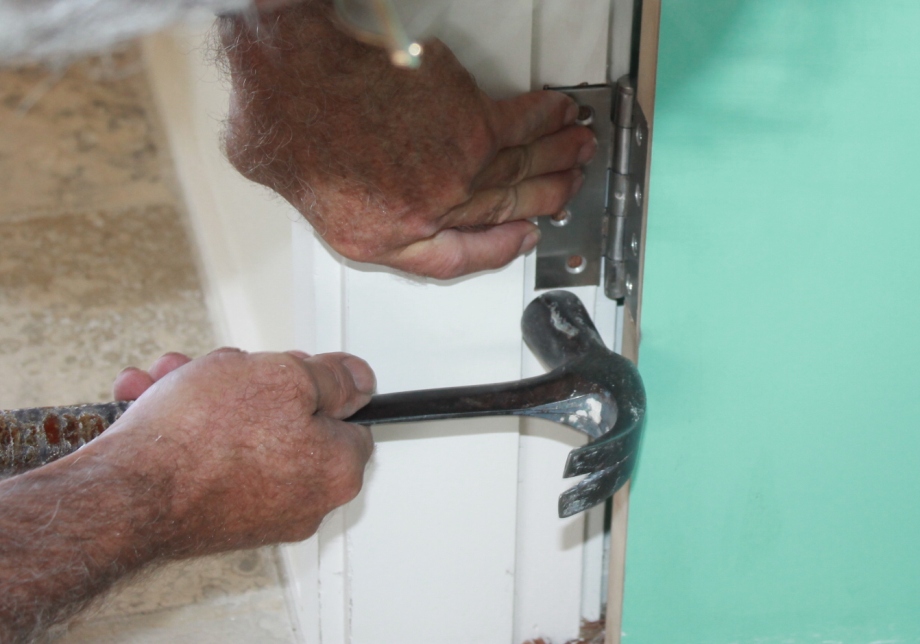
Level the door once more and hang it
Use a spirit level to check if your door is level once more and adjust the position of your wedges as required. Put the top screw into the bottom hinge. Remove the wedges and check the door shuts properly. If it’s not right, undo the bottom hinge, alter your wedges, rescrew and check again. Once the door shuts properly, screw the hinges in.
Installing Door Furniture
Decide where you want the doorknob – what height – if you are reinstalling the old doorknob on a new door the latch holder will indicate where this will be.
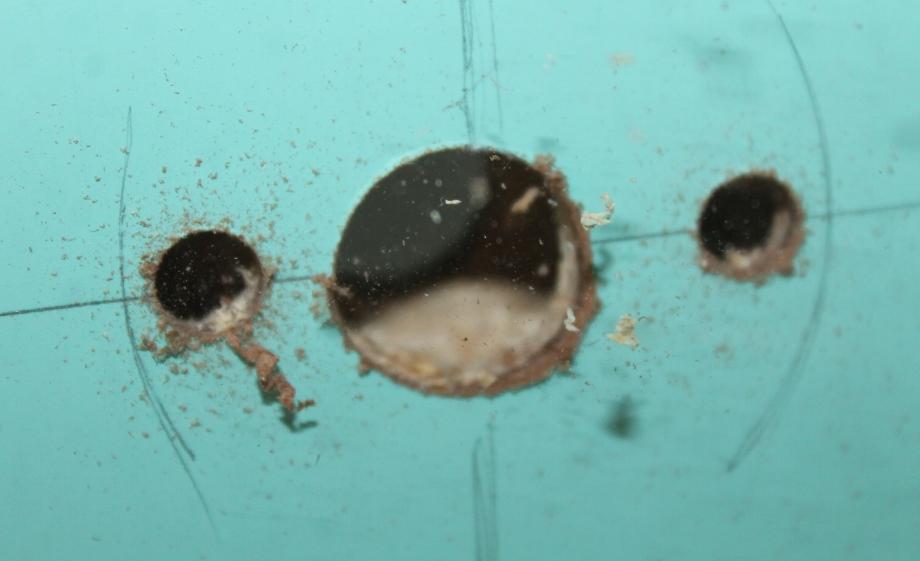
Tap a nail into the door edge to mark the center of the latch hole and mark the line straight to center of where hole for handle will be.
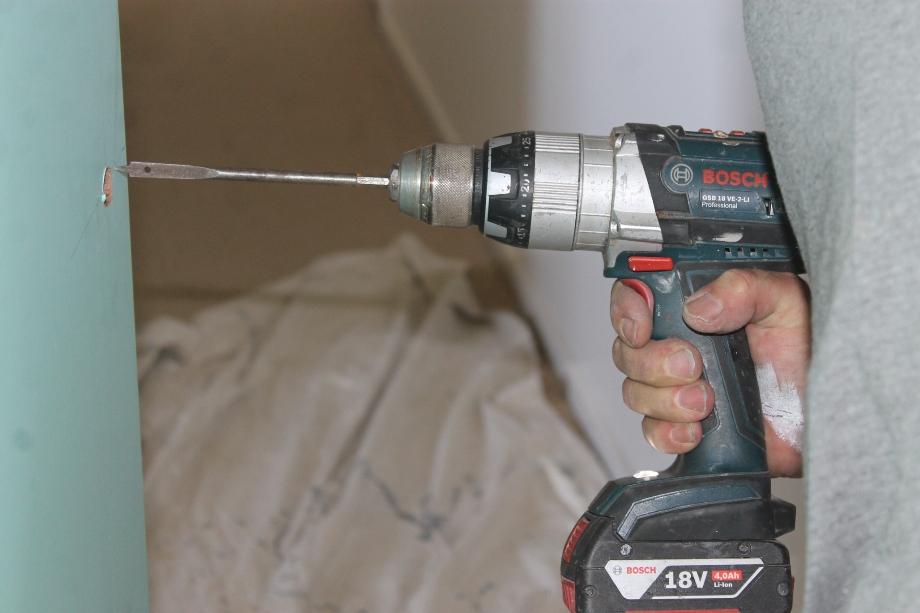
Drill the hole for the latch, using a 22mm spade bit.
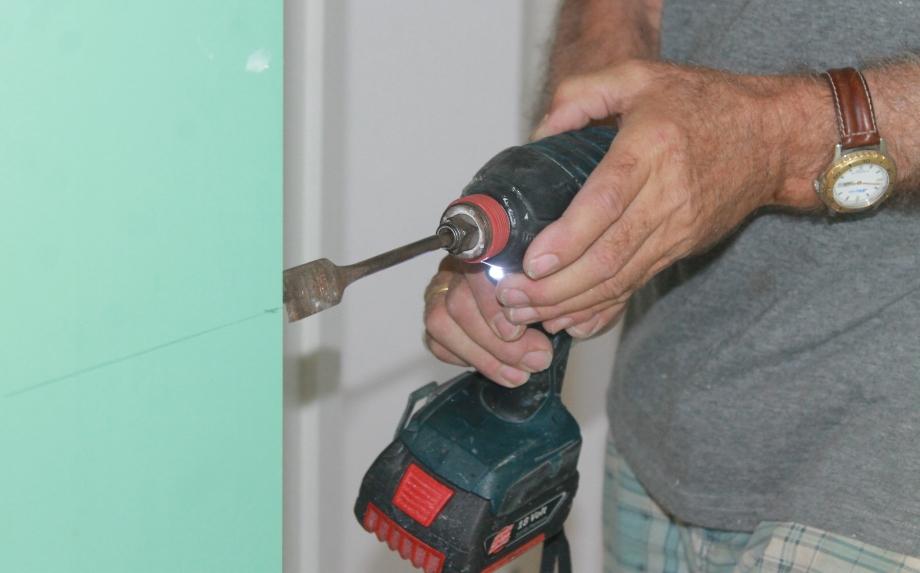

Mark with a pencil where the insert (strike) to hold the latch will be and then chisel out carefully - this should lay flat inside the door rim - do not screw this down fully in place yet - wait until handle cylinders and bolt have been placed:
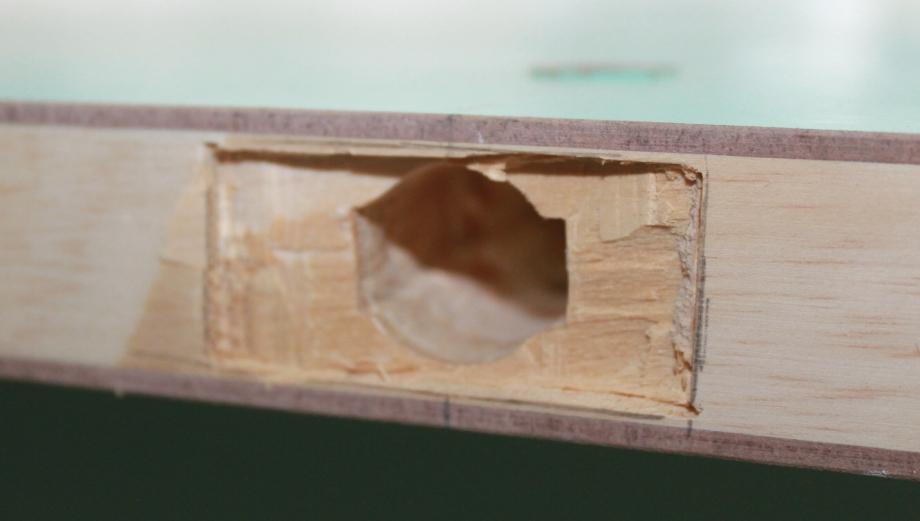
Use a diameter hole saw to drill the large hole for the lock body.
If the saw can cut no deeper, turn the door and drill the same size hole from the opposite side.
If the saw can cut no deeper, turn the door and drill the same size hole from the opposite side.
Test if the fittings will lock into each other prior to attaching the screws - drill the faceplate for the latch and the handle screws firmly into place.
Now you are ready to do some painting! As doors can find themselves getting marked, we suggest you choose a paint that will wear as long as your new door will.
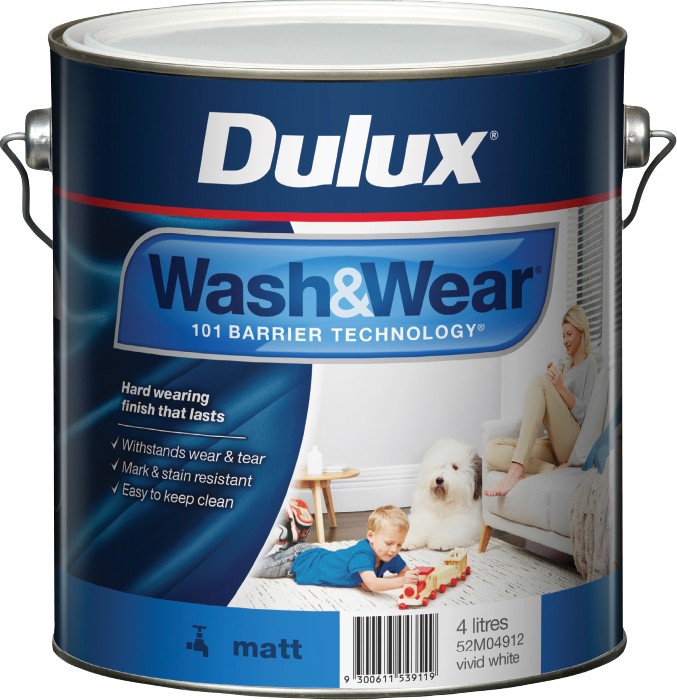
Dulux Wash & Wear: $71.90 4L Also available 10L: $160.00 - • Matt, low sheen, semi gloss or gloss. (White base.)
Click on logo to visit Johnson Brothers Mitre 10 website
Johnson Bros Mitre 10 - Avalon (02) 9918 3315
Johnson Bros Mitre 10 - Mona Vale (02) 9999 3340
JBH Timber & Building Supplies (02) 9999 0333
JBH Fencing & Landscape Supplies (02) 9970 6333