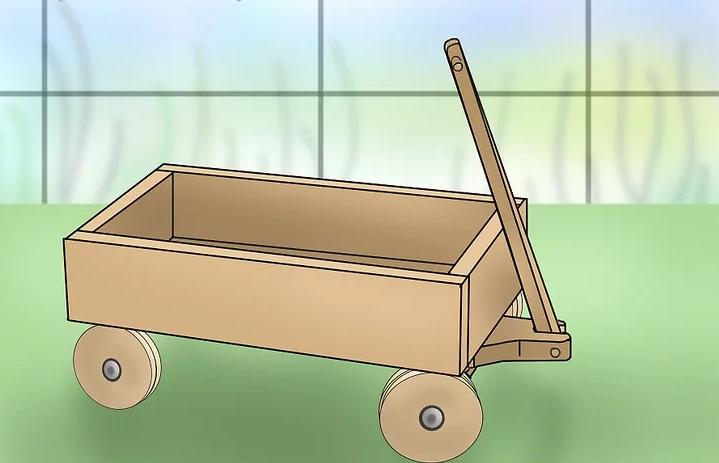
DIY Childs Waggon
You may remember the wagons of your youth. Our new Collector’s page features some of the great old ones made by Cyclops. Or you may wish to make a garden planter or a platform that makes it easier to move those great big pots that make outdoor areas look fantastic but need moving in some seasons to ensure plant health. If you want a child's toy that is suitable for outdoor use. Either way, this step by step guide will take you through all that you need to know to build your own wagon and build something that will provide years of use.
A good way to get the youngsters involved here is get them thinking about the final look for the waggon (if it's for them), or what will last longets for your use if you're modifying this base idea for using under those larger pot plants.
Materials
2 x 1.905cm x 11.43x 60.96 Side A
2x 1.905cm x 11.43x 36.83 End B
1 x 1.27 x 40.64 x 60.96 Plywood bottom
2 x 1.905cmx 8.89x 30.48 Side rail
1x 1.905cm x 11.43x 36.83 Back rail
6x 1.27 x 4.1275 x 23.495 Batten
8x 1.27x 6.985 x 11.43 Wheel truck
4x 1.905cm x 1.905 x 6.985 Truck separator block
2 x 1.905cm x 4.445x 9.525 Wheel mounting block
1 x 1.905cm x 15.24 x 30.48 Steering yoke
1 x 1.905cm diameter x 60.96 Dowel (handle shaft)
1 x 3.175diameter x 12.7 Dowel (handle grip)
4 wheels – rubber ones will last longest
Sandpaper
Fasteners
4 x 0.9525-diameter x 6.35 hex-head-bolt axle
(Note: Cut off excess; finished bolt is 6.35cm.)
8 x 1.905 cm diameter washers
4 x 0.9525 cap nuts
100-piece pkg 1.905 No. 6 Phillips-head wood screws
100-piece pkg 2.54 No. 6 Phillips-head wood screws
1 pack bright finish nails
2 x hex nuts
1 x 2.54 cm diameter screw eye
1 x 1.5875 cm diameter screw eye
16 x Finish washers
Adhesives - Finish
600mls polyurethane, 600ml acrylic latex primer, 600mls semigloss dark red acrylic latex, wood filler, wood glue
Tools
Drill
Circular saw
Basic hand tools
Dust mask
Build the basic platform for the wagon using your pieces of cut lumber A and B. The platform here is about 40.64cm wide and 60cm long, but you can modify the size easily to fit what you want. Leave space at one end for attaching handles
Make the front axle swivel assembly by ripping two boards 5cm x 5cm, the same length as the width of your wagon.
Drill a hole in the center of these two boards for the swivel pin.
Cut a section of pipe (or wood dowel, if preferred) 6.3cm) long to fit in the swivel assembly holes. Use a flat washer as a bushing to allow the swivel to move freely when it is assembled.
Use a large screw or lag bolt to through-bolt the swivel and hold it in place. You may find you need a large fender washer to allow the screw to tighten if the hole is so deep the wood will not hold it.
Drill the ends of the moving section of the front axle swivel assembly for the wheel bolts. A 1x 1.2cm steel bolt works well for this assembly. Drill through the center of each wheel, slide the bolt through, slide a flat washer on the bolt, then stick the bolt into the hole in the end of the axle assembly.
Drill a hole though the axle assembly and the bolt that attaches the wheel to the assembly. Install a wood screw to lock it in place. You might grease the bolt so the wheel will turn freely and to reduce wear on this surface, or you may choose to install a metal bushing in the center of the wheel to reduce wear even further. Attach the assembly to the bottom of the wagon base you started with.
Attaching the Handle
Bend two angle clips to attach the wagon handle with. Here, a 1 inch (2.5cm) by 1/8 inch (3.1mm) piece of aluminum flat stock is a good material to use, being easy to form and drill, and weather/corrosion resistant. Each side of the angle should be about 10cm long, and you will need to drill 3/16 inch (4.7mm) holes for the mounting screws on one side of each piece.
Mount these brackets at the center of the swivel/axle assembly, allowing space for the pull handle to fit between them freely. You might rip this piece of stock 3.8cm square 91cm long before mounting the attaching brackets to make sure they are positioned correctly.
Rip the stock, (described in the step, above), sand the edges smooth, and position it between the brackets so the attaching bolt can be inserted. A 6.3mm bolt 6.3cm long will hold this piece in place. You can dimple the end of the bolt where the threads come out of the nut to prevent it from loosening during use.
Build the yoke that will hold the grip at the other end of the handle. Again, the aluminum flat stock is an easy material to use for this step. Form two matching pieces in a squared zee shape (see illustration), drill it for the mounting screws, and smooth the edges with a file or sandpaper so there isn't a risk of scratches when handling it.
Fit a block of wood 2.5cm square between the ends of the yoke. Then center drill it for a 6.3mm bolt (or all thread rod) to attach it. Be sure to drill as nearly in the center as possible, using a bit long enough to drill completely through.
Thread the bolt or all-thread rod through the yoke, the handle block, and out the other side of the yoke. Then thread a nut on the end (or both, if you are using all-thread rod).
Tighten the assembly. Cut off and grind smooth any protruding bolt threads.
Assembling the Rear Axle
Build the solid rear axle. Cut a board the same length as the width of your wagon, and cut two spacer blocks to support it and allow clearance for the wheels to turn. Drill and screw the spacer blocks and rear axle into place. Then drill the ends to allow the wheel mounting bolts to be inserted. Drill and pin these bolts into place the same way you did on the swivel assembly.
Adding Sideboards and Finishing
Cut and fasten the sideboards on the wagon platform. Use wood screws or nails to attach these sides.
Sand any rough or splintery edges with a power sander or sandpaper. Be especially careful if this wagon will be used by a child.
Finished.
Some Specials From Current Get In And Get It Sorted Catalogue - On Sale Until July 30th, 2017
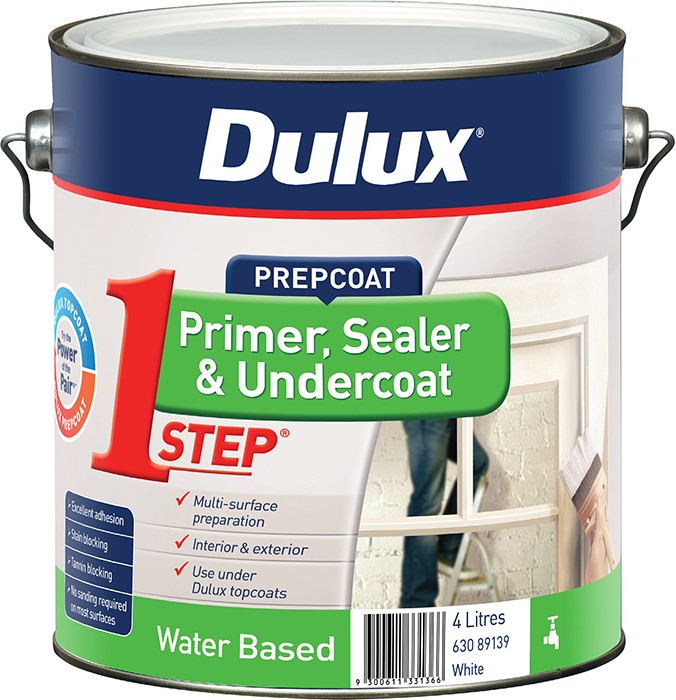
DULUX 1 STEP ACRYLIC PRIMER, SEALER & UNDERCOAT 4L: $69.60
Multi-surface preparation in one step. White base.
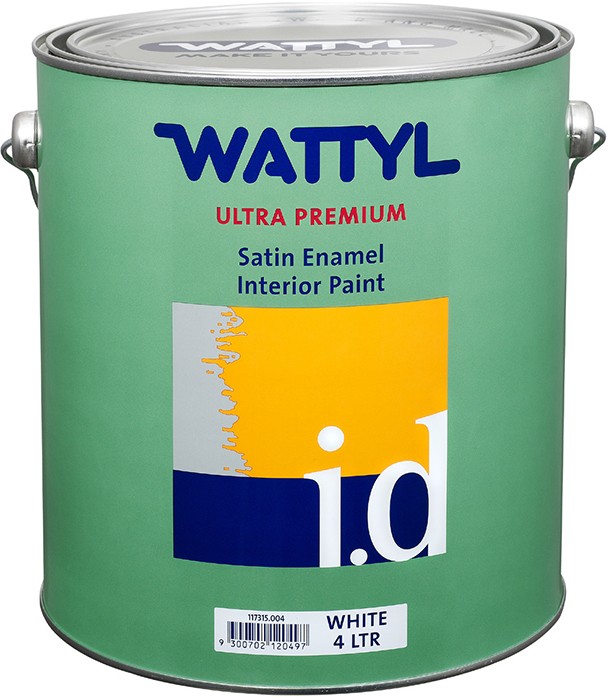
WATTYL ID ENAMEL 4L: $75.00
Satin or high gloss. White.
Also available - 10L: $170.00
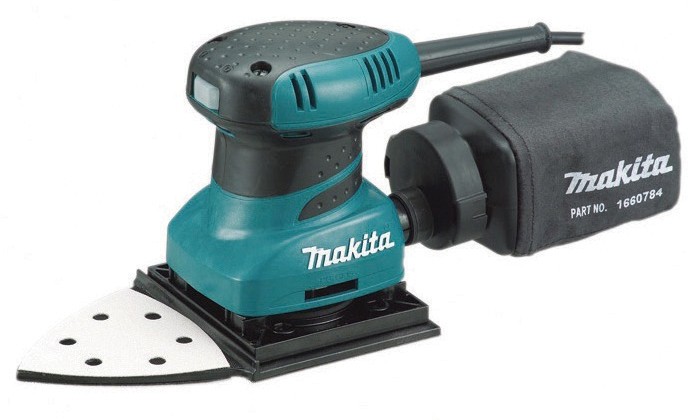
MAKITA 200W FINISHING SANDER: $125.00
Hook and loop. Triangular base (96mm). Built-in dust extraction. Corded
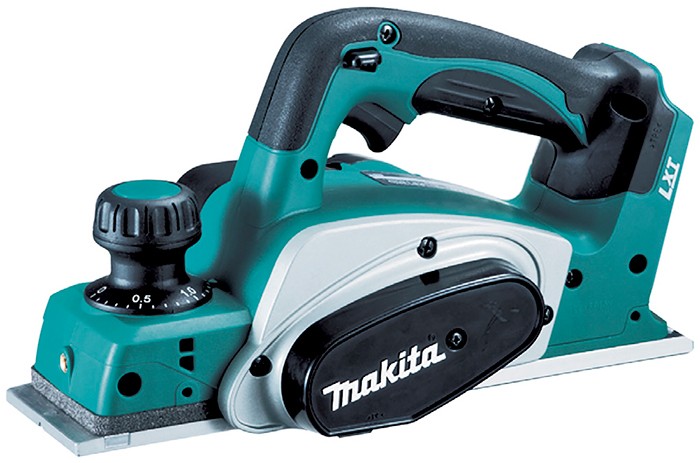
MAKITA 18V LI-ION PLANER: $219.00
82mm. Planing depth 2mm. Batteries and Chargers Sold Separately Unless Specified
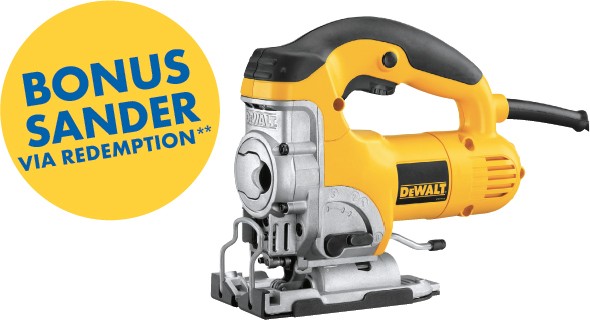
DEWALT 701W INDUSTRIAL STRENGTH JIGSAW: $329.00
Bonus Sander via Redemption**
Easy tool-less blade change. Anti-vibration counter mechanism. Moulded carry case. Corded
**Redemption website: guaranteedtough.com.au. Terms and conditions guaranteedtough.com.au/terms-conditions.
Offer available 1st July – 30th September 2017.

PROTECTOR RESPIRATOR KIT: $45.00
Superior fit and comfort. Includes filters. Provides protection against dust, mists, fumes and sprays.
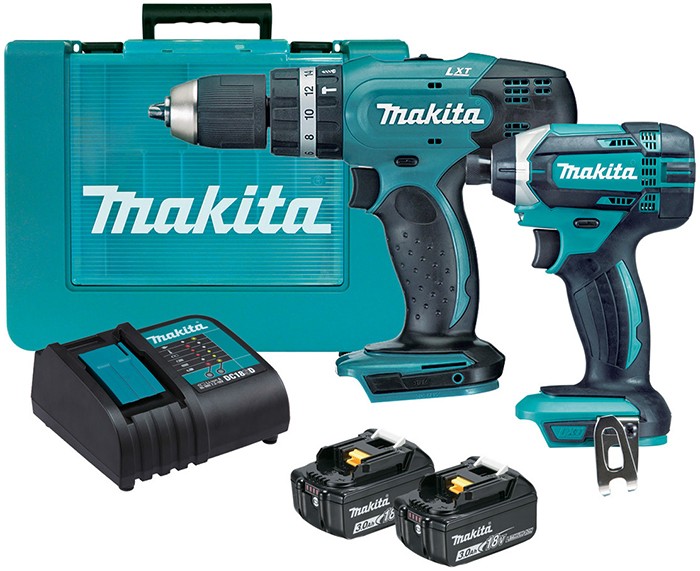
MAKITA 2PCE LI-ION 18V DRILL COMBO: $345.00
Includes Hammer Drill DHP453, Impact Driver DTD152, 2 x 3.0Ah Li-Ion Battery with fuel guage, standard charger and carry case.
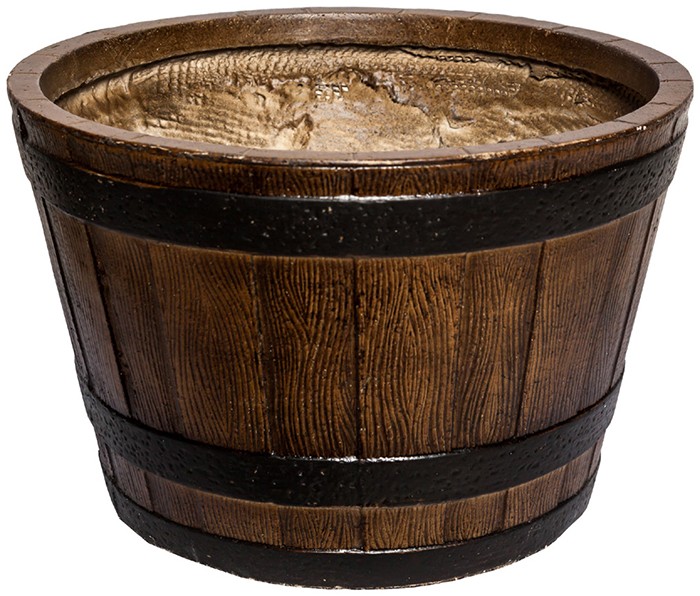
WINE BARREL PLANTER: $29.95 to $59.95
Fibre clay construction.
Small:24(H)x 36.5(DIA)cm
Large: 37(H) x 56(DIA)cm

Click on logo to visit Johnson Brothers Mitre 10 website
Johnson Bros Mitre 10 - Avalon (02) 9918 3315
Johnson Bros Mitre 10 - Mona Vale (02) 9999 3340
JBH Timber & Building Supplies (02) 9999 0333
JBH Fencing & Landscape Supplies (02) 9970 6333
www.johnsonbros.com.au Online store: jbhmv.com.au