DIY Toy Box and Snow Globes
School Holidays Fun - Winter 2015
There’s a mix of sunshine and rain forecast for this Winter’s Holidays – normal July in Sydney weather really. For those few days forecast to be a bit wet a couple of ideas to keep little hands and minds busy, one for doing inside and one to do in the garage together.
Johnson Brothers Mitre 10 have some great Tax Time Tool Specials available until the end of June. You can view their catalogue online HERE and those we share in this DIY page are from there.
 Make Your Own Toy Box
There is no guarantee that this will stop toys appearing all over the floor but if those who it is made for are encouraged to do a little craft painting and add some designs to wood that can then be varnished and sealed, they may want to put all those toys away once they have finished playing with them.
Make Your Own Toy BoxThere is no guarantee that this will stop toys appearing all over the floor but if those who it is made for are encouraged to do a little craft painting and add some designs to wood that can then be varnished and sealed, they may want to put all those toys away once they have finished playing with them.
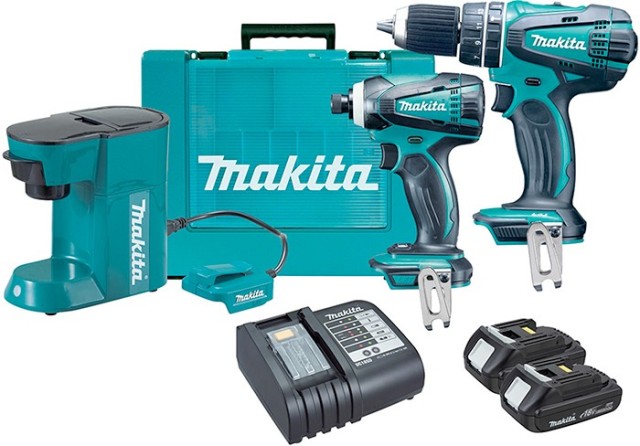
Right: Makita 3pce 18V Li-Ion Combo: $469.00 - Includes cordless hammer drill driver, impact driver, mobile coffee maker, 2 x 1.5Ah batteries, charger and moulded case.
You can also make this Toy Box a little longer, turning it into a chest, and with a padded cushion added to the top, it become a bench for a youngsters or teenagers room.
Materials:
For a 800mm x 400mm x 400mm box:
 • 4x Long rectangle pieces of your choice of material (we used 18mm MDF 800mm length x 400mm height) + lengths of sides, base and top.
• 2x Square Pieces (18mm MDF 364mm length x 400mm height)= 2 x ends
2 x Hinges – for back of Box
• 2x 95° Concealed Hinges with Stays (for Inside Box)
• 4x Heavy Duty Castors (for feet)
• 18x 4mm X 30mm Chipboard Screws
• 2 x Large Handles – for ends
1 x Large Handle for Lid
Sandpaper: 220 and 320 grit for sanding between coats of polyurethane
Clear polyurethane: Timber finish
Wood Glue
Paints for decorating if doing so – for those creatives!
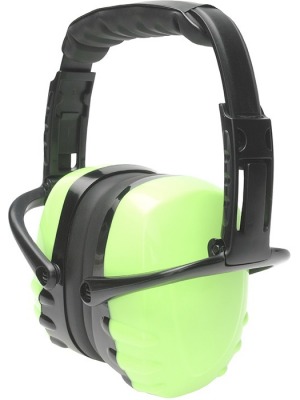
Unisafe Hi-Vis Earmuffs: $18.00 - 27dB protection. Folds to compact size. Hi-Vis green. Single injection moulded headband. Simple size adjustment.
• Tape Measure
• Pencil
• Screw driver (to match screws head)
• Drill
• 2.5mm drill piece
• 5mm drill piece
• 35mm hinge hole cutter drill piece
Level measurer
• Safety Glasses (when using drill)
• Hearing Protection (when using drill)
Building the box
1. Cut your wood to the size that you require using a circular saw. Lay out all the pieces in front of you to start.
 2. Attach the three long rectangular pieces that will make up the bottom and the 2 sides by placing one of the long rectangular pieces flat on the as this will be the base of the box. Then place another piece on top of the base facing the same way, and put it right up to the edge fitting flush to the end.
 3.You now make some pilot holes for the screws: measure in from one end on the side piece where you would like your pilot holes to be and mark with a pencil. For this size box, and for it to last, use 5 screws, if your length is 800mm, place one at 200mm, 400mm, and 600mm to fix the middle, and then 2 further fixing screws at 25mm in from each end – as both the sides and bottom are the same length you can measure the pilot holes the same for all 3 pieces.
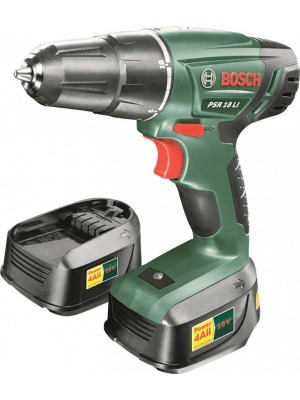
Right: Bosch 18V Li-Ion Drill Driver: $129.00 - Forward and reverse direction. Variable speed. Includes 2 x 18V Li-Ion batteries and charger.
4. Next measure the same distances on the bottom piece and mark pilot holes. Drill your pilot holes on the bottom piece all the way through and only drill a small entry pilot hole on the side piece.
5. Add your wood glue along the inside of one side piece. Get an extra pair of hands to help when you carefully push the side up against the bottom. Wipe away any excess glue.
6. Whilst holding the glued pieces in place, use the pilot holes pre-drilled for the screws.
7. Now repeat this process on the other side of your toy box you have the 2 largest sides and the bottom piece all in place and secure.
 8. Time to add the Ends (remember these fit inside and on top of the base): measure where you want the pilot holes for the end pieces and also the bottom piece – measure 100mm, 200mm and 300mm on the sides of the side pieces and 2 fixing holes of 25mm from both ends. Do the same for the end side pieces that they are going to attach to. For these pilot holes, you want to go all the way through on the side pieces, but only start a small hole for the end pieces.
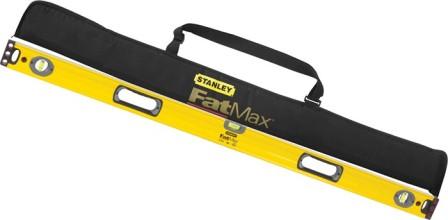
Right: Stanley Fatmax Level: $54.00 - 1200mm. Level accuracy of 0.0005in. Shock absorbent end caps. Includes carry bag.
9. Before pushing it into place, add a thin layer of wood glue to the side that will attach to the bottom and gently push it into place – wipe any excess glue away, and again ask for some assistance to hold it in place whilst you use the screws to secure it all into place – remember to attach the bottom and each side!
 10. Add your Lid: The hinges that we recommend for this type of lid are 95° Concealed Hinges, and more specifically the ‘Screw On, Full Overlay’ variety. This means they will open the lid 95° to get into the toy box, whilst also fitting the lid flush when closed as the hinge is hidden inside the unit. To back these up, and to make your box more decorative, adding two exterior hinges at the back of the box is also recommended. If little fingers are likely to get caught in these, placing them inside the box may be preferred.
To fit the exterior hinges, measure in 100mm and once again, mark your drill holes prior to drilling. To fit the interior hinges you need to bore a hole using a hinge hole cutter drill piece, a 35mm version is the standard for this. These enables the top of the hinge fit into the lid and then close flush when it’s flat.
Once again position the hinges 100mm from each end to allow room for the lid stays. Measure in from each end and mark the position. From here measure 21.5mm from the edge to mark where the centre of the hole is going to be. Once you have the centre, take the drill piece and drill a shallow hole, deep enough to fit the circular head of the hinge into so it is flush with the lid.
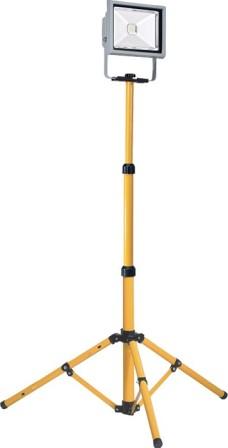
Right: Mirabella 20W LED Tripod Work Light: $79.00 - Includes 20W globe. 1400LM.
Now make a couple of pilot holes for the hinge unit to attach to the toy box side, place the hinge top in the hole just drilled, line up the side to the top and measure 37mm from the edge, and mark one of the holes from the mounting plate. To achieve the correct closure speed you can turn the screw head on the side of the stay so it is safe.
12. Adding your Lid and End Handles: this is a fairly easy step but once again, measure to ensure you get a centre for the ends and the centre for the larger handle you are going to install on the lid. This will keep your Toy Treasure Box looking nice and make pulling it or moving it easier. Once you have marked the centres, set the handle where you want it to be and using your drill, drill the holes through.
13. Attach castors to the base of the toy box using your drill and screws.
14. If the special person this Toy Box/Storage Chest has been designed for wishes to add some colourful decoration, this is the best time to do it. if you are going to stain or seal the wood, give it a good sanding to bring out the grain and smooth the surface so the stain or varnish takes.
Make Your Own Snowglobe
 Materials:
Nice jars with lids; round shapes or straight sides
Waterproof glue
Strong epoxy
If you have coloured the water, place your snowglobe on a windowsill to catch sunlight and add a nice glow to any room it’s in.
Now make a couple of pilot holes for the hinge unit to attach to the toy box side, place the hinge top in the hole just drilled, line up the side to the top and measure 37mm from the edge, and mark one of the holes from the mounting plate. To achieve the correct closure speed you can turn the screw head on the side of the stay so it is safe.
12. Adding your Lid and End Handles: this is a fairly easy step but once again, measure to ensure you get a centre for the ends and the centre for the larger handle you are going to install on the lid. This will keep your Toy Treasure Box looking nice and make pulling it or moving it easier. Once you have marked the centres, set the handle where you want it to be and using your drill, drill the holes through.
13. Attach castors to the base of the toy box using your drill and screws.
14. If the special person this Toy Box/Storage Chest has been designed for wishes to add some colourful decoration, this is the best time to do it. if you are going to stain or seal the wood, give it a good sanding to bring out the grain and smooth the surface so the stain or varnish takes.
Make Your Own Snowglobe
Materials:Nice jars with lids; round shapes or straight sides
Waterproof glue
Strong epoxy
Glycerine
Glitter – silver or a mix of colours - around 2 x tablespoons per 600ml jar
Minature figures – make sure these are ‘rust-proof’
Optional – food colouring for water
You could make bigger versions of these – there are many larger jars used in atrium that can now be bought with lids to match, although you don’t want it so big that you cannot shake it up and make a snowstorm!
1. Decide on a theme – do you want a landscape, a zoo, a farm or an underwater version?
2. Once you have assembled all you will need to make your own snowglobe decide how you will arrange you figure or figures on the lid. Glue in place in inside of lid and allow to dry (using a strong epoxy glue or a superglue is best for this).
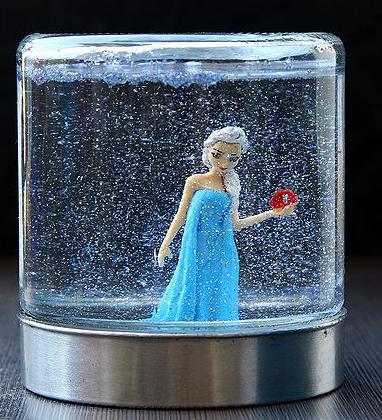
3. Almost fill the jar with glycerine so your figures, or ‘scene’ are covered. Add your glitter and some food colouring if you like.
4. Screw in the lid and apply a rim of waterproof glue or a sealant around the join to seal. Make sure you leave this to dry well before giving it a shake to see your very own just created snow gobe!
Glitter – silver or a mix of colours - around 2 x tablespoons per 600ml jar
Minature figures – make sure these are ‘rust-proof’
Optional – food colouring for water
You could make bigger versions of these – there are many larger jars used in atrium that can now be bought with lids to match, although you don’t want it so big that you cannot shake it up and make a snowstorm!
1. Decide on a theme – do you want a landscape, a zoo, a farm or an underwater version?
2. Once you have assembled all you will need to make your own snowglobe decide how you will arrange you figure or figures on the lid. Glue in place in inside of lid and allow to dry (using a strong epoxy glue or a superglue is best for this).
3. Almost fill the jar with glycerine so your figures, or ‘scene’ are covered. Add your glitter and some food colouring if you like.
4. Screw in the lid and apply a rim of waterproof glue or a sealant around the join to seal. Make sure you leave this to dry well before giving it a shake to see your very own just created snow gobe!
If you have coloured the water, place your snowglobe on a windowsill to catch sunlight and add a nice glow to any room it’s in.