Do you remember when you were just half a foot too short to reach those biscuits on the top shelf? Some of us still struggle to get flour from the pantry top or jam form the too high shelf in the supermarket.
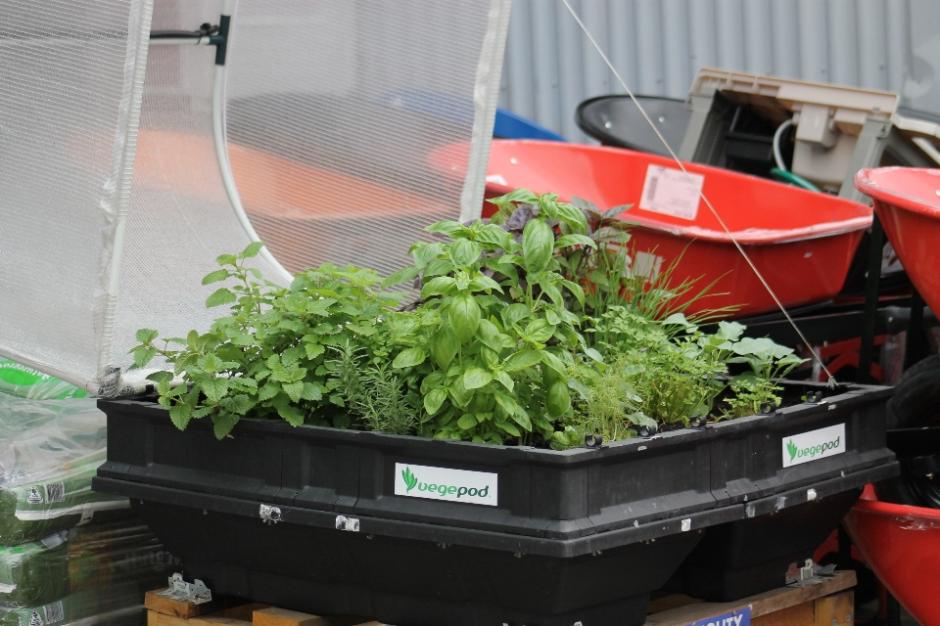
 Then we have the reverse – what happens when you want to sit down close to a garden bed or your patio vegepod but not sit on the hard, and at this time of year, damp ground.
Or what happens when you’re two and a half feet tall and half a foot becomes a full foot difference when you want to stand at the sink and brush your teeth – or when you want to sit down and build that wooden blocks tower so you can reach it a bit higher and then, put all those blocks away in that same seat?
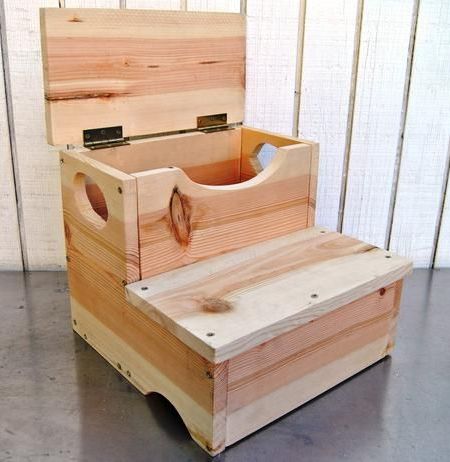
Well, there is a solution, and one young DIYer’s can do with mum or dad these school holidays and finish by adding their own touches – the easy Footstool or the Stepstool with a lid so you and store your stuff!
Yay!
Step right up – let’s get building:
Tools and Materials
jigsaw; cordless drill with a 1.5cm bit; square or ruler; 5cm wood screws; wood glue; medium-grit sandpaper; 2.5 cmx11388.50cm pine board 30cm wide; 2 standard hinges; Paint or stains of your choice - safety goggles and masks
Prepare your Wood panels
Use a square and pencil to measure and mark the cuts for all the pieces of the step stool as well as the handle holes. Show your child how to measure and cut the wood by demonstrating where the cuts will be with a carpenters pencil. Use a jigsaw to make the straight cuts making sure goggles, ear muffs and dust masks are on first.

2x side pieces at 355mm
Storage panel pieces (front and back) at 320mm;
Storage box bottom at 140mm
Toe-kick piece at 133.35mm
2x step stool tops at 190.5mm
Cut Handles and Arches
For the best results on the handles, drill a hole a bit larger than the jigsaw blade in the center of the area to be cut out. Then insert the jigsaw blade and follow your markings around the circular handle openings. Finish by cutting out the bottom decorative arches. Showing how to mark wood with an arc and then cut it is a good insight for those who like tracing glasses on paper to make patterns - it's the same thing, only the materials are different.
Sand
Sand all edges using medium-grit sandpaper - DIY Junior can do this job - wrap the sandpaper around an old block of wood so it's easier to handle and some gloves will keep any pesky splinters away. As this stool will likely be moved from room to room and handled by precious toddler skin, take extra care in making sure all edges are as smooth as possible.
Check the Fit
Line up all of the cut pieces and make sure they fit together nicely. If any adjustments need to be made, do those now.
Attach the Back to the Sides
To assemble the pieces, start by attaching the back of the stool to the sides by gluing the pieces together, then securing them with the screws. Youngsters can help with the gluing; just make sure they're wearing some gloves and a mask.
Add the Bottom
Attach the bottom of the stool to the back and the sides using that same technique
Attach the Front Piece and Step
Secure the front section of the stool storage area, then the front toe-kick panel. Attach the bottom step.
Add Hinges
On the bottom side of the top step, line up the hinges 3" from the outermost end. Attach them to the bottom of the lid. Then attach them to the inner side of the back panel.
Safety first for Small people
For added safety and traction on slippery floors you can add grip tape to the tops of each step. Also, since little hands aren't very adept at doing anything gently, adding a felt strip where the top lid touches the stool to reduce slamming the lid when it is closed may be a good idea. You can even add in safety hinges for a slower close if you're concerned about the lid falling on little fingers.
Paint and Decorate
Now for some more fun: Paint, stencil, engrave and decorate your storage stool to your heart's content - or let the junior artist in the home add their own design, make it 'their's. Spread a large dropsheet around them before they begin just in case they go a bit Pro Hart
Adding a protecting layer of clear varnish will preserve the artwork for years to come and make wiping off all that dropped tomato sauce and jam spilled everywhere a breeze.
These measurements can be doubled and a stronger wood used for those who have grown shorter during the years - a great extra 'tool' for reaching those biscuits you stored on the top shelf of the pantry - might be a nice idea for mum or grandma for Mother's Day!
That one could be painted pink ... with white and yellow daisies - or Chrysanthemums!
Hope you have fun trying out this little DIY Project this school holidays!
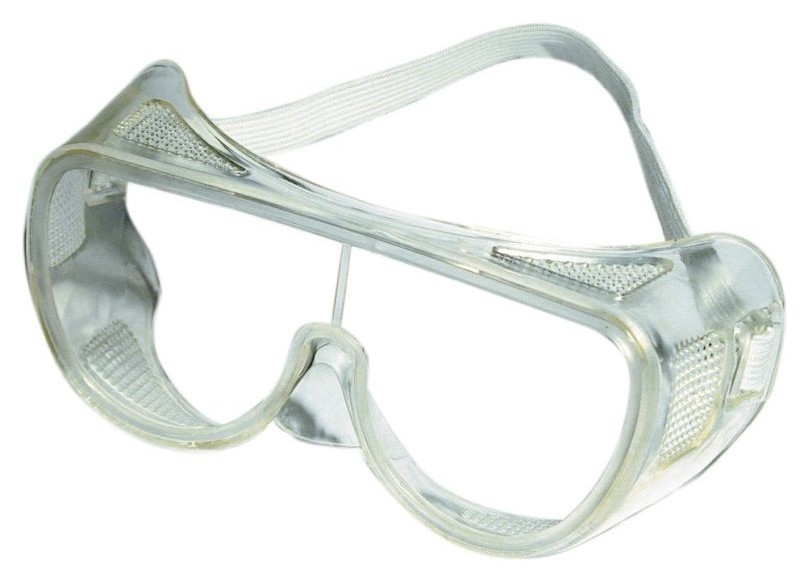
Buy Right® Safety Goggles: $4.50
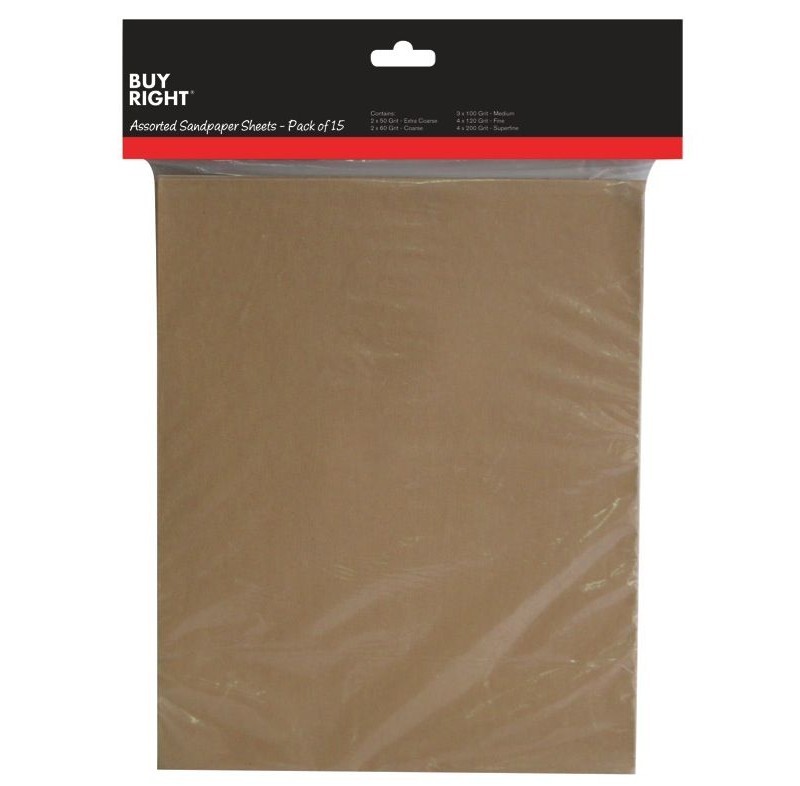
Buy Right® Sandpaper Pack: $2.00 - Ideal for any sanding project. Assorted grits. Pack of 15.
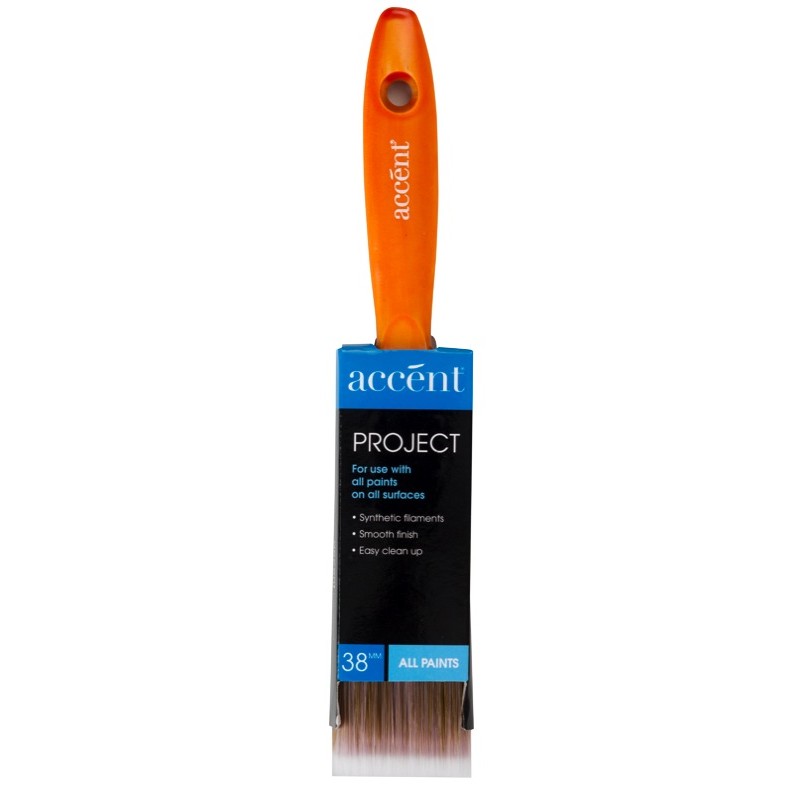
accent® Project Paint Brush: $5.35 - 38mm
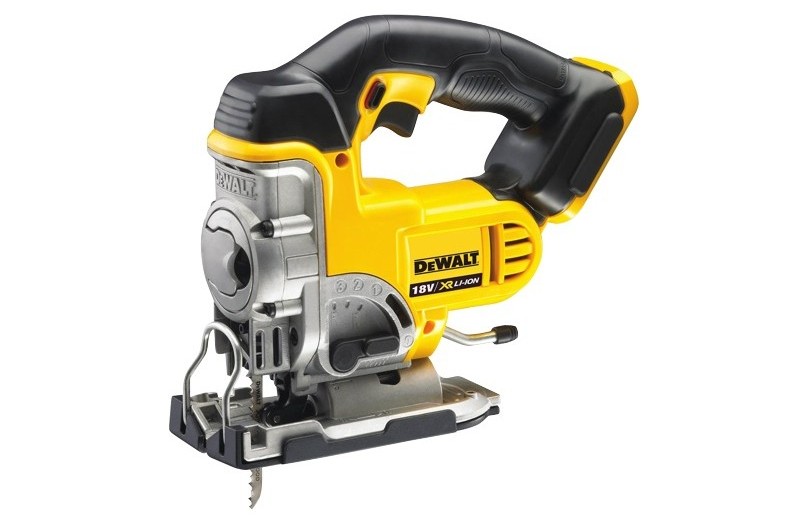
DeWalt 18V Li-Ion Jigsaw On Sale: $279.00 - 400W. DCS33IN-XE. (Battery and charger sold separately.)
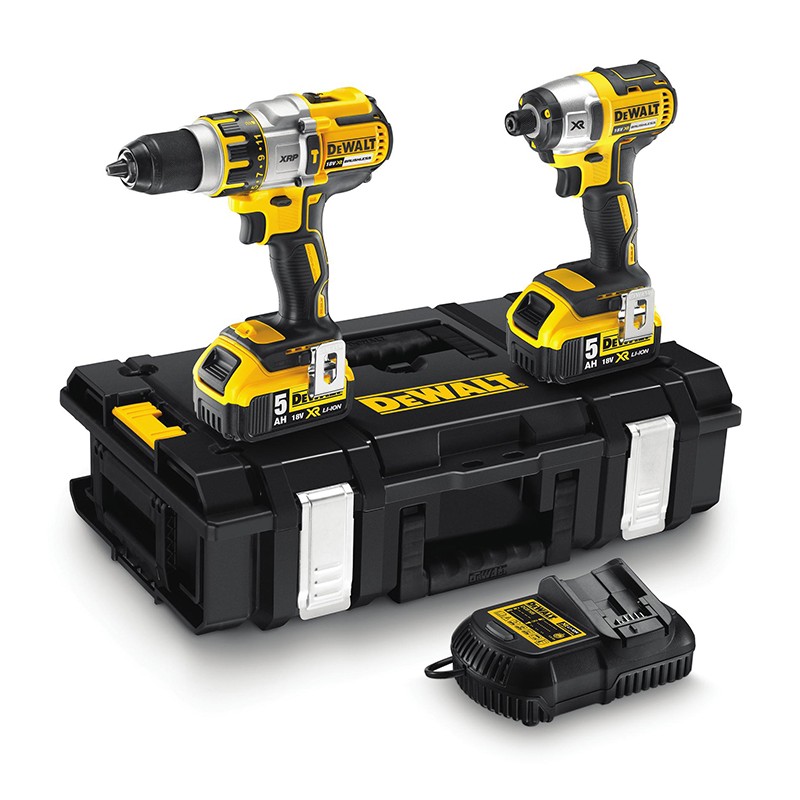
DeWalt 18V Brushless 2 Piece Drill Combo Kit: $847.00 - Includes DCD 995 XR Li-Ion XRP 3 speed hammer drill/ driver. DCF886 18V XR Li-Ion Impact driver. 2 x 5.0Ah Li-Ion batteries. Multi-voltage charger. Heavy duty tough system kit box.

Click on logo to visit Johnson Brothers Mitre 10 website
Johnson Bros Mitre 10 - Avalon (02) 9918 3315
Johnson Bros Mitre 10 - Mona Vale (02) 9999 3340
JBH Timber & Building Supplies (02) 9999 0333
JBH Fencing & Landscape Supplies (02) 9970 6333