DIY Dolls House Or Garage Or Boatshed
In a few weeks the July school holidays commence (July 1 to 17) and little hands will want to do something creative. This idea can be adopted for both girls and boys, becoming a boatshed or a garage in the case for lads, probably just one storey needed there instead of the two storey versions girls may like.
We provide a few simple alternatives, two using wood and another using a bookshelf, which older brothers and sisters could also get involved with, especially if studying woodwork. As in the case of everything, using good solid woods and attention to detail will mean you’re building something that will last and can be handed on to another generation of youngsters to enjoy. Priming wood, adding a few coats of paint to keep the doll house/boatshed easy to clean and using quality fastenings will also add longevity.
Once the structure is built getting those you’re building it for involved in decorating and painting the outside or inside with fancy designs puts their stamp on it !
Johnson Brothers Mitre 10’s current catalogue features end of financial year savings with a Tax Time Tool blitz - available online here. Sale items featured for this project, plus a few you may not want to miss, are from the catalogue and available until June 30th. For timbers to use, ask Johnsoson Brothers Mitre 10 Hardware friendly trained staff for what they suggest will last and be child-friendly.
Tools you will need:
jigsaw
drill
rasp
paint brushes
screwdriver
caulking compound gun / glue gun
chisel
mallet
sharp knife (Stanley knife) and extra blades
drill and drill bits
set square
wood clamps

HEAVY DUTY EXTENSION LEAD: $18.00 25m. 2400W
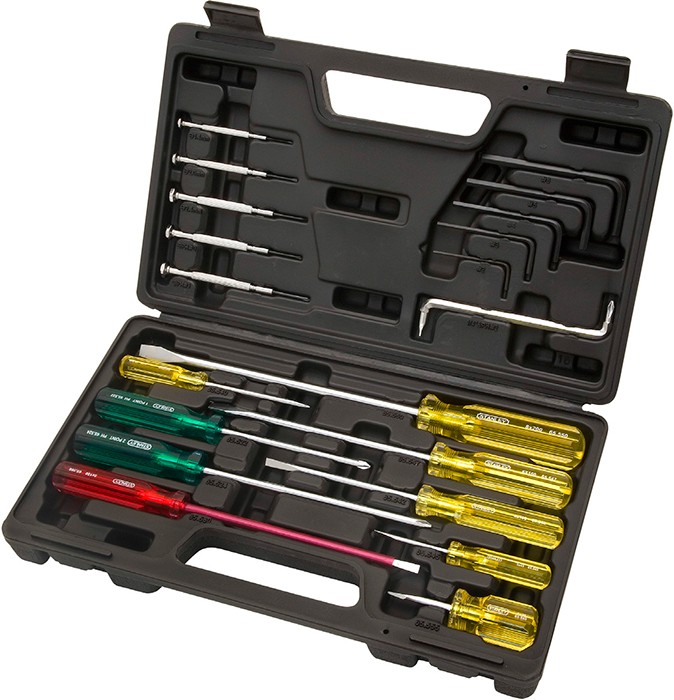
STANLEY SCREWDRIVER & HEX SET: $29.00
20pce. Includes 9 screwdrivers, 5 hex keys, 5 precision screwdrivers and offset. Chrome vanadium steel
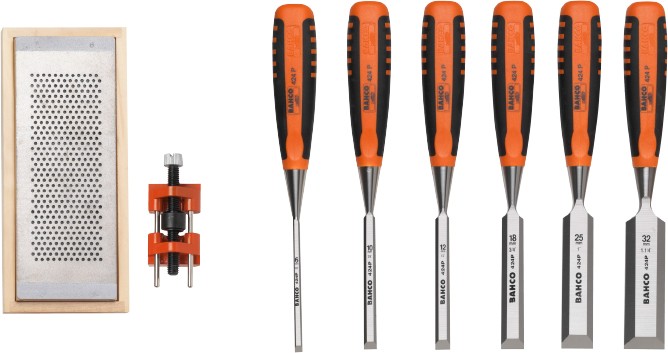
BAHCO CHISEL SET: $179.00
8pce. Includes 6mm, 10mm, 12mm, 18mm, 25mm and 32mm chisels, honing guide and sharpening stone.
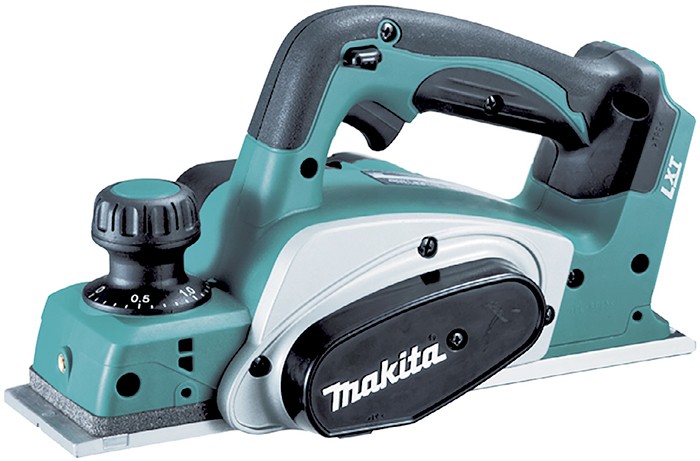
MAKITA 18V LI-ION PLANER: $299.00
82mm. Planing depth 2mm

DEWALT 18V LI-ION 2PCE KIT: $399.00
Includes brushed hammer drill driver and impact driver, 2 x 18V batteries, charger and carry case
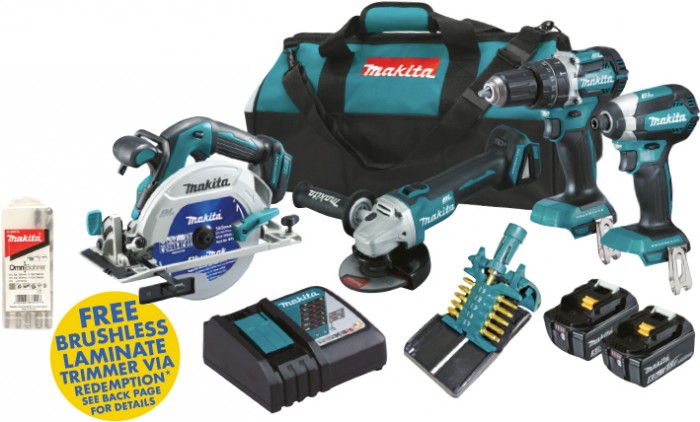
MAKITA 18V LI-ION 4PCE BRUSHLESS KIT: $1,049.00
FREE Brushless Laminate Trimmer via Redemption*
Includes hammer drill, impact driver, circular saw, angle grinder, 2 x 5.0Ah Li-Ion batteries, rapid charger, bag and bonus accessories
Last chance must end June 30. * Redemption website: Makita.com.au/redemption
Materials
Wood
Sandpaper
Wood glue
Hinges - L Brackets
Dowel
Paint
Using Traditional Materials
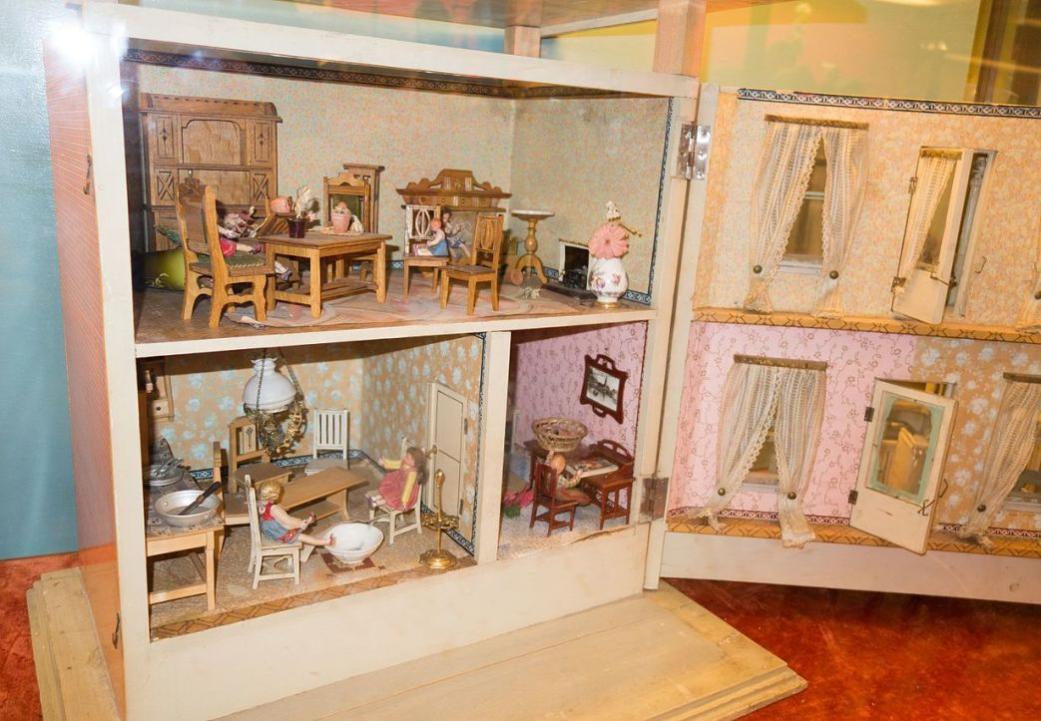
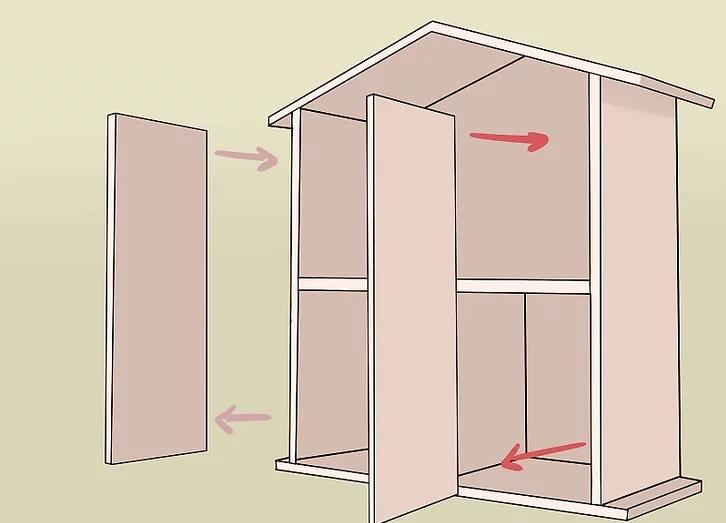
This is a traditional style dollhouse. The instructions can easily be shifted to accommodate any size of doll and house and only basic skills and tools are needed to make this house. Cut two pieces of wood to be the same size. These will be the sides of your house.
Measure how big in width you want the bottom of the doll house to be. Put the two already cut sides aside until you've got the size you want.
Put the major sides together. Put the bottom and top on the two sides together by nailing one piece into the other. Do this on both sides so that you have a box shape with no face or backing.
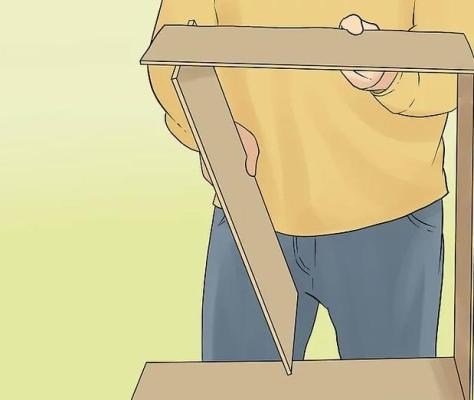
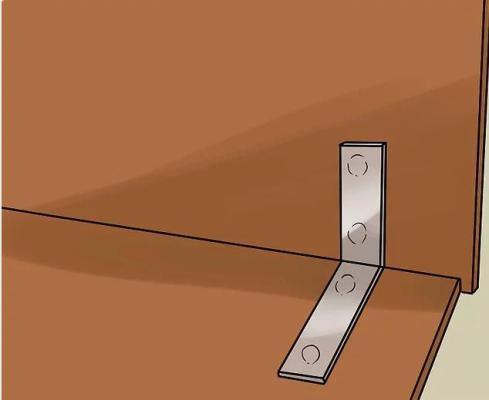
Cut your face out of the wood. Lay the box with the open face down on a piece of plywood. Trace and cut out the resulting shape and nail it into place as well. You can install L brackets at this point in order to make the house stronger.
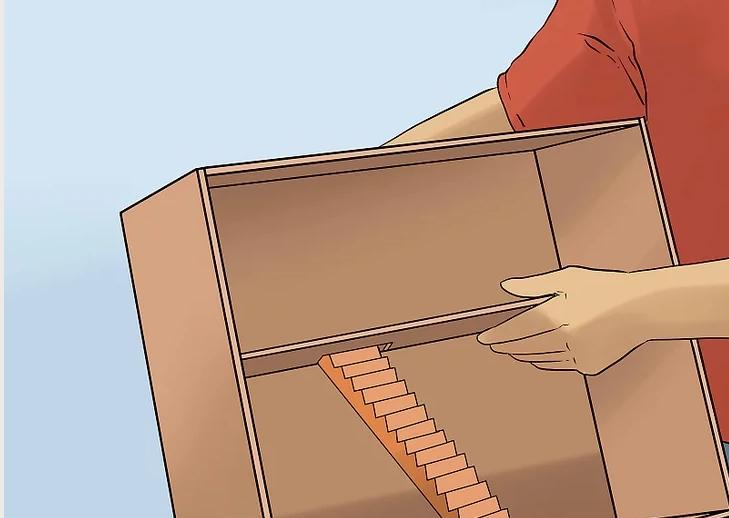
Cut a shelf piece to the width of the interior. Put this in the middle of the box. Be sure that there is a little hole in this shelf where you can put a ladder so the dolls can get up and down the stairs. Brace up the shelf using a supporting wall below, support "beams" cut from other pieces of wood, or more L brackets.
Decorate the walls. You may be able to use extra kitchen tiles for the floor if they are thin or create a mosaic from offcuts of tiles.
Paint - Move the dolls and furniture in!
Using Wood II
This style of dollhouse is great for dolls like Barbies or dolls of a similar or smaller size.
Materials
4 pieces of 19mm x 190mm lumber (at least 60cm long each
4 pieces of 30.48cm x 30.48 cm medium weight chipboard or similar material
A drill with a 2.54 bit
A hand, table, or jigsaw to make basic cuts in the wood
2.54 dowels (either a single stick or 8 single pieces)
Sandpaper
Wood glue
Paint and other materials to create the finished look
Cut your lumber. There are four starting pieces, though two will later be split and cut further. For now, cut all four to 61cm in length.
Drill the attachment points. Line up all four pieces and, using a measuring tape and pen, mark holes at 7.6cm and 15.24 cm from both ends along the narrow strip of the sides (only one side will need the holes). Be very sure that all the holes line up with each other. Each piece of wood should then have four marks. Drill a hole in the center of the side at each of the marks you made, using a 2.5 bit.
Trim the pieces. Leaving two of the pieces at 61cm take the remaining to boards, cut them in half, and then trim an extra 7.6 cm from the inside edges. You should now have two boards that are 61cm long and four boards that are 29.52 cm long.
Join the boards. Put some wood glue and a dowel in each of the holes on the 61cm pieces, one hole at a time. Let the glue set and dry and then glue the holes on one of the shorter pieces at a time. Fit the shorter pieces onto the dowels of the larger pieces, so that the trimmed edge is at the center of the larger piece. This should leave you with two final pieces of wood with a 7.6cm gap at the center of one half of each board and a total width of 35.56cm. Sandpaper the edges smooth.
Fit the walls together. These two pieces of wood fit together at these center gaps like a puzzle, the gap pointing up on one piece and down on the other. When together, they form the walls of four connected rooms. This means that you can take them apart whenever you need to and store the dollhouse away or take it with you when you travel.
Add finishing details. Paint or wallpaper the walls, cut doorways, or finish it in any other way you want to. Just remember to keep the directions of the wall straight and to not paint or glue anything in a way which permanently joins the two board together.
Connect your chipboard. The chipboard will make up the floor for the dollhouse, with each 30.48cm x 30.48 square being one of the four rooms. Paint or otherwise finish one side of each of the 4 pieces to match what you want the four rooms to be (bathroom, bedroom, kitchen, etc). When they are dry, arrange them into the order you want them (they must for a large square), then turn them over and tape them together on one side only - this will allow you to fold up and store the entire dollhouse out of the way.
Put the walls on the chip board floor and start filling the house with furniture.
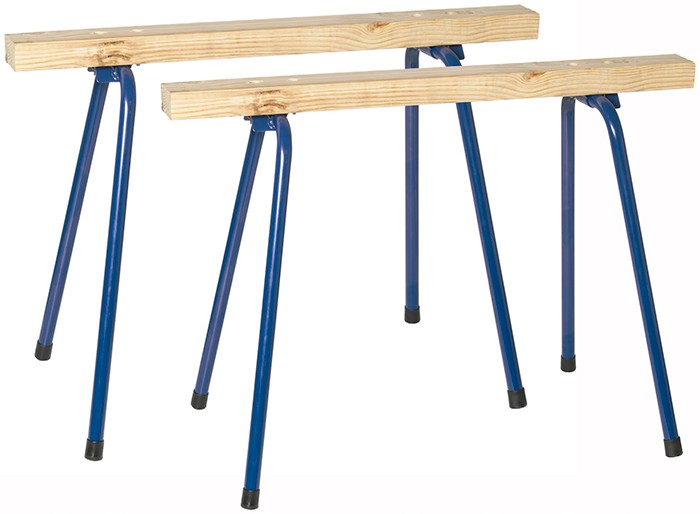
GEELONG SAW HORSE: $35.00
910(H) x 1000(W) x 630(D)mm. Pack of 2

STANLEY FATMAX HEAVY DUTY BOX LEVEL: $59.00
1200mm. Includes carry bag

BLUNDSTONE 992 ZIP/LACE UP SAFETY BOOTS: $175.00
Rubber sole heat resistant to 300°C. Steel toe cap. Assorted sizes available
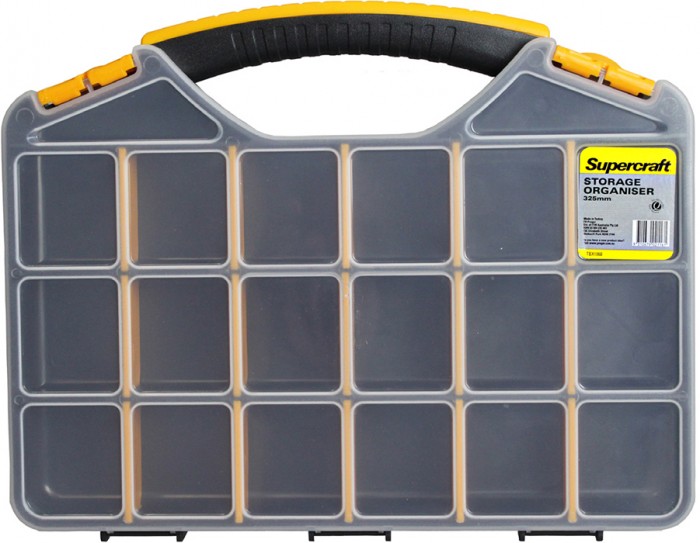
SUPERCRAFT STORAGE ORGANISER: $10.00
Also Available - 450mm: $15.00
325mm. Removable dividers

VICTA HAWK STEEL LAWN MOWER: $359.00
4-stroke. 16” steel chassis

VICTA HAWK LAWN MOWER: $429.00
18". Briggs and Stratton 550E series engine. 2 swing back blades
Using a Bookshelf
This version is a great way to renew and revitalise that bookshelf or adapt one or build one! If you have little boys instead of little girls – how about making this a garage or a boatshed!
Build or buy a deep bookshelf. Find a wooden bookshelf with deep shelves. A shorter shelf, roughly 8.9 cm or 10cm bookshelf is preferable. A larger shelf will need to be secured against a wall so the ‘house’ is safe to play with.
Adjust the shelves. Adjust the shelves at the correct height to create "rooms" which are about 50cm tall. If you have a double-wide bookshelf at the suggested height, this should give your dollhouse 4 rooms.
If using a bookshelf already built and the shelves cannot be adjusted to the desired height, you can add extra peg holes for the correct height or brace the shelf at the desired height with L brackets.
Add windows if you want them. Use a jigsaw to cut windows from the back or sides of the bookshelf. Sand down any cut edges to avoid injuries for your child.
Consider adding a roof. You can fashion a roof to go on top of the bookshelf by using the Pythagorean theorem and cutting two wooden boards joined with a 45 degree mitered edge at the center so that they form a peak.
Decorate the floors. Use extra floor tiles, carpeting squares, or any other material you want to make the floors of the rooms look how you want them to look.
Decorate the walls. Add wallpaper, paint, or tile to make the walls of each room match the floors and complete the look for that room.
Once everything is dry and ready to go, you can add in your furniture and enjoy your new dollhouse!
These are fairly basic versions - you can go bigger or smaller or more elaborate or simpler. Built sturdily these will provide hours and years of enjoyment and are the kinds of toys children never forget.
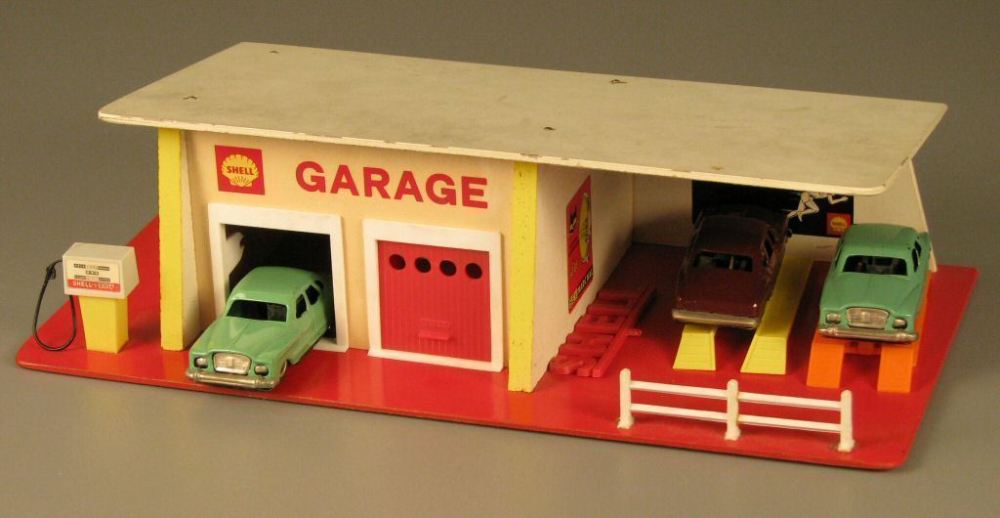
Antique Shell Garage - image courtesy the National Museum of Play
Queen Mary’s Doll House
For youngsters looking at this page and dreaming up how they will decorate their doll's house, boatshed or garage - here's one quite famous doll's house while yours is being built.
You can explore Queen Mary’s Doll House onlline here:
A report in a journal from the year it was completed:
THE QUEENS DOLLS' HOUSE.
THIS wonderful palace, 5ft. high to the top of the parapet, 8ft. 6in. long, 5ft. deep, has been constructed as a monument to future years of what a great house of 1924 might be like. It will be on view at the Wembley Park Exhibition. We say "might be like," for no one would be able to have such a marvellous company of artists and craftsmen work for him in reality (says the "Illustrated London News"). The scale is one inch to a foot, and so perfectly is the scale maintained that from photographs it is impossible to realise that the rooms and their furniture are not-toll sized.
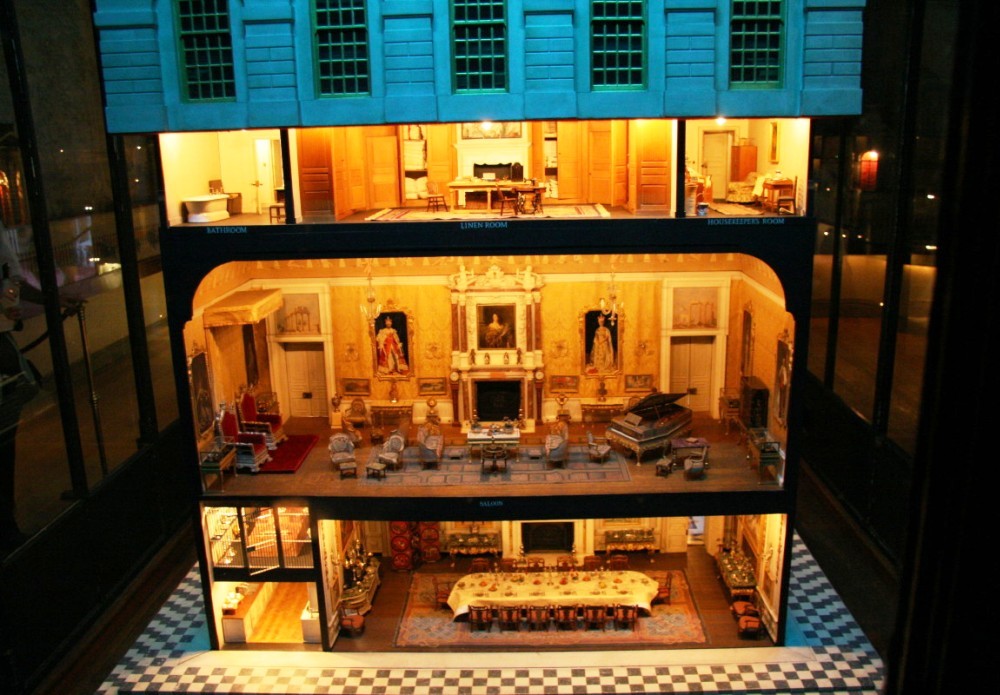
The outside walls of the palace are made to rise so that every room can be perfectly seen. The garden, with every sort of flower —even with a fairy-ring of toadstools one-eighth of an inch high, folds up like a writing-desk and slides into the basement, just as the garage (containing Rolls Royce, Daimler, Sunbeam, and Vauxhall cars) does at the other end. The centre of the main front is taken up with the great staircase hall, thirty-one inches broad; the paving is of marble lapis lazuli, and the walls are painted by William Nicholson, in blue and white, with "The Expulsion from Eden," a picture in which all the animals are seen present at the disgrace of Adam and Eve. A lift with external control is held by many to be the most marvellous contrivance in the palace.
The Queen's bedroom, with a black, red, and yellow ceiling by Glyn Philpot, A.R.A., is only twenty-two inches high, yet its grey silk hangings and bed, walnut furniture, carpet, and even the blue enamelled toilet-set and the photograph of the King, are all perfect. The King's bathroom is in white and dark-green marble, and has every toilet convenience. A different kind of perfection is seen in the dining room, the ceiling of which is by Professor Gerald Moira; there is a portrait group of Queen Victoria and the Prince Consort with their children, by M'Evoy; While Munnings' portrait of the Prince of Wales out hunting hangs above the chimney piece.
With a table just 10 inches long, and equipped to the smallest details, including saucepans and jars, rolling-pin, egg-cups, and egg whisk : The kitchen in the Queen's dolls' house. Every detail, down to the saltcellars and rolls on the table, is complete.
The library, twenty-eight inches high, is wainscotted in walnut; the books are bound in red or grey leather, and many of them are written in manuscript by the authors themselves. There are books here by Rudyard Kipling, Robert Bridges, John Galsworthy, John Masefieid, Ian Hay, Hugh Walpole, W. W. Jacobs—in fact, it is a collection at the best modern authors. On one table are writing materials, including a fountain-pen half an inch long; on another are pipes and tobacco. On a third table lie the despatch cases of all the Ministers of State. The ceiling is by William Walcot.
The nursery, painted by Edmund Dulac with fairy stories, is eight inches high, and contains every toy a child could want, including lead soldiers the aim of mosquitoes, a toy train, a model theatre, and a scooter. The ordinary bedroom…. inches wide and eight inches high, each completely furnished down to tooth-thrushes threequarters of an inch for these.
There are four bathrooms, a box-room (eight by ten inches), a strong-room with the crowns and sceptres (set with tiny little jewels), and a housemaid's closet, with sinks and Dutch tiles, each one half an inch square. Underneath are store-rooms and wine-cellars, with cases of real Johnnie Walker, and dozens of real claret and champagne, bottled and binned; In the storerooms are chocolate-boxes, soap, and pots of genuine jam and marmalade.
Electric light is fitted to every room, and—what is more-it works!
Sir Edwin Lutyens, the architect of the Cenotaph, designed the House and all its rooms, and a multitude of famous firms have contributed to its furnishing and decoration.
Her Majesty the Queen, to whom the house will be presented, has supervised its furnishing, and has given many objects herself. The proceeds of the exhibition are to go to charity, and eventually, no doubt, this marvellous miniature building will be enshrined in a museum as a perfect house of 1924, the year of the Empire Exhibition.
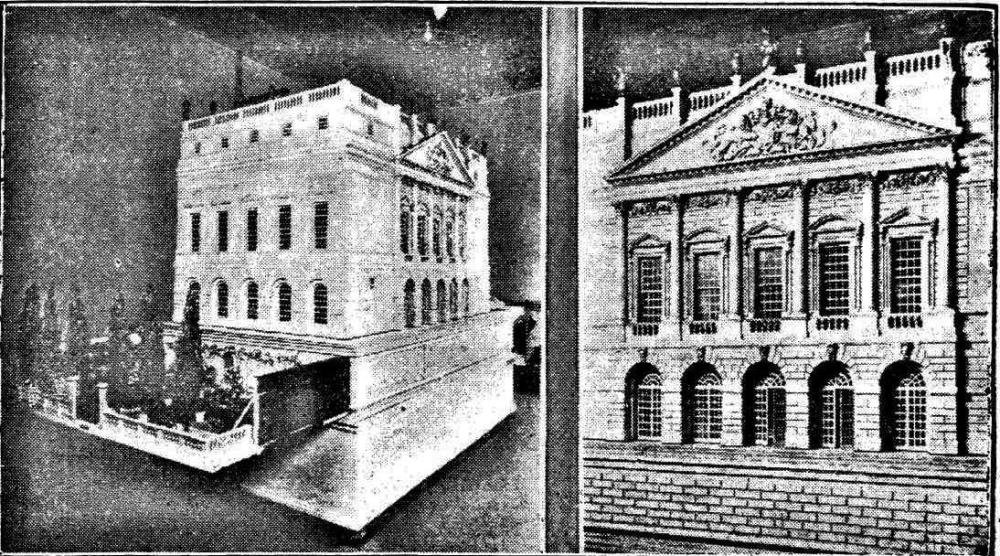
Showing how the garden can be folded over in front and pushed back into the basement: The Queen's dolls' house (8 ½ ft. long 5ft. high, and 5ft. deep).a general view of the building. With a balcony like that of Buckingham Palace, the Royal Arms above and carved, heads over the windows. The main, THE QUEEN'S DOLLS' HOUSE. (1924, March 29). The World's News (Sydney, NSW : 1901 - 1955), p. 13. Retrieved from http://nla.gov.au/nla.news-article130611266
Queen Mary's Dolls' house – photo courtesy Rob Sangster - originally posted to Flickr as Queen Mary's doll house at Windsor Castle
Queen Mary's Dolls' House is a doll's house built in the early 1920s, completed in 1924, for Queen Mary, the wife of King George V. The idea for building it originally came from the Queen's cousin, Princess Marie Louise, who discussed her idea with one of the top architects of the time, Sir Edwin Lutyens, at the Royal Academy Summer Exhibition of 1921. Sir Edwin agreed to construct the dolls' house and began preparations. Princess Marie Louise had many connections in the arts and arranged for the top artists and craftsmen of the time to contribute their special abilities to the house. As a result, the dolls' house has an amazing collection of miniature items that actually work: "There are shotguns that 'break and load' (and may even fire), monogrammed linens, ... 'electricity and lifts, a garage of cars with engines that run.'" It even has running water through its tiny pipes. It was created as a gift to Queen Mary from the people, and to serve as an historical document on how a royal family might have lived during that period in England.
It showcased the very finest and most modern goods of the period. Later the dolls' house was put on display to raise funds for the Queen's charities. It was originally exhibited at the British Empire Exhibition, 1924–1925, where more than 1.6 million people came to view it, and is now on display in Windsor Castle, at Windsor, Berkshire, England, as a tourist attraction, especially to people with an interest in miniature houses, furniture, and carpets.
It was made to a scale of 1:12 (one inch to one foot), is over three feet tall, and contains models of products of well-known companies of the time. It is remarkable for its detail and the detail of the objects within it, many of which are 1/12 replicas of items in Windsor Castle. These were either made by the companies themselves, or by specialist modelmakers, such as Twining Models of Northampton, England. The carpets, curtains and furnishings are all copies of the real thing, and even the light fittings are working. The bathrooms are fully plumbed, with a flushable toilet and miniature lavatory paper.
In addition, well-known writers wrote special books for the house's library, which were bound in scale size by Sangorski & Sutcliffe. Sir Arthur Conan Doyle contributed the short story "How Watson Learned the Trick", and the ghost-story writer M. R. James wrote "The Haunted Dolls' House". A. A. Milne contributed "Vespers." Other authors included J. M. Barrie, Thomas Hardy, Rudyard Kipling and W. Somerset Maugham. Painters, including Eli Marsden Wilson, also provided miniature pictures. Even the bottles in the wine cellar were filled with the appropriate wines and spirits, and the wheels of motor vehicles were properly spoked. Queen Mary's purchases brought media attention to specialist furnishers such as Dorothy Rogers, who created needlework miniature carpets for the house. Even viewing a high quality photo of the interior will not reveal it is in fact a collection of miniatures.
There is a hidden garden revealed only when a vast drawer is pulled out from beneath the main building. This has replicas of greenery and garden implements and follows a traditional ornamental garden theme. Queen Mary's Dolls' House. (2017, May 16). In Wikipedia, The Free Encyclopedia. Retrieved from https://en.wikipedia.org/w/index.php?title=Queen_Mary%27s_Dolls%27_House&oldid=780650608


Click on logo to visit Johnson Brothers Mitre 10 website
Johnson Bros Mitre 10 - Avalon (02) 9918 3315
Johnson Bros Mitre 10 - Mona Vale (02) 9999 3340
JBH Timber & Building Supplies (02) 9999 0333
JBH Fencing & Landscape Supplies (02) 9970 6333
www.johnsonbros.com.au Online store: jbhmv.com.au