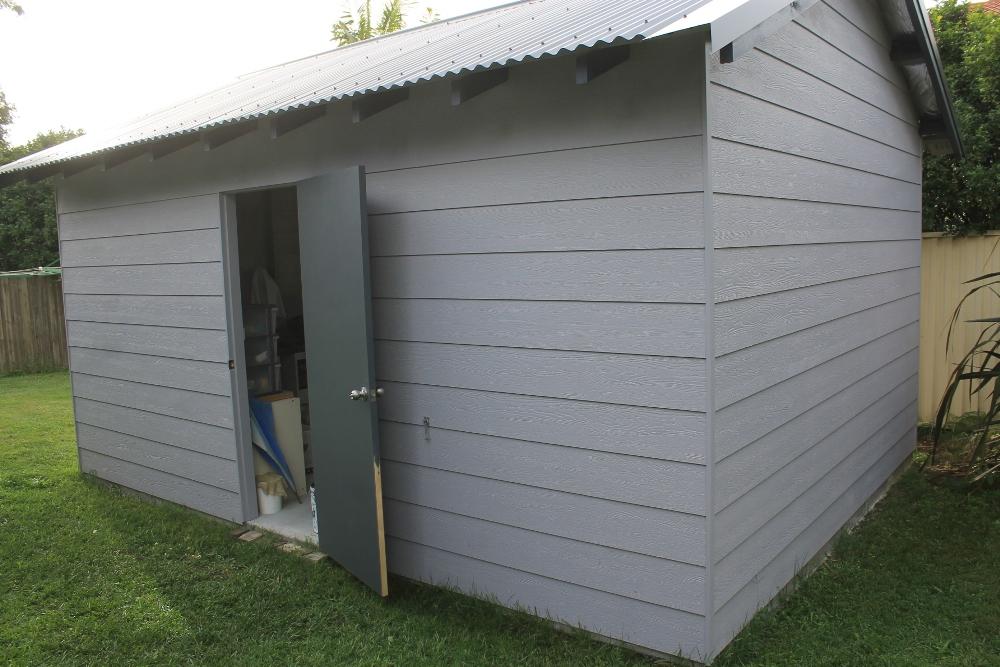
Backyard shed – Artists Studio
Approx: less than 10k if do labour bulk of work by self
Part 2b: Gable Roof Framing
1. formwork/concrete slab/pour
2. form up frame - order window (lead time approx. six weeks).: Part 2a
3. roof (has one clearer sheet to allow light in naturally – but you could use the skylight option here too) + guttering and rainwater tank.
4. install walls – and paint.
After your concrete slab and wall framing is installed the next step is Framing for your roof.
Gable roofs look spectacular and are a lot easier to construct than some rooves where the framing can get a bit complicated.
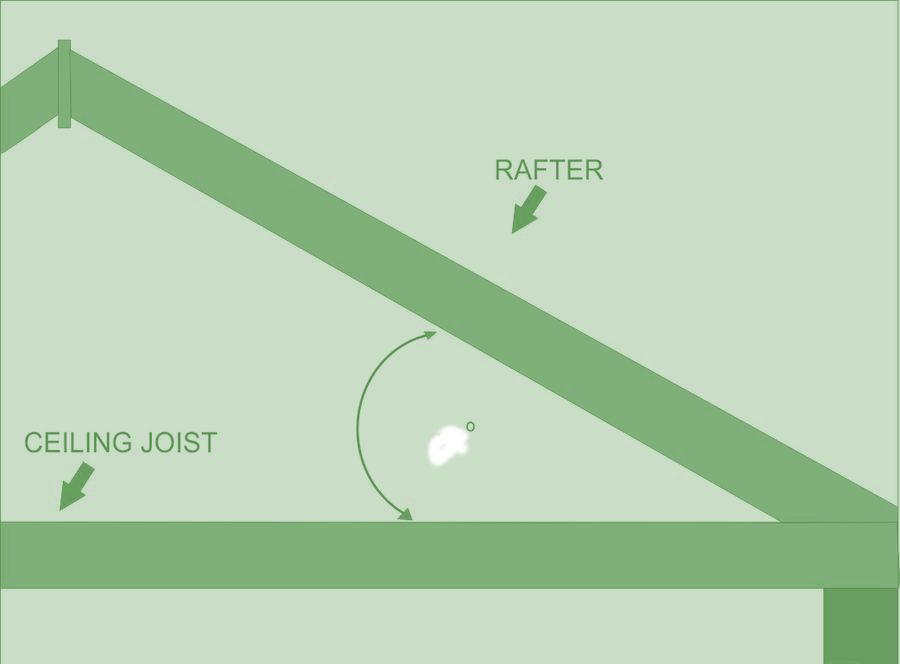
The basic theory and parts of a Gable Roof are a ridge board, gable studs, and common rafters. A gable roof slopes downward in two directions, like two right triangles joined together at the vertical line of the triangle. The ridge board runs along the peak of the roof parallel to the outside walls. The top of the common rafters are nailed to the ridge board and slope downwards to the outside walls where they are nailed to the ceiling joists and the outside walls. All of the common rafters are the same size and length for each span and roof pitch.
The ridge board used here was the rougher header - always use a a timber size one larger than you will for rafters for your ridge board.
The pitch on the gable roof shown here is 22.5 degrees. The cut Roof Rafters are at 600 Centres (spacings between these) at 22.5 pitch – gable end roof. The 'pitch'
There is a 350mm Eave (this is the extension or part of the roof that overhangs the walls of the building. This, along with the slope pitch of the roof, directs rainfall away from the structure.
You will need to construct a scaffold to work at this height and have a few extra pair of hands - not just for safety but some of these rafters and the ridge board.
Working out how much timber you need for Roof framing
Roof 2 x 10 at 1.2 metre rafters on either side of the main beam (called a rougher header) PLUS a . 350mm Eave for the Gable Ends. The Rafters are at 600 Centres and at a 22.5 pitch. PLUS the structural beams you see running the length of the shed roof in the photos below. These are all the same length as the longways wall side and remain inside the structure - 4 x 4 metres + centre header.
Rafters: 20 x 1.7m (allow for wastage and to cut at an angle and for the eave).
Structural Beams: 4 x 4 metres (Ceiling Joists 4 x 2m) + centre header (Ridge Board).
Preparation - Measure Twice and Cut Once
Before laying out the ridge board make sure it is square on both ends. Mark out the gable end overhang and take the ridge board down to slightly less than the width of the facia so it won't interfere with the soffit when it is installed. The gable end rafter should be laid out on the inside of the end wall so the gable studs (or top plates - the 7 upright wood lengths you see above the wall frame) can be nailed to it without notching the studs to fit.
The length of the rafters depends on the rise (height) of the roof and how far past the walls you want the rafters to extend. This shed is 2.4metres x 4 metres (see steps 1 and 2 via links above).
Measure and cut your rafters. Lay out the rest of the rafters so they can be attached to the ridge board at intervals of 600mm and sit on top of the walls and theceiling joists so the rafters can be nailed along the side. Mark these with pencil crosses on your ridge board prior to lifting it into place - this Preparation will make it easier once you're working on a scaffold.
Use a miter box or miter saw to cut the rafter boards so you can attach them to the ridge board at the correct angle. Create a triangular notch in the rafters at the place where they will rest on the top of the walls.
Miter the tail end (the end that extends past the wall) so the rafters will come to a point.
Measure and cut your joists - remember the placement of these must allow for the clear perspex roof sheet.
Measure and cut the gable studs - x 7 to 22.5 pitch.
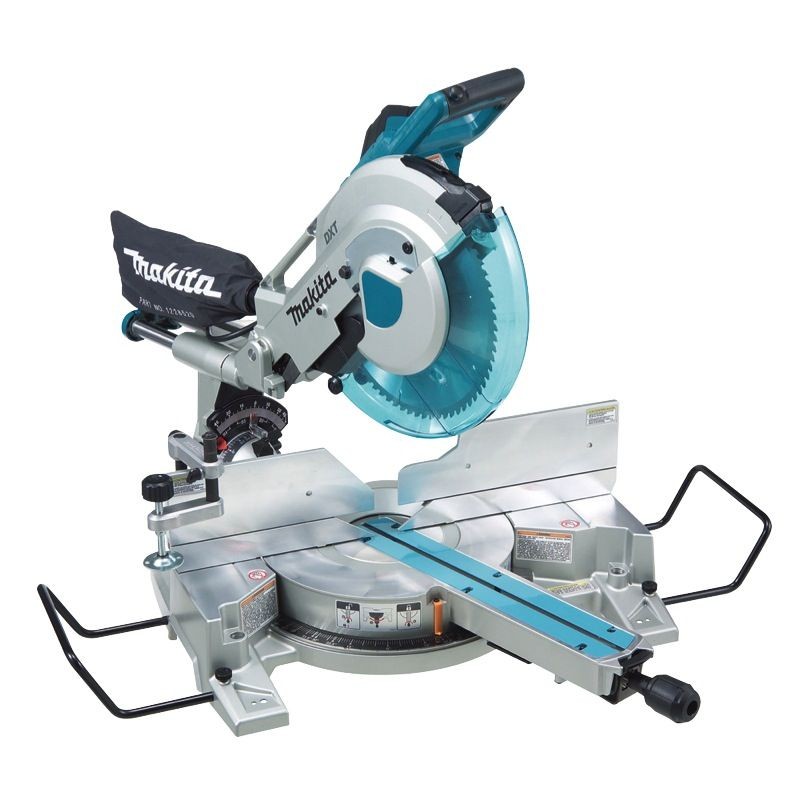
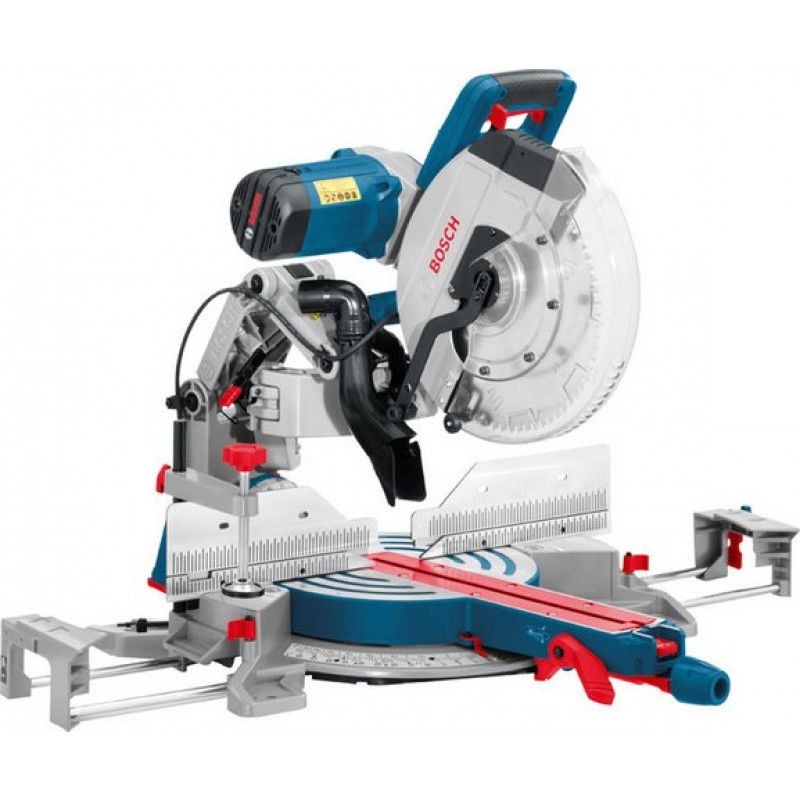
MAKITA SLIDE COMPOUND MITRE SAW: on Sale $1,239.00 - 260mm. Capable of diagonal cutting up to 168mm crown moulding and vertical cutting up to 120mm baseboard. Mitre range of 60° right and 52° left. 1 year warranty. LS1016.
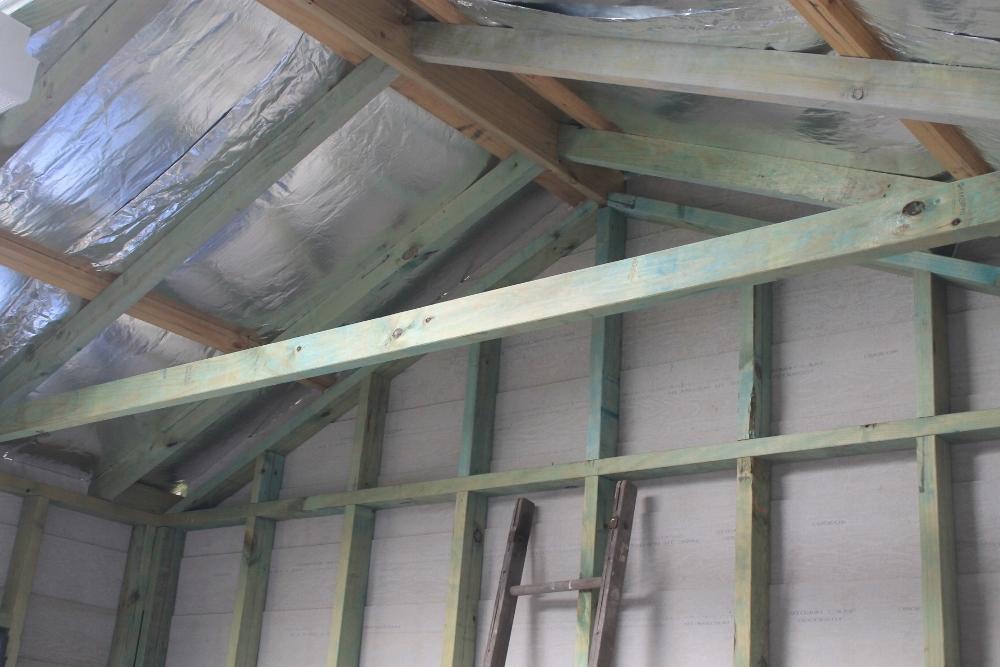
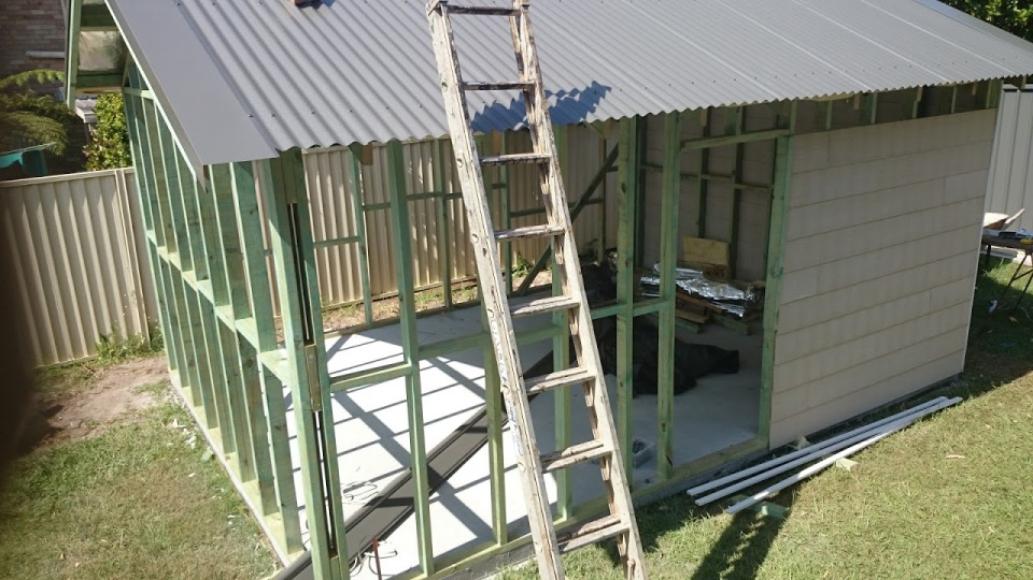
Roof framing - interior view - this shows the ridge board below sisalation paper - which will form part of No.3.

View of the other end of the shed showing Gable roof framing interior with the Rafters and joists
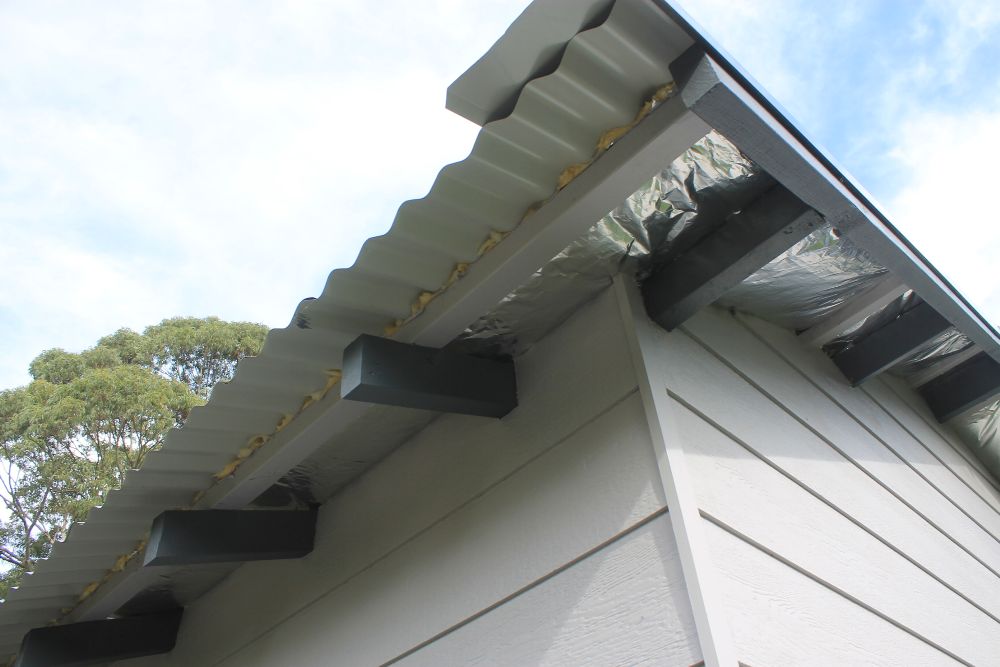
Gable end roof rafters - exteriors
Install Gable Studs
Install the Center Gable stud and check the pitch using two of your rafters. Install the other uprights.
Installing the Rafters and Ridge Board
Begin at one end in from the gable wall with one helper in the center and one on the outside wall. Pull up a rafter one layout mark in from the gable end and hand it up to the man in the center. Hold the top of the rafter near where it will go and with the back tight to the outside wall nail it down to the top plate. Don't nail the rafter to the ceiling joist yet. Move to the other side and do the same thing with the opposing rafter.
Once the bottom of the opposing rafters are nailed to the top plate they will rest against each other and support themselves. Leave one helper there to balance them.
Move down to one rafter in from the end of the ridge board and repeat the process.
Then you are ready to slide the ridge board in between the two sets of rafters from underneath and nail the rafters on the correct layout marks. It is often easier to tap a nail in the top of the rafter to hold it in place.
To square up the ridge board with the ceiling joists, have one helper steady the ridge at its approximate position. Measure, cut, and install the center gable stud between the top of the gable wall and the bottom of the ridge board.
Plumb up the gable stud and nail on a brace to hold the ridge square, take care not to place it where a rafter will eventually go. After the ridge has been braced you can now spike the four rafters to the ceiling joists.
After the first ridge board has been set and braced in place continue setting the remaining ridge until the other end of the building is reached.
With the splice block you can just nail the end of the second ridge to the first and slide the other end up between two common rafters to set the height. Once the other end of the building is reached you will need to cut the far end of the ridge to match the overhang.
After all of the ridge board is up you can place the rest of the rafters. To keep the ridge board straight put two rafters on one side and then two on the opposing side, nailing them to the top plate, ceiling joists, and ridge as you go.
Once all are in place ensure those you 'tacked' on are firmly nailed on and to the ridge board.
If yo want extra strength added to the rafters of the gable roof install a 'collar tie' further up the rafter boards near the roof peak. This is a length of timber nailed to the opposing rafters that will add extra strength - good if you're in a high wind zone.

DEWALT 18V LI-ION 2 SPEED FRAMING NAILER - $899.00 Brushless motor technology. 2 x 5.0Ah XR Li-Ion battery packs. Includes heavy-duty carry case.
The Roof framing is now up and you are ready to Install the roof sheets, insulation and/or sisilation - Step 3
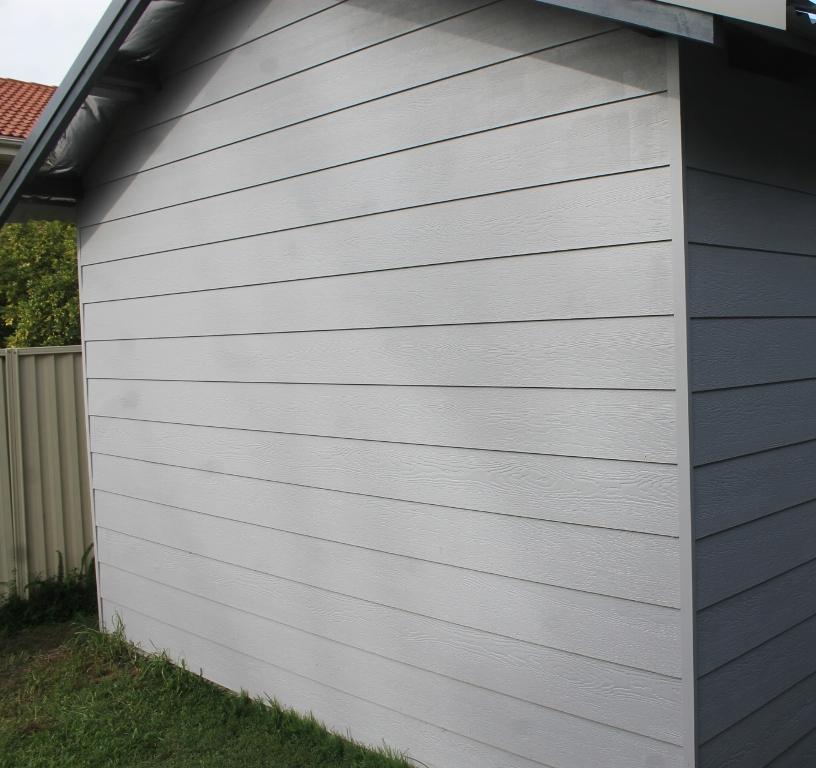
Ends of lengthway sides of shed gable ends
Materials and Tools List
Apart from the timber required for the walls you will need concrete screws for the Base board, nails for the framing
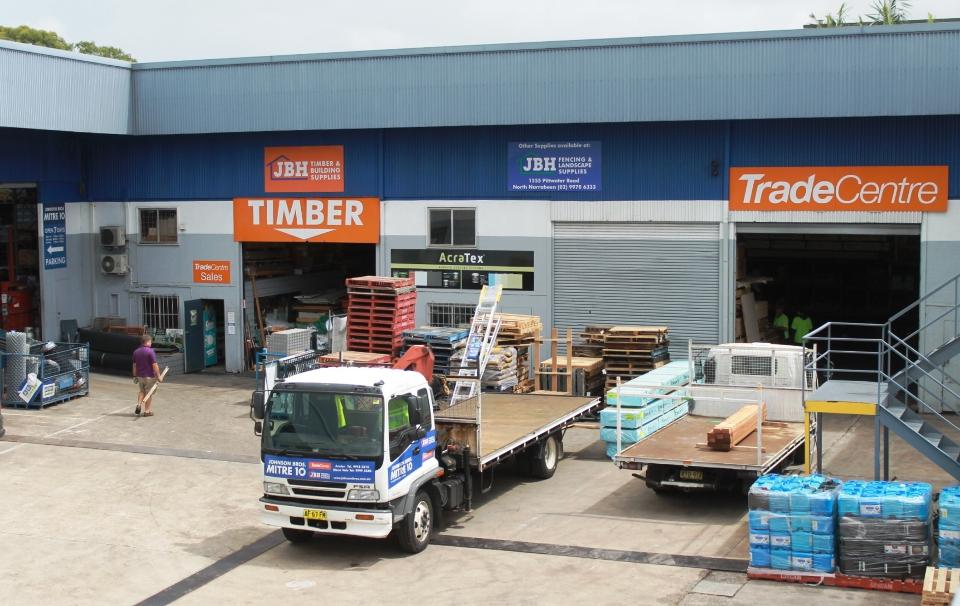
The sale items and other tools featured on this page, as building your shed will be much easier and you will finish with a better result when you use the right high quality tools, are all sourced from Johnson Brothers - Mitre 10 current promotions.
All Johnson Brothers- Mitre 10 outlets have trained staff on hand to help - visit Narrabeen for Garden and Fencing, Mona Vale for Timber and both Mona Vale and Avalon for every hardware and paint item you may need.
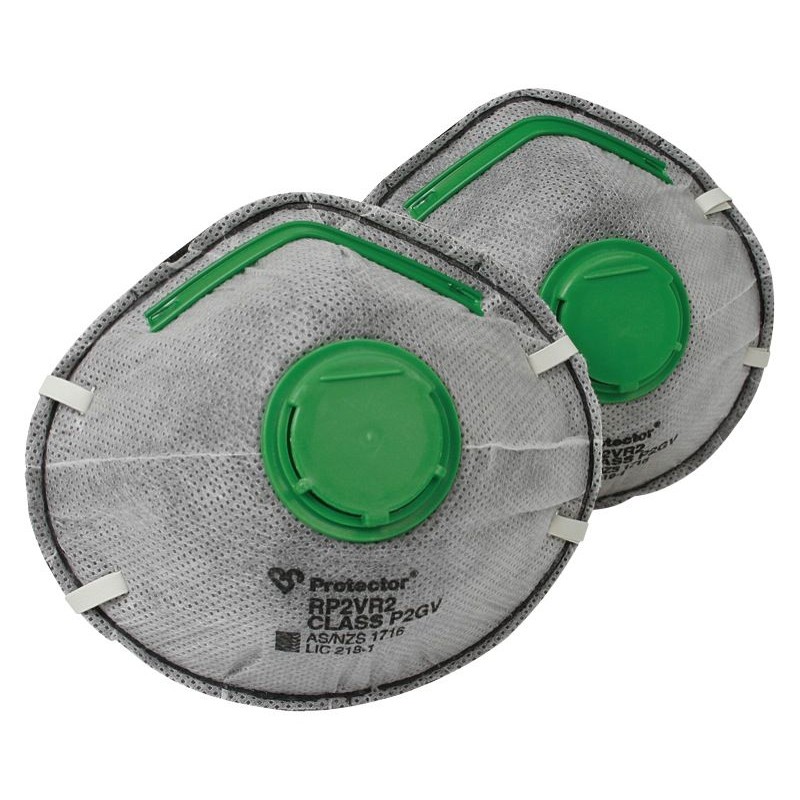
PROTECTOR MULTI MATE RESPIRATORS - On Sale: $9.00 - P2 rating for protection against dust, mists and fumes. Pack of 2.

PROTECTOR HIGH PERFORMANCE EARMUFFS - On Sale $ 25.00: 29dB. Suitable for use with chainsaws and ride-on lawn mowers. High impact acoustic cups.


Click on logo to visit Johnson Brothers Mitre 10 website
Johnson Bros Mitre 10 - Avalon (02) 9918 3315
Johnson Bros Mitre 10 - Mona Vale (02) 9999 3340
JBH Timber & Building Supplies (02) 9999 0333
JBH Fencing & Landscape Supplies (02) 9970 6333