DIY Summer Projects: Install A Fountain Or Water Feature
Beating the heat and humidity becomes a priority towards the end of Summer and during February when some of the hottest days of the year rise over the horizon. With so many green patches and stands of trees attracting local birdlife and fauna, people place dishes of water out to provide relief for these other inhabitants during those high 30’s and early 40’s days.
One way to do both and have the soothing sounds of water as part of that background of cicada song is to install a fountain or water feature.
Ahh, the Serenity!
Installing a fountain can involve as much or as little work as you want. You can work from a kit that assembles all the components for you or choose something you just have to have and adapt it. With so many beautiful fountains and water features available you can choose something that suits your taste and your garden or verandah area.
The products featured in this page are from the current Get Stuck Into Summer Johnson Brothers Mitre 10 sales brochure and found in-store at their Narrabeen, Mona Vale and Avalon outlets.
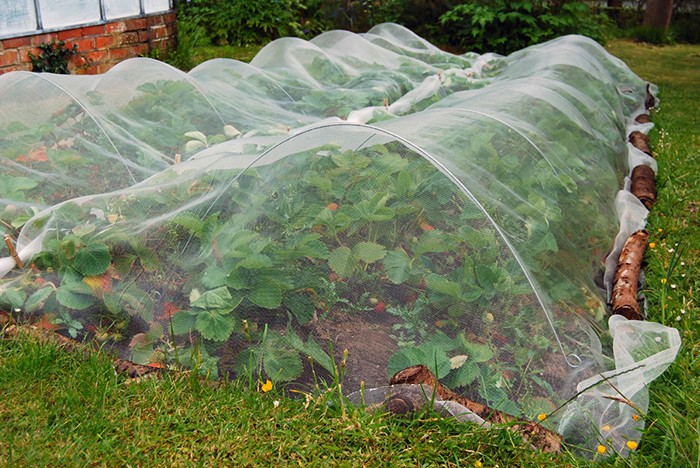
BIRD SAFE NETTING: $6.95
2.5m x 2.5m. 5mm. Also available - 4m x 4m: $15.00, 4m x 10m: $29.00 , 4m x 25m: $69.00, 10m x 10m: $69.00
Location
Different fountains work best in different places -- tables, walls, floors, patios, gardens- so settle on a fountain or water feature at the appropriate scale for your setting. Think about materials that will coordinate with the rest of your current layout.
When choosing the location for your fountain, keep in mind that a fountain needs a power source. Some outdoor fountains have solar panels, others will need to be within reach of electricity. Outdoor fountains also need maintenance, so make sure you choose a relatively accessible spot.
Once you've set a fountain into the ground, it's not so easy to relocate it. Look at such elements as:
- Light and shadow
- Animal life (is your fountain going to receive a lot of "gifts" from the birds' above or is in the pathway of bandicoots?)
- Sun exposure, particularly if you have a solar-powered fountain
- Soil composition and settling
- Vegetation: do you want to plant around the fountain? What's already growing there?
Types of Fountains and Water Features
The smallest fountains are designed for tabletops. These units may be no larger than the basin of a bathroom sink. They're typically self-contained. Tabletop fountains are great options for small spaces and seem to lift that area too when the sound of flowing water becomes part of it.
Make sure there’s some sort of protection for a table surface -- a fountain can cause both water damage and nicks and scrapes. Also ascertain if the table or floor area/corner you will place it in is strong to support the weight – stone or ceramic water features, with water added, can be heavy.
Floor fountains are often freestanding. These models are designed for indoor or outdoor use. They're bigger and heavier than tabletop fountains, so again make sure the floor is sturdy enough to support such a weight.
Wall fountains are wall-mounted. That involves a whole other set of installation questions: What are your walls made of? Are they strong enough to hold up a fountain? Are you inviting water damage? If you can resolve these issues a wall fountain can add a dramatic cascade of water to your home or garden and not be something you have to dodge around during all those backyard cricket matches.
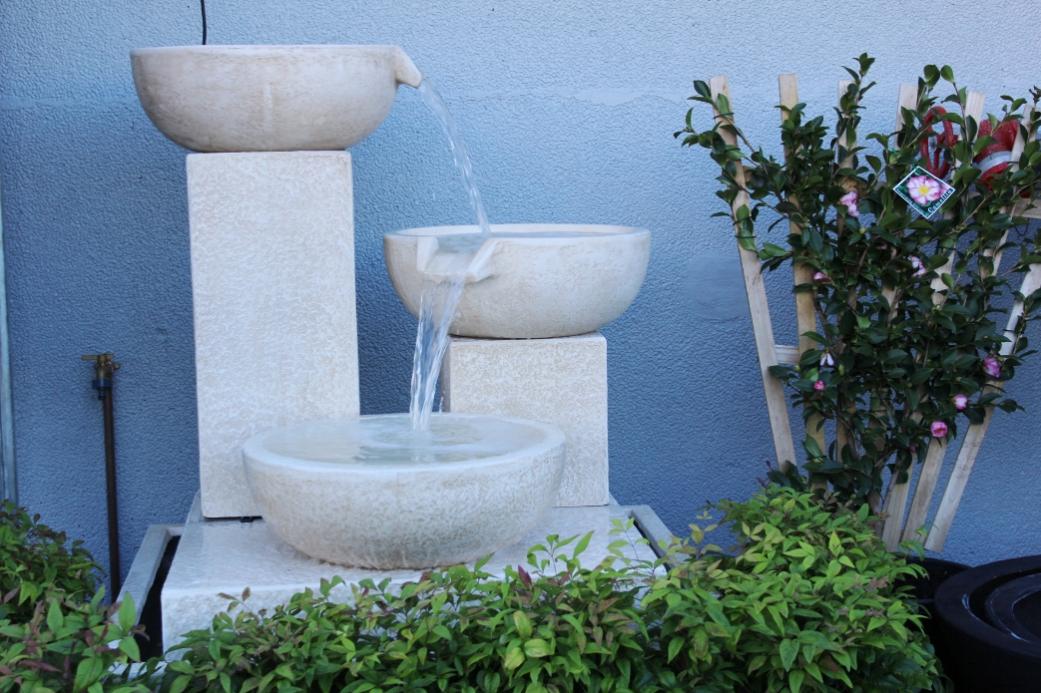
Garden fountains can range from traditional classical to modern series of bowls nestled into the ground or above it. Installing a garden fountain may require a small amount of excavation. You can go with a ready-made variety, or, for a bit more effort and not much expense, use the garden's natural topography to create a connected series of pools.
With garden fountains, think about the landscaping. Take into account overhanging trees or shrubs. If they shed leaves, you'll need to clean leaves from the fountain periodically to keep them from clogging the pump or decomposing. Even if there aren't any plants that may shed leaves you will still need to clean out the pump every so often.
Some fountains work more or less like a waterfall, but others use a spray jet to send an arc of water into the air. Aim the spray jet carefully, and make sure the surroundings are appropriate for such a fountain. Even if the water is landing where it should, in one of the fountain’s basins, a spray jet can create fine mist and extra evaporation that can damage porous materials over time.
Fountain Installation Plans
Most fountains have a reservoir, a basin in which water collects. Fountains work by gravity, so the reservoir is also typically the base. Assembling the fountain usually involves connecting a series of other basins to the reservoir and feeding a tube or pipe between the reservoir and the top basin.
The fountain has one or two motor-driven pumps. The pump goes in the reservoir, or, in a two-pump fountain, in the reservoir and the top basin. It may or may not be encased in a filter box, which -- just like the filter in a swimming pool -- helps keep out debris. You'll need to install the pump and connect it with a power source -- either an electrical cable or a solar panel. Don't turn the pump on until you've filled the fountain. Pumps aren't meant to circulate air, and they can be damaged by being run dry.
Most pumps use suction to circulate water through the fountain. You may need to experiment to find the appropriate pumping rate. If the pump is set too high, the fountain will splash (which can waste water, as well as damage the surrounding furniture, walls and flooring). If it's set too low, the fountain won't seem to circulate at all.
Before installing a wall fountain, you may want to have an electrician visit your house to install an outlet and a switch on the wall so the power cord will be behind the fountain, unseen, when it's installed.
Outdoor fountains can involve a plastic liner. Any fountain that requires digging or excavation needs to be treated like a pond: You have to contain and manage the water.
Fountain Installation Tools
The tools you need to install a fountain depend on what kind of fountain you're installing. With a kit tabletop fountain, you may need no more than scissors to open the package and a jug to fill the reservoir. With the other kinds of fountains, though, you'll want to have a bit more equipment on hand:
- Felt or cork pad to protect wooden tables or floors
- Saw (with a solar-powered fountain you may need to construct a simple post for the panel)
- Stud finder, for wall-mounted or wall-supported fountains
- Standard and Philips-head screwdrivers
- Power drill
- Socket wrench
- Level (vital when choosing a wall-mounted fountains)
- Tape measure
- Hammer (some wall-mounted fountains types can be hung alike pictures)
- Spade, (for excavating outdoor fountains and covering their pipelines)
- Gardening gloves
- Screws, nuts and bolts (in kits these will usually come with the fountain; if you're deviating from the manufacturer's setup you may need extra)
- Gravel, stone or cement blocks to stabilize an outdoor fountain
- Plastic Tubing (to feed to power source if installing an outdoors in-ground fountain or water feature)
- Epoxy or sealer to waterproof the basin
- A good and strong friend to help you lift the heavy components
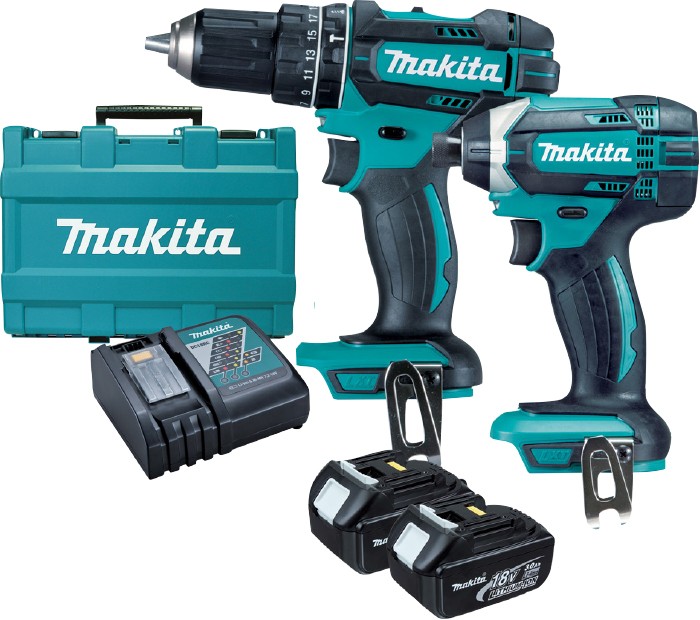
MAKITA 18V LXT LI-ION 2PCE KIT: $369.00
Includes hammer drill, impact driver and 2 x 3.0Ah batteries with rapid charger.
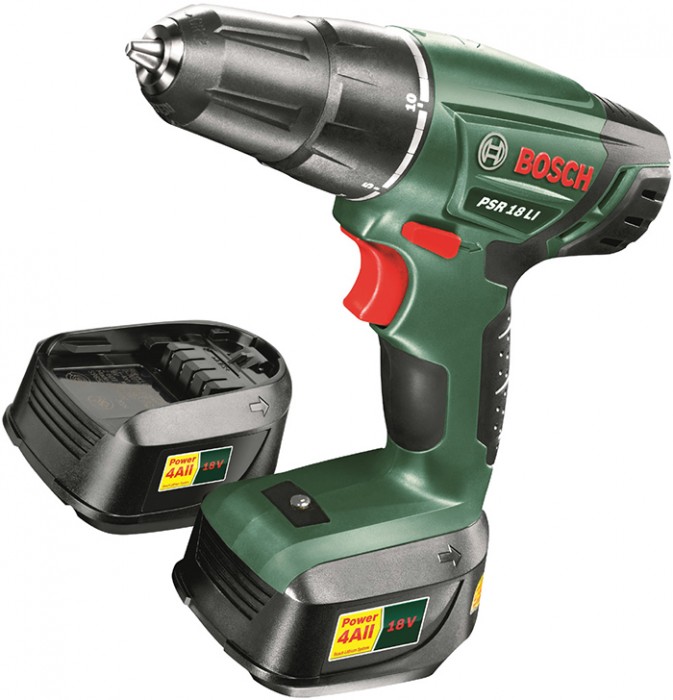
BOSCH 18V LI-ION DRILL DRIVER: $148.00
1 speed. Includes 2 x 18V Li-Ion batteries and charger.
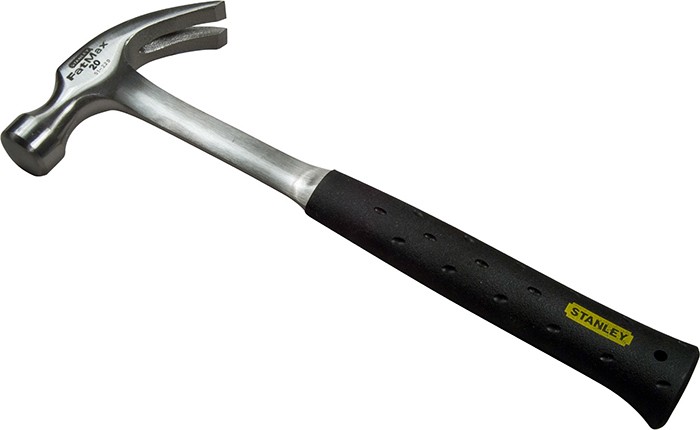
STANLEY FATMAX STEEL CLAW HAMMER: $29.00
20oz. One piece forged steel. Slip resistant handle.
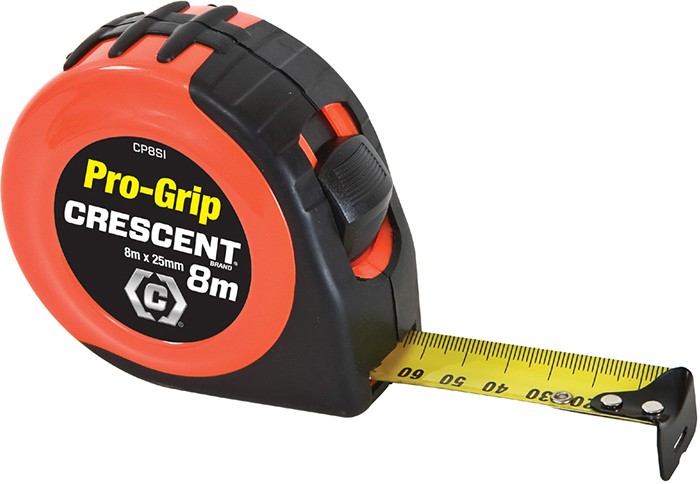
CRESCENT 8M TAPE MEASURE: $9.00
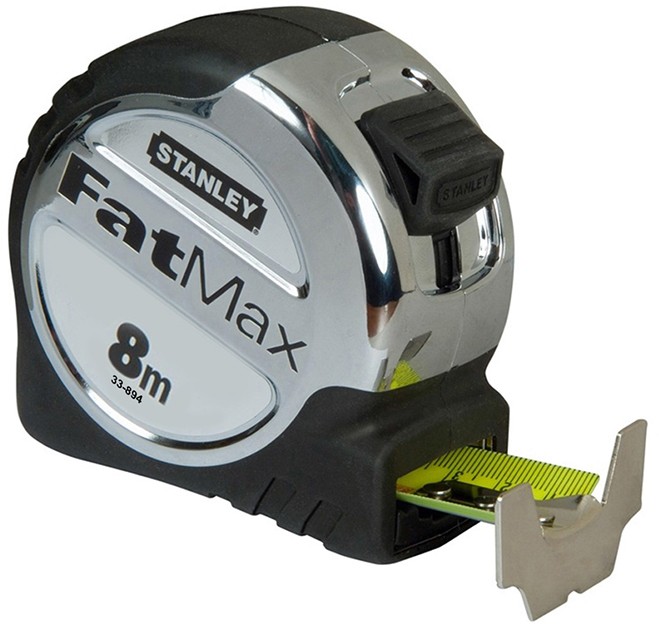
STANLEY FATMAX 8M TAPE MEASURE: $32.50
Metric or metric imperial. 32mm wide blade. 4m blade standout.
Safety First
You may have noticed that a fountain combines two potentially dangerous elements: electricity and water. As you’re installing the fountain, make sure that you have a towel handy. Dry your hands thoroughly before touching any of the electrical elements.
Children and pets can be fascinated with fountains. Make sure you choose something that will suit your household – something out of reach if you have a knee-high human running around will keep them safe while they enjoy sun sparkling spray and musical tinkles.
Installation
Prepare your area
First you need to prepare the area where your water feature will go. This may mean you need to remove some pavers or bricks. If it’s going into lawn, you’ll need to dig a small hole for the pump to sit in. You should also bury conduit in the ground underneath so an electrician can hook up power to your water feature.
Water proof your water feature pot or fountain
Most fountains and water features come ready to install. Check when choosing. If your choice does need preparation, apply a couple of coats of water proofing membrane, such as bitumen paint, to the inside of the pot. Start from the top of the rim down to the base of the pot. Allow a couple of hours for each coat to dry before you apply the next.
Dig your hole for the sump
The sump is part of the conversion kit that keeps the water level consistent and acts as a filter. You’ll need to dig a hole so you can drop the sump in level with your surface. Place the sump in the hole and using a spirit level, line up the top of the sump with the surface around it. This will make sure the pot sits level in the ground and the water sits level inside the pot. A good tip is to compact the ground underneath your sump. This will provide you with a stable base for your pot.
Install your pump inside the sump
First choose a pump that is suitable for the size of your pot. If you’re unsure what size pump to choose, go for a bigger size. This will make sure you have plenty of power to get the water to the top of the pot. Remove the lid of the sump and place the pump inside the support chamber. Feed the pump cord through the chamber side hole, then place the pump and support into the bottom of the sump. This should easily click into place.
Attach the sump top to the base
To attach the top of the sump to the base, use the pump attachment. One end connects to the pump and the other goes through the top of the base and into the pot. That end has two rubber washers, one of them will go underneath the sump and the other inside the pot.
Feed the power cord through the conduit
Feed your power cord through the conduit and attach it to the unit so you have power for your water feature. We’d recommend getting a qualified electrician to install a power point nearby and help you with this part of the process if the kit/feature you have chosen requires anything complicated or are not confident about doing this part.
Seal up the sump
Inside most kits is a flange to seal up the sump. This needs to go through the hole and into the vinyl tubing below. Then put a line of silicone around the outside to complete the seal. Finally, with your good, strong friend, carefully place the pot on top of the flange and into position.
Fill with water, sit back and enjoy!
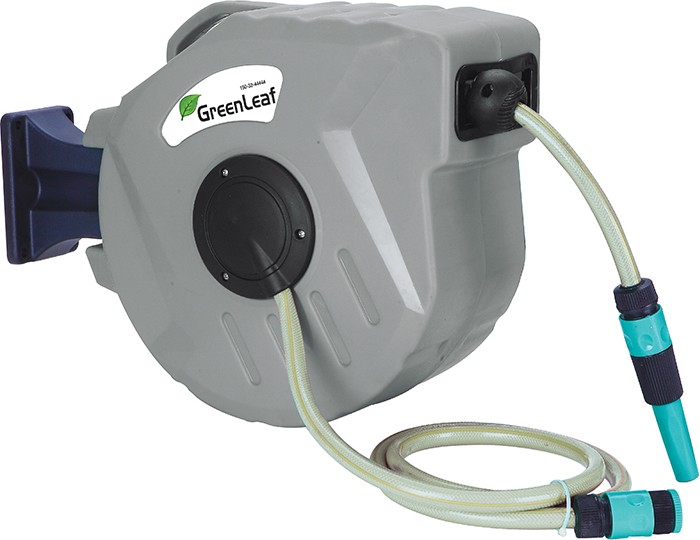
GREENLEAF 15M RETRACTABLE HOSE REEL: $67.00
Also available - 20m: $89.00, 30m: $109.00

OZTRAIL DELUXE GAZEBO: $249.00
3 x 3m. Waterproof canopy. Position push button height adjustment.
Also available - Single Mesh Wall Kit: $30.00
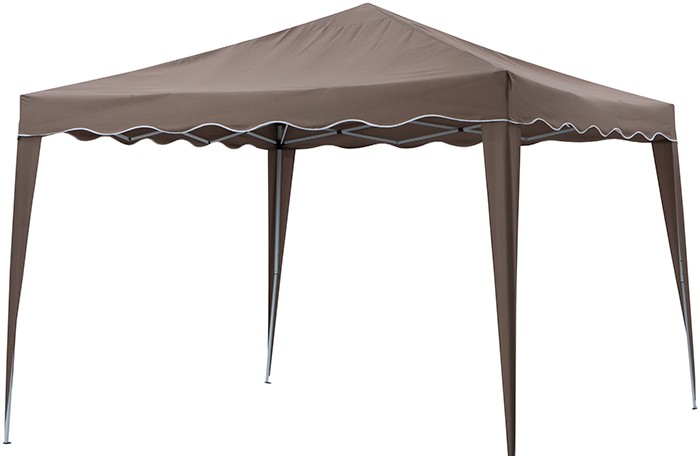
STEEL POP-UP GAZEBO: $109.00
2.5(H) x 3(W) x 3(D)m. White steel pole frame. Includes carry case with wheels.

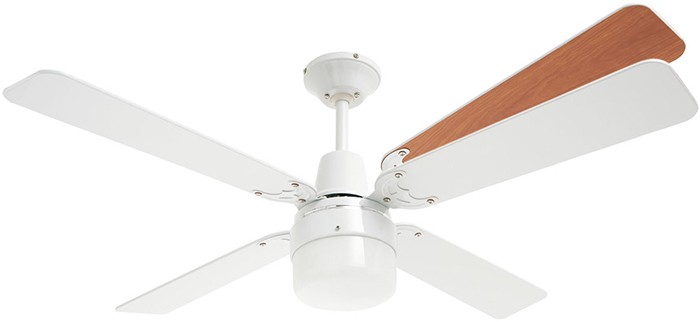
HELLER 4 BLADE CEILING FAN WITH LIGHT: $99.00
3 speed. 120cm blades. Reverse rotation. Flip blades for timber grain finish.
Electrical installations & repairs must be carried out by a licenced electrician.
HELLER 4 BLADE CEILING FAN WITH OYSTER LIGHT & REMOTE: $129.00
3 speed. 120cm blades. Reverse rotation. Blades can be flipped for alternative timber grain finish.
Electrical installations & repairs must be carried out by a licenced electrician.
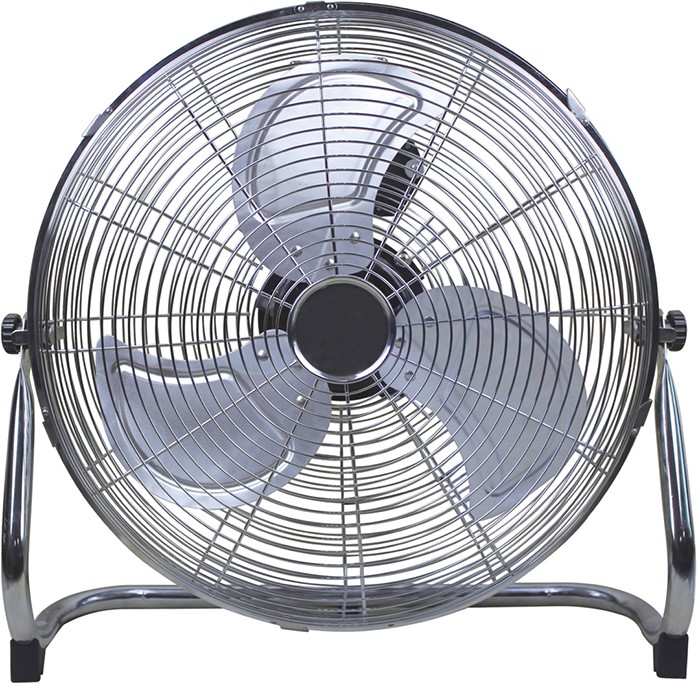
45CM FLOOR FAN: $75.00 - 140W.

ONIX 10CM MINI DESK FAN: $14.00
3 speed. Tilt adjustable. 15W power.
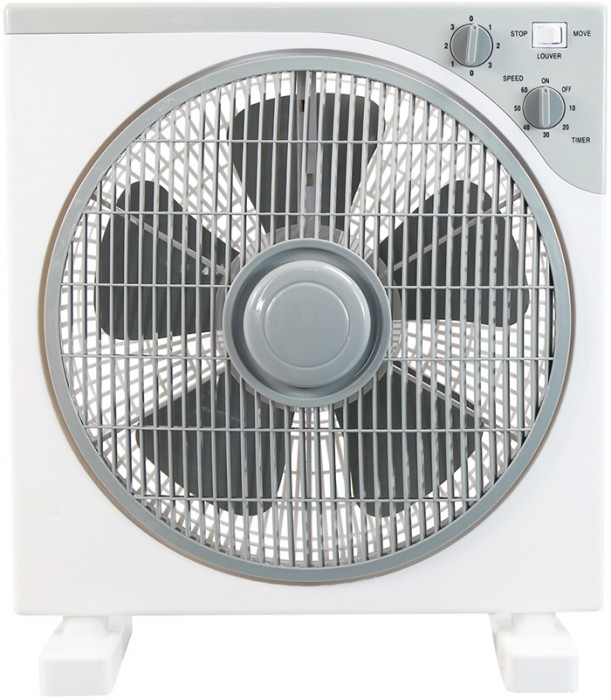
30CM BOX FAN WITH TIMER: $29.00
3 speed. 60 minute timer.
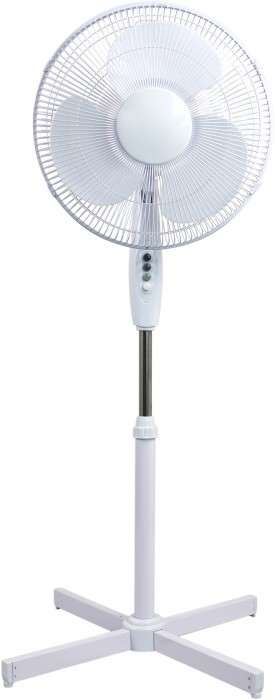
40CM PEDESTAL FAN: $1.98
3 speed. Tilt adjustable.


Click on logo to visit Johnson Brothers Mitre 10 website
Johnson Bros Mitre 10 - Avalon (02) 9918 3315
Johnson Bros Mitre 10 - Mona Vale (02) 9999 3340
JBH Timber & Building Supplies (02) 9999 0333
JBH Fencing & Landscape Supplies (02) 9970 6333
www.johnsonbros.com.au Online store: jbhmv.com.au