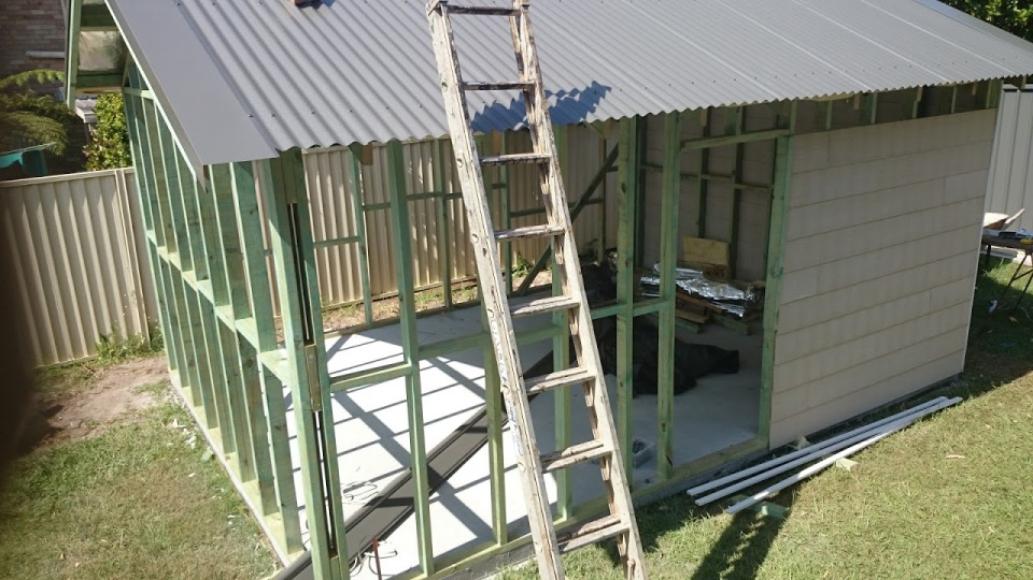
Backyard shed – Artists Studio
Approx: less than 10k if do labour bulk of work by self
Part 3: Roof Installation
1. formwork/concrete slab/pour
2. form up frame - order window (lead time approx. six weeks).: Part 2a
3. roof (has one clearer sheet to allow light in naturally – you could use the skylight option here too) Roof Framing: Part 2b
4. install walls, windows – and paint.
After your concrete slab, wall framing and Gable Roof roof framing are installed the next step is installing the roof sheets. Installing the roof prior to fixing your wall sheeting in place protects the interior of the structure.
The pitch on the gable roof shown here is 22.5 degrees. There is a 350mm Eave (this is the extension or part of the roof that overhangs the walls of the building. This, along with the slope pitch of the roof, directs rainfall away from the structure.
Working out how much Sheeting you need for Roof Surface
Sisalation paper and/or Insulation will need to be calculated based on your square metre roof size too. This shed has an Anticon foil-faced insulation blanket specifically designed for temperature & noise control in homes and buildings with metal roofs. It is comprised of a glasswool blanket adhered to an impermeable reinforced reflective foil facing. This reduces radiant heat entering the space during summer, and helps prevent condensation in winter as well as reducing the noise rain can make on a metal roof.
Fasteners must adhere to Australian Standard (AS)AS 3566:2002 Class 3 (or better).They are to be hexagon headed and must be used with sealing washers. When you select fasteners, you should consider the design life of the structure, because the fasteners and the cladding material should have similar life expectancy. Sealing washers used under the heads of screws must be made from materials that don’t have significant levels of conductive carbon black, particularly in marine environments. Use EPDM washers, not neoprene. Fasteners must have a coating system to meet AS 3566 Class 3 or AS 3566 Class 4. Those used in this project were M6 X 50 HEX ROOF ZIPS SEAL CLIM 4. These can now be bought in the same colour you choose for your roof sheeting to give a great finishing look.
Stormwater pipes connected to stormwater are required to ensure any run off from the roof of the shed does not pool and create a hazard in your yard or adjacent to your neighbour's yards - see overview of regulations and rules below, with links for further information you may need.
Take into account for your budget a Delivery Fee - many lengths of roof sheeting are too long to be safely transported by yourself and this is prohibitedby law here. Much better to have the experts deliver it to your door.
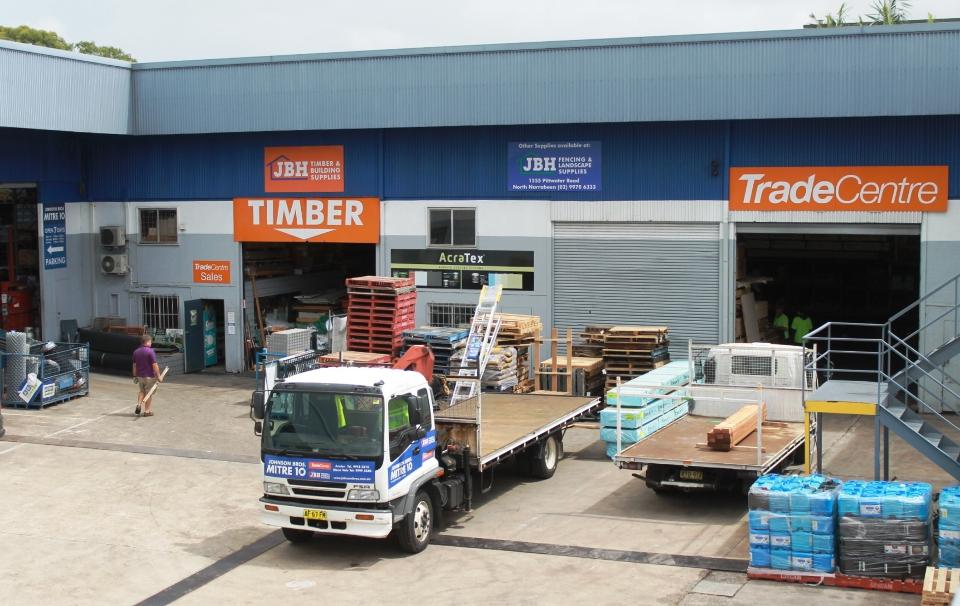
With all aspects of this stage of the build you can always speak to the trained staff at Johnson Brothers and they'll supply you with a quote. The Mona Vale complex is a 'one stop shop', that can, and does, service the Sydney Metropolitan area for all facets of the building industry, from foundation materials through to roofing. They also specialise in offering a great range and service for the DIY and home handyman.
If in doubt, give them a shout, or call: 9999 0333
Materials List: Roofing
Roof Sheets Colour - 15 x 2.620
Roof Sheet Clear/Opaque 1x 2.620
Ridge Capping ROLL TOP .50/.55 390mm 1 x 4.7.000
Custom Flashing .55 400 GIRTH 3 FOLDS STD 4 x 2.800
M6 X 50 HEX ROOF ZIPS SEAL CLIM 4 Woodland Qty 100 (Supply 150)
Glasswool Anticontuff 60 MD Poly weave 15m * 1200m * 60mm
Delivery Fee
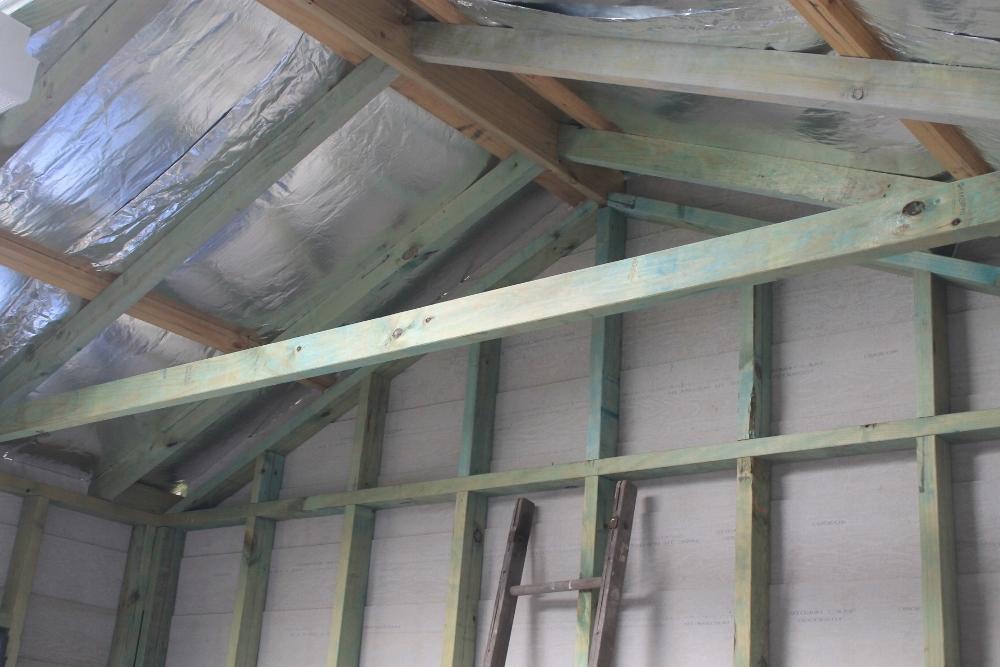
Roof framing - interior view show underside of Anticon foil-faced insulation blanket
Tools List
Ladder, Cordless Drill, Circular Saw, Dust Mask, Ear Muffs, Protection Goggles, Gloves
Safety First
Laying a roof is a moderately easy job but you must take into a account a few safety tips. A fall protection kit (harness, rope and hook) only costs about $100. Wet roofs are slippery - don't do this work in wet weather. Wear shoes with soft rubber soles for extra traction. If you have people on the ground helping you, get them to wear a hard hat—even the most careful worker can drop a tool off the roof. Always look and call out before tossing anything down. Carefully position ropes and extension cords for tools so they're not underfoot. Check the weight rating on your ladder. Extend the top of the ladder at least 3 ft. above the roof edge so you have something to hang on to as you step onto and off the roof. Never step on any of the ladder rungs above the roof. Set up scaffolding to install the Flashing. Use Masks and Eye Safety equipment when operating tools - don't make a trip to the doctor to get something out of your eye part of the job!
Installing Roof Sheets and Insulation
The best method for Laying your Roof is to Install a few lengths of the Glasswool Anticontuff and then your roof sheets over these. This way if the weather changes you won't have the Sisalation/Insulation getting ruined. For maximum weather-tightness, start laying sheets from the end of the building that will be in the lee of the worst-anticipated or prevailing weather.
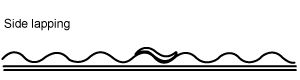 Before you take the roof sheets up check that they are the correct way up and the overlapping side is towards the edge of the roof from which installation will start. The product must be overlapped at the sides not less than 1.5 corrugations.
It is generally considered good practice to use fasteners along side-laps however, when cladding is supported as indicated in maximum support spacings, side-lap fasteners are not usually needed for strength.
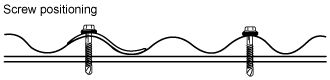 To maximise watertightness, always place roof screws through the crests. Always drive the screws perpendicular to the sheeting, and in the centre of the corrugation or rib. When 'nailing' the roof sheets in place it's good to have an extra pair of hands to hand them over,m making sure the washer is still in place and flat, ready to secure the roof sheet. Also think about the way you want the finished roof to look and don't secure these all over the place. A nice line, or alignment, and even spacing, at least every second corrugation for safety, makes a good finish.
Remember one of your roof sheets will be opaque or clear and choose where you're going to place that. You can build a nice frame around it to make for a neater job. Also see this option: Install Your Own Skylight
Ends of sheets
It is usual to allow roof sheets to overlap into gutters by about 50 mm. The valleys of sheets should be turned-down at lower ends, and turned-up at upper ends. As this shed came with a brief of 'no gutters' a 3 Folds Flashing was installed to protect the gable beam ens and seal the edge of the roof sheets. If you have calculated right you shouldn't need to trim the sheet ends but please wear Eye Protection if you do:
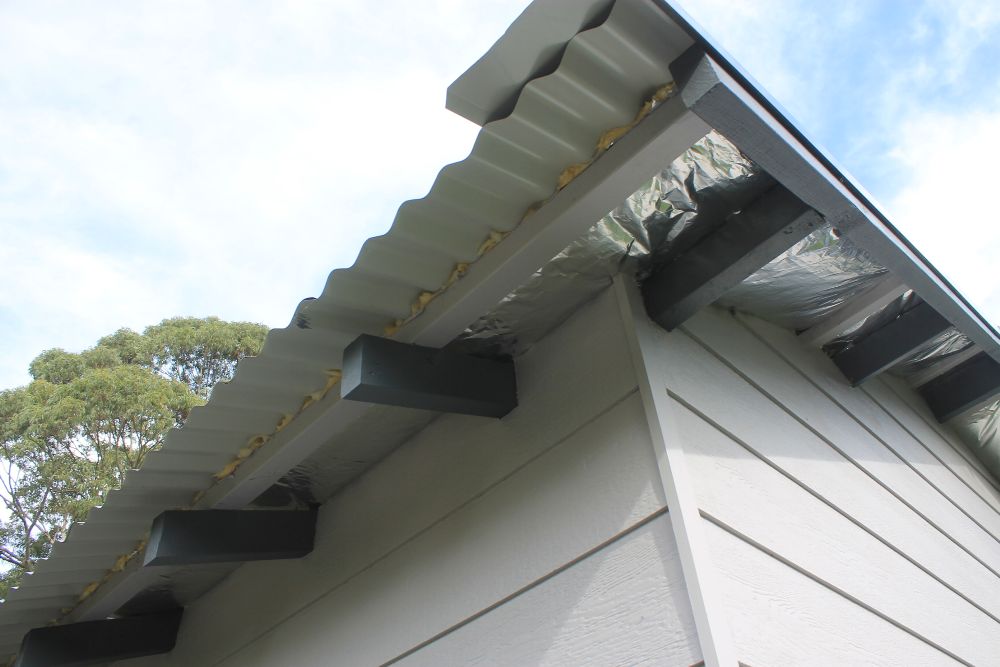
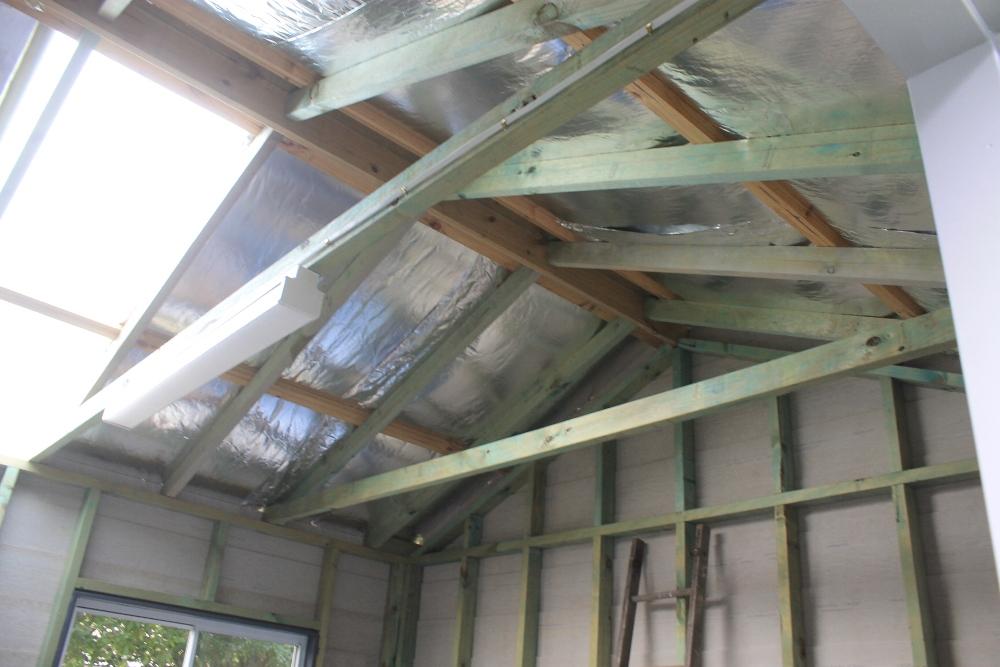
Gable roof exterior showing layers of roofing materials from Insulation through to Flashing
Install your Ridge Capping. This part of the project took us one whole day, with a lunch break.
You are now ready for the Installation of the Weatherboards, The Windows and Door and then...the Painting.
The products, tools and equipment featured here can all be found at Johnson Brothers Mitre 10 - all currently on sale to make your DIY Garden Shed budget even better.
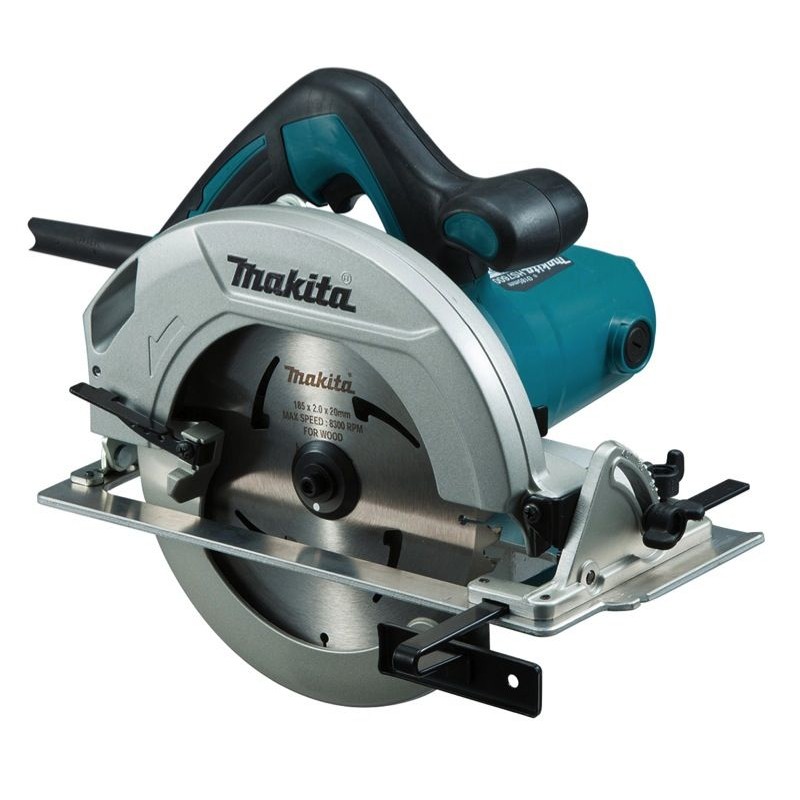
MAKITA 1200W CIRCULAR SAW: $99.00 - 185mm. Electronic speed control. No load speed 5,200RPM. 2.0m power cord. HS7600SP.
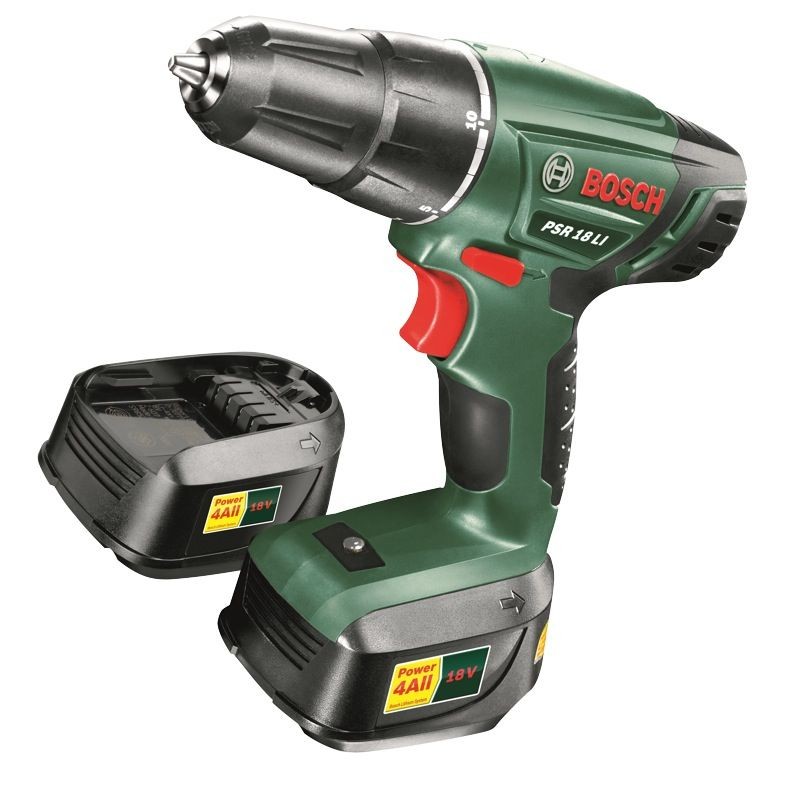
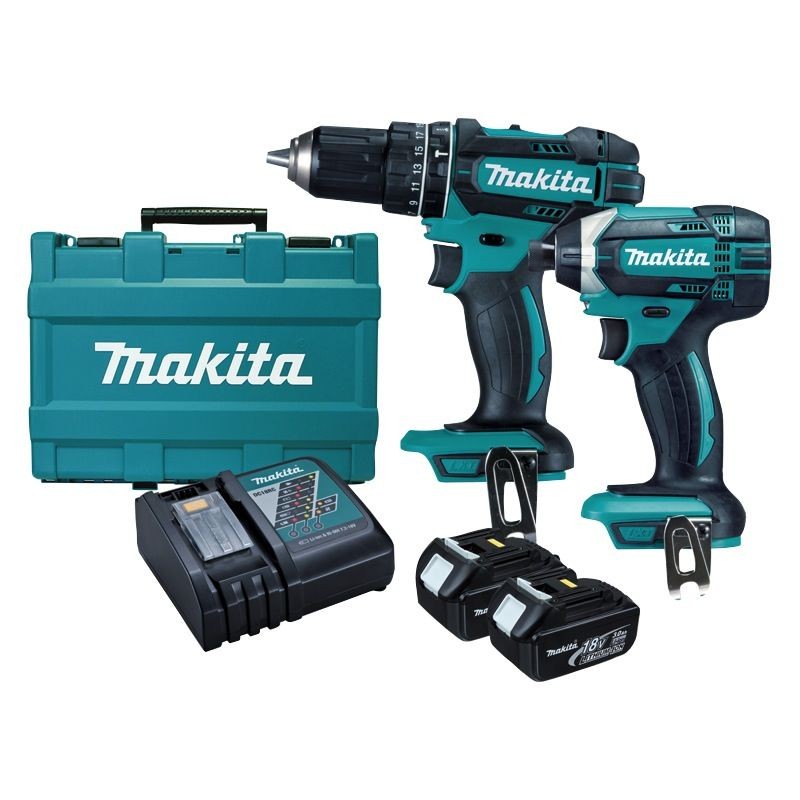
BOSCH 18V LI-ION DRILL DRIVER: $149.00 - Variable speed. Includes 2 x 18V Li-Ion batteries and charger.
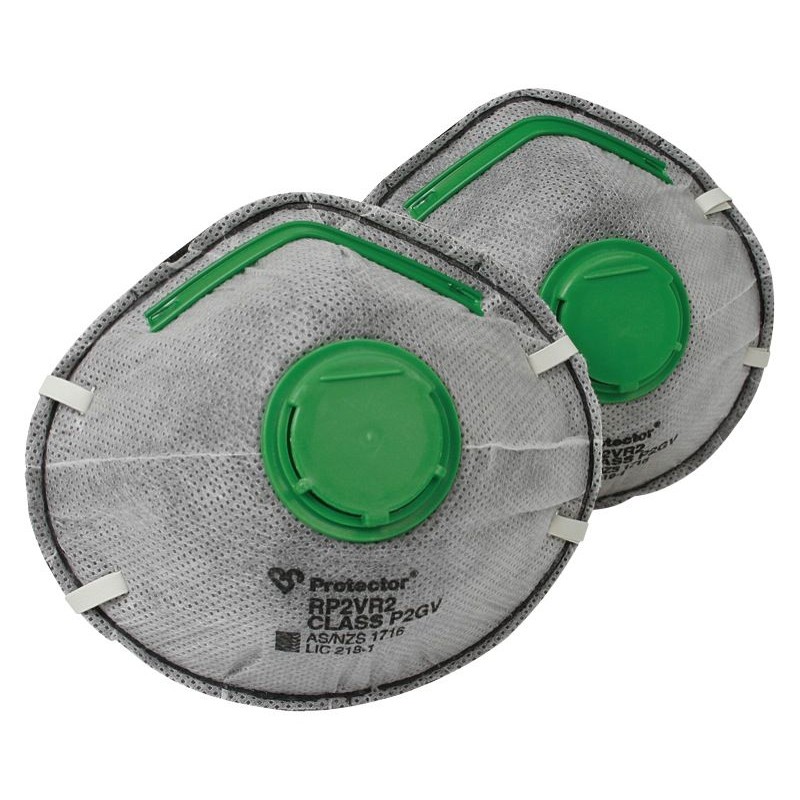
PROTECTOR MULTI MATE RESPIRATORS - On Sale: $9.00 - P2 rating for protection against dust, mists and fumes. Pack of 2.
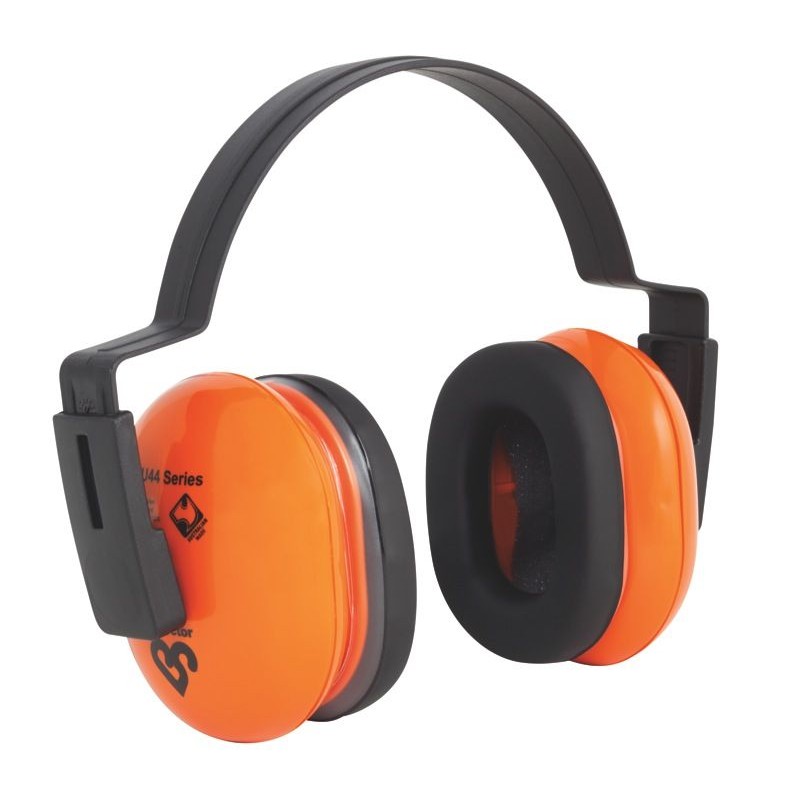
PROTECTOR HIGH PERFORMANCE EARMUFFS - On Sale $ 25.00: 29dB. Suitable for use with chainsaws and ride-on lawn mowers. High impact acoustic cups.

Click on logo to visit Johnson Brothers Mitre 10 website
Johnson Bros Mitre 10 - Avalon (02) 9918 3315
Johnson Bros Mitre 10 - Mona Vale (02) 9999 3340
JBH Timber & Building Supplies (02) 9999 0333
JBH Fencing & Landscape Supplies (02) 9970 6333