Backyard shed – Artists Studio
Approx: less than 10k if do labour bulk of work by self
Part 2a: Framing - Walls
1. formwork/concrete slab/pour
2. form up frame - order window (lead time approx. six weeks).
3. roof (has one clearer sheet to allow light in naturally – you could use a skylight option here too) + guttering and rainwater tank.
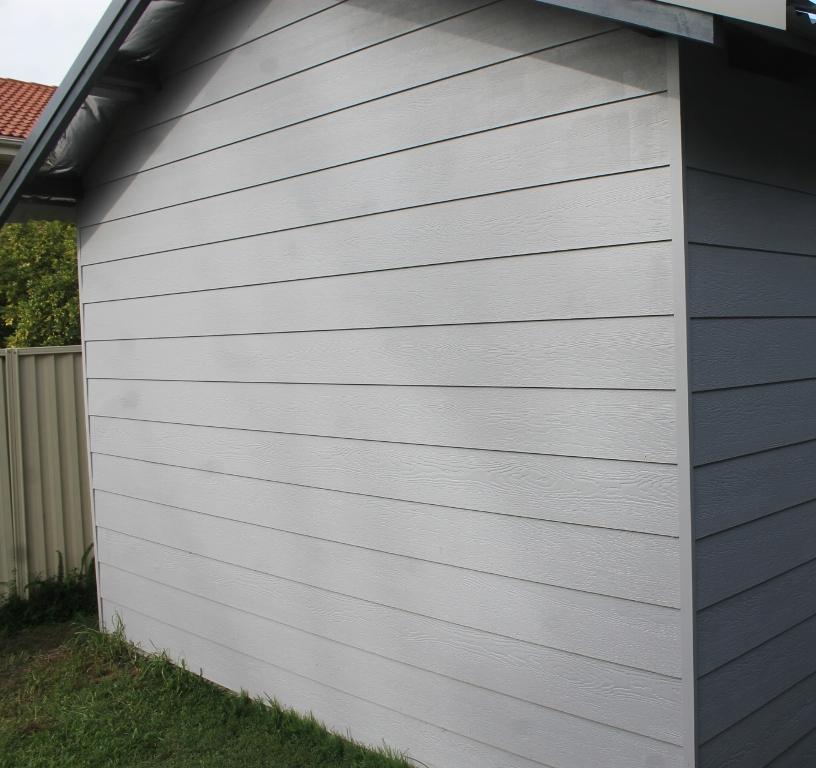
4. install walls – and paint.
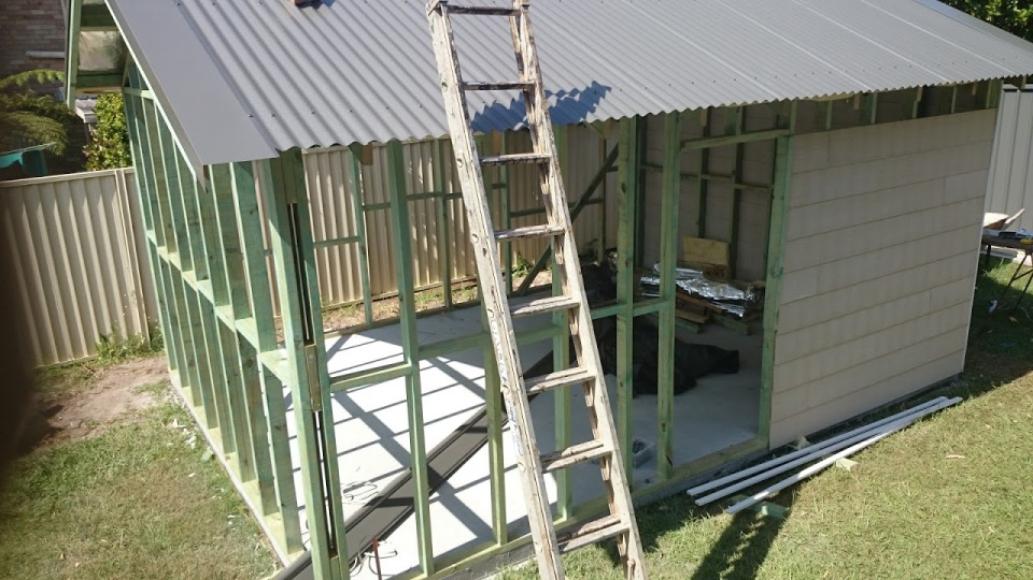
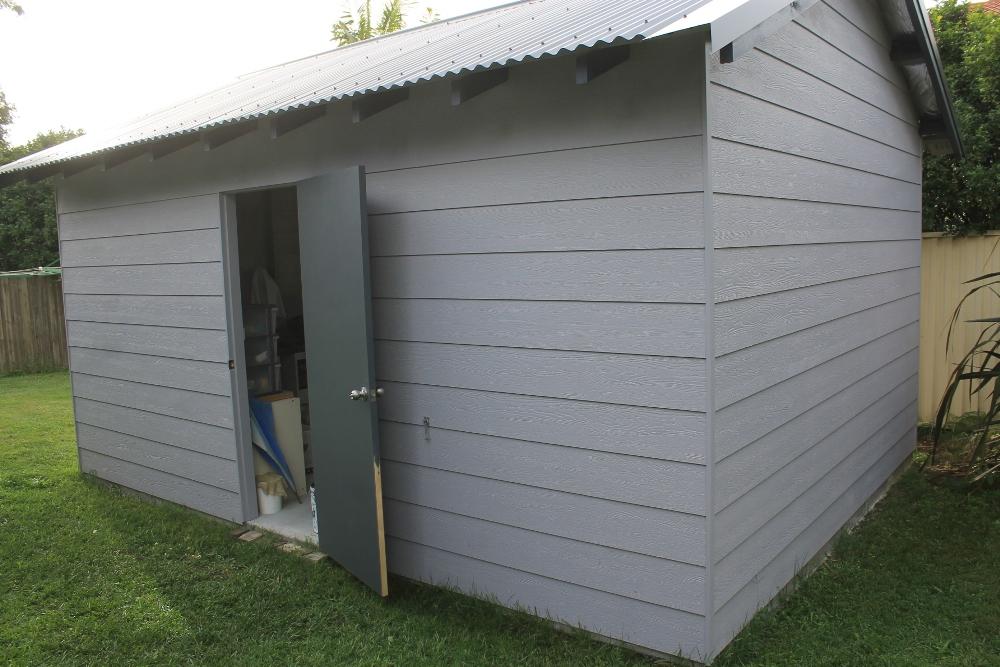
 After your concrete slab is finished the next step is Framing. The sizing for 2.4metres x 4metres now has height added to it - you can choose to have a 2.4metre height, or for more air and a larger feel, 2.7m ceiling height, particularly with the gable roof choice, will add extra space. The pitch on the gable roof shown here is 22.5 degrees.
The timber for your frame will be the largest outlay cost wise for this project. The weatherboard cladding is next. It is important to get enough timber to get the job done but stick t the Tradies 'measure twice and cut once' to minimise the wastage.
The framing will run in two parts - Wall Framing and then Roof Framing.
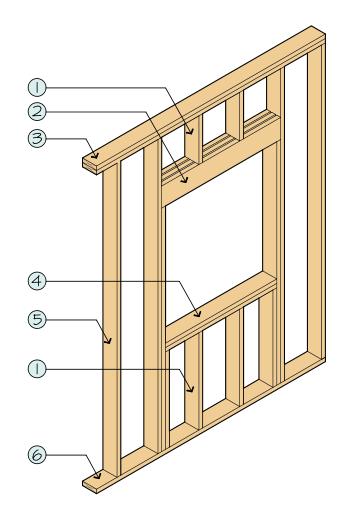
Parts of a Wall Frame
1. Stud - 2. Lintel - 3. Top plate / upper wall plate - 4. Window sill/Sill trimmer - 5. Stud - 6. Bottom plate. 7. Noggins(the horizontal bracing between the studs.
Framing here takes two parts - the walls and the roof frame. Always choose a H2 TR Pine - H2 treated pine is specially treated to protect against borers and termites, making it very suitable for wall framing and roof trusses.
You will need structural posts for each corner of the shed and for the roof.
The framing upright timbers - Studs - are built in 90x45 Treated Pine. The Noggins are built in 70x35 H2 Treated Pine. The lengthways roof rafters are 140X35 treated pine - called a 'Rougher Header.
Don't panic if this seems complicated, it's not. Johnson Brothers Hardware have trained staff and if you give them your dimensions they can provide you with a quote on what timbers you will need and in what quantities and what will work best, not only for your own needs, but to meet Australian Standards and Building Requirements.
Working out how much timber you need for framing
For the shed shown here you will have Structural Timbers, Studs
Wall ends - 2 x 9 at 2m
Length of Wall in metres 2m + Height of Wall in metres 2.7 Total Area m2 5.4 = linear meters of stud at 400mm centers: 20.2 with 15% waste: 23.2
Total 46.4 Lineal metres for the short end walls
Top side beams/upper wall plate and Bottom Plate: 4 x 2m
Wall sides (lengthway) 2 x 12 at 2m
Length of Wall in metres 4m + Height of Wall in metres 2.7 Total Area m2 10.8 = linear meters of stud at 400mm centers: 37.7 with 15% waste: 43.4
Total 86.8 Lineal Metres for long sided of walls.
Top side beams/upper wall plate and Bottom plate: 4 x 4m
Gable Roof
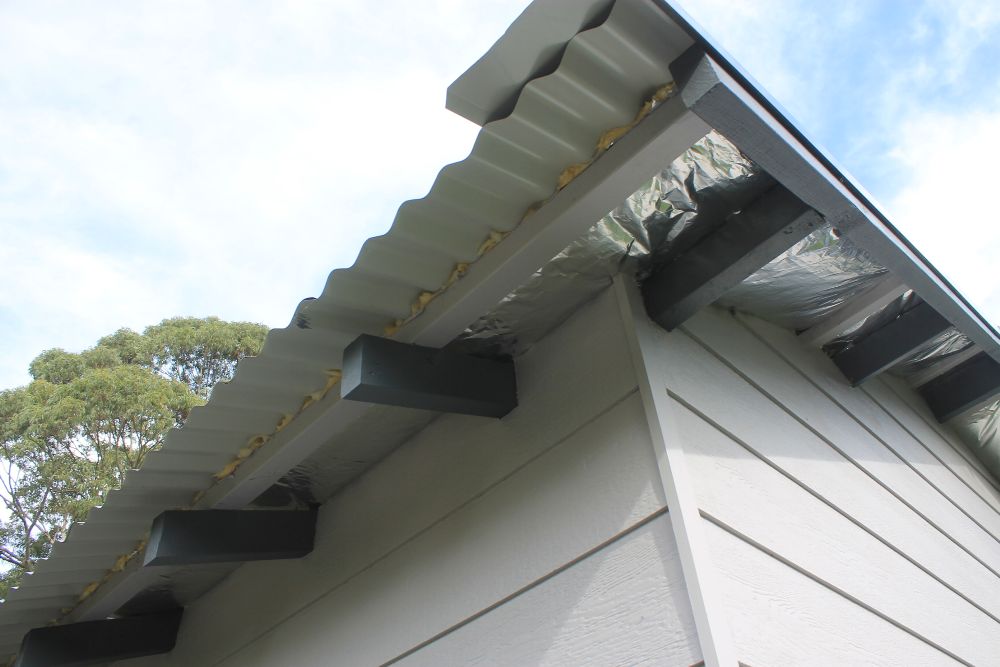
Roof 2 x 10 at 1.2 metre rafters on either side of the main beam (called a rougher header) PLUS a . 350mm Eave for the Gable Ends. The Rafters areat 600 Centres and at a 22.5 pitch. PLUS the structural beams you see running the length of the shed roof in the photos below. These are all the same length as the longways wall side and remain inside the structure - 4 x 4 metres + centre header.
Rafters: 20 x 1.7m (allow for wastage and to cut at an angle.
Structural Beams: 4 x 4 metres + centre header. NB: We used MGP10 PINE H2 TR LOSP 90X45 2.4M -4M - 20. LM for the Structural Beams.
Calculating Key Points in your Wall Frames
Measure the width and height for your door and allow for door jamb. The door to be installed here is a solid core door: 2040(height) X820 (width)X35 (thickeness of door)
Also take into account when building this stage of your framing that a clear perspex sheet of roofing is going to be inserted to allow extra light into the room space and allow for framing of that.
Apply a similar method when measuring for the window cavity.
In this project the Stud Opening Size is : "Height", 960 mm,"Width",1000 mm x 2. The Lead Time on ordering windows can be up to six weeks, so it is worth taking this into consideration at this stage. The usual process is a 50% deposit and the remainder to be paid prior to delivery. THe cost here is approximately $650.00 for the two windows.
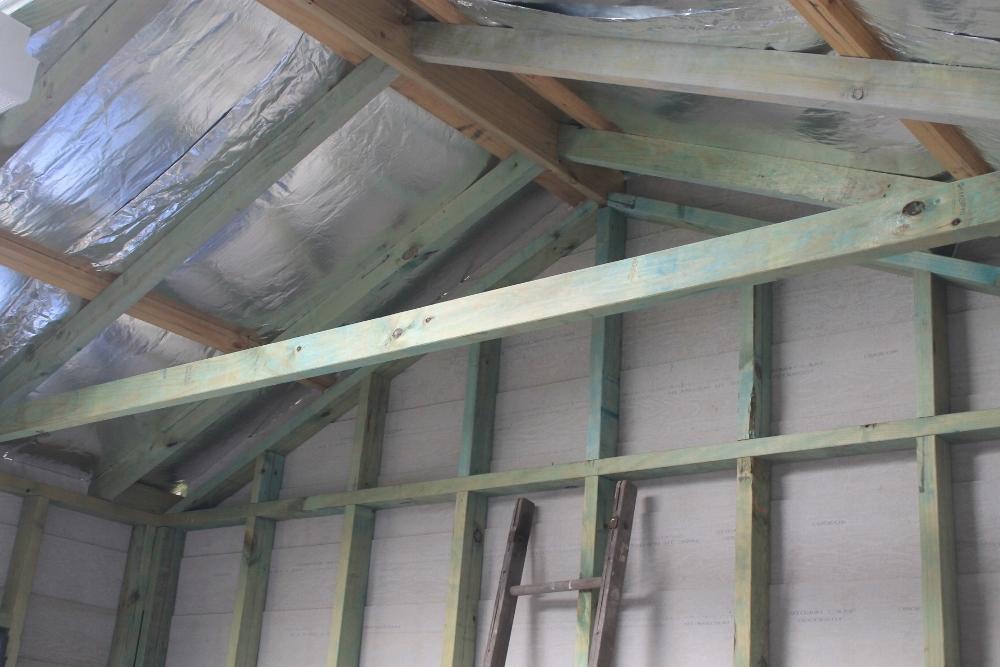
Roof framing - interior view - this shows the sisilation paper - which will form part of No.3.
Gable end roof rafters
Ends of lengthway sides of shed gable ends
Materials and Tools List
Apart from the timber required for the walls you will need concrete screws for the Base board, nails for the framing
Tools will be a Level to measure everything remains straight, a framing square, a circular saw or cut off saw for cutting timber, make yourself a portable bench to cut timber lengths on with two workhorses. A hammer, or hire or borrow a nail gun. Safety goggles, a mask and ear muffs when cutting timber.
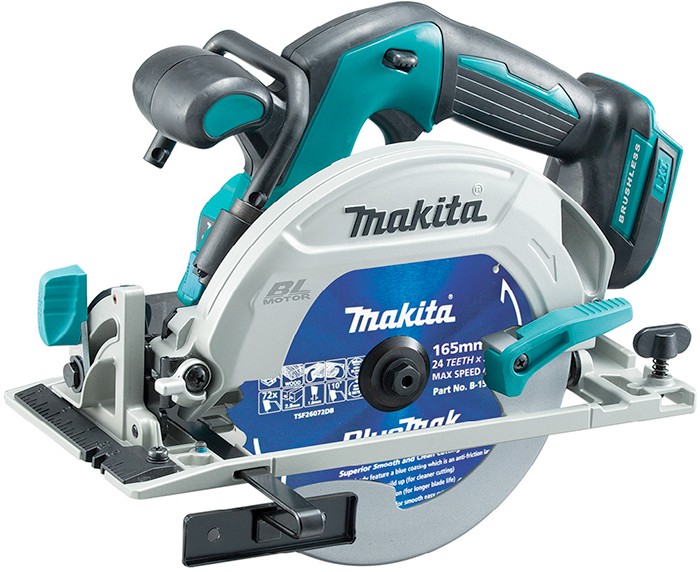
Makita 18V Li-Ion Brushless Circular Saw: $309.00 - 165mm. 45º and 50º bevel cutting. Rear dust exhaust point. DHS680Z. Batteries and charger sold separately
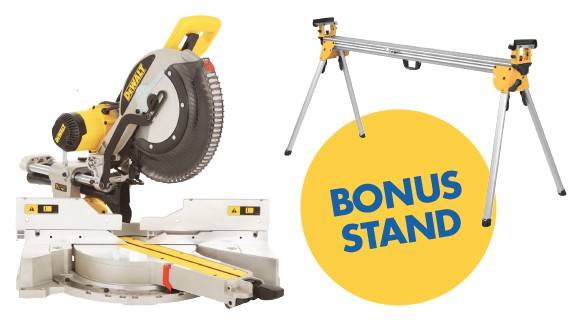
Dewalt Double Compound Saw: $1,299.00 - BONUS Stand - 305mm. Belt driven. Mitre and bevel controls. Includes dust bag and material clamp. DWS780-XE. Batteries and charger sold separately
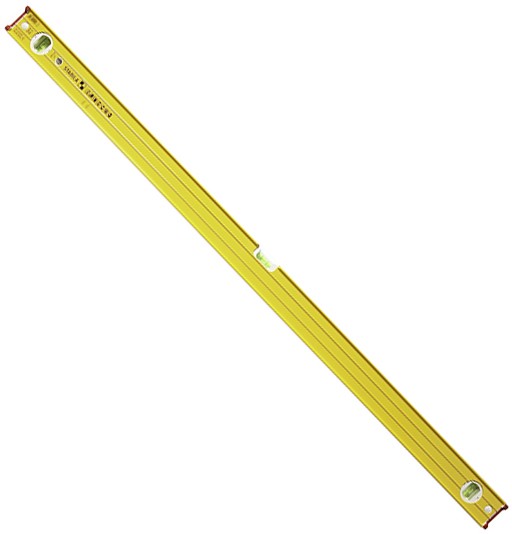
Stabila Trade Level: $98.00
Also available - 2000mm: $185.00
1200mm. 3 vial.
Makita 18V 2Pce Kit: $529.00 - BONUS drill bit set. Hammer Drill Driver. Impact Drill. 3 x 3.0Ah batteries. 1 x Rapid charger. DLX2145X1
Heavy-Duty 240V Extension Lead: $20.00 - 25m. 10Amp. Illuminated plug.
Building the Frame
If you have room in the backyard, and would feel more comfortable doing it this way with a few extra hands to help at that crucial stage, build the frame with it lying down and then raise it. Constructing your frame this way allows you be sure that the wall will meet the other walls at a 90 degree angle at all four corners. A slight deviation now will lead to a less-secure wall later.
Step by Step
 Cut your timber
Begin with your Base and Top plates cut to the lengths of the four walls - measure these against each other to ensure they are flush. Cut your corner Stud posts first to the appropriate height - take into account each stud needs to have the width of the bottom and top plate subtracted from the total height of the measurement you took, to account for the added space.
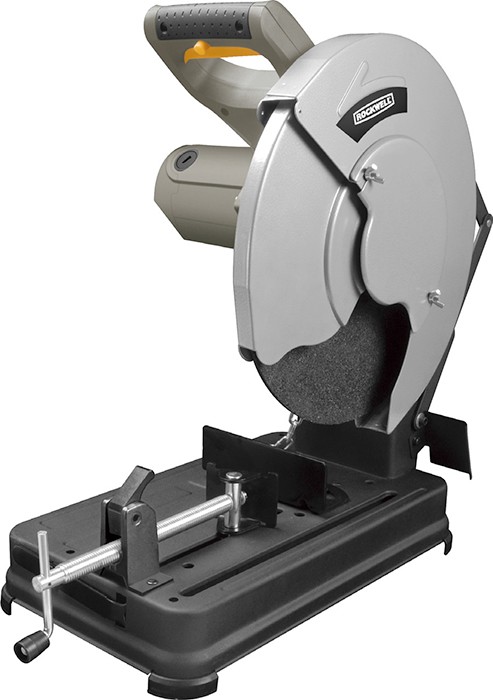
Right Rockwell 2000W Cut Off Saw: $179.00 - 355mm. Vertical loop handle. Spindle lock. Quick-release material clamping system.
Mark where the studs will go on the top and bottom plate. Use your tape measure and mark along the top and bottom frames using a pencil line where the studs will go. Each stud will get three marks on the bottom plate and three marks on the top plate, marking the center point and the two ends of each stud where it meets the plates. For load-bearing security, a stud needs to be placed every 40.5 cm, which needs to be measured very precisely.
The best method here is to measure your first mark by drawing an "x" 40.5 cm from the end of the frame, then subtract 9.525 cm from that mark and draw a line (at 38.735cm.). Use the shorter end of the framing square to measure from your line to where the other edge of the stud will fall. In other words, the "x" you drew at 40.5cm will mark the center point of the stud, and the two lines will mark the sides of the stud. This is necessary to account for the width of the end studs, and that the center of each stud will be equidistant from the next. Also mark where your door jamb will be.
Repeat this process on both the bottom and top plates, making the marks where every stud will be installed.
Building the frame: Install the vertical studs
Because this wall frame is being installed on a concrete slab the frame will be stronger overall if the studs are attached to the base and top first and then erected. Vertical studs are normally spaced 400 to 450mm apart, measuring centre to centre. Start with an end stud. Lay it on end against the top lip of the bottom plate and nail from underneath the bottom plate into the end stud, using nails, square through the bottom plate. Be very sure that the boards are lined up squarely.
Continue attaching all the studs to the bottom plate, centering them using the lines and your markings. Attach the top plate. Now that all the studs have been attached to the bottom plate, lay the top plate along the free ends of the studs, check it is level, and nail through the top plate to attach each stud with nails.
Install the noggins between the studs
Noggins act as horizontal bracing between vertical studs and give your wall frame more strength. Usually these are spaced 1200mm apart. You can install these prior to lifting the frame into place. For a bit more strength add another noggin to each gap and space them closer together. Measure the gap for each noggin, cut to size and nail it into place.
Install the stud wall bottom plate onto the concrete slab
Lift the frame into place, you will need an extra pair of hands or two here. Nail the bottom plate into place with concrete screws. Remember you are installing a doorframe in one side of the wall frame and only put one nail in this section of your timber to hold it firmly in place. You will be removing this piece of the bottom plate at the end.
Create the frame for the doorway
Install a header. The header is like a wider noggin that sits above the doorway. To work out how high the header should sit, take into account the door height, the doorjamb width. Cut your timber to size and nail into place. Finish off by using a handsaw to cut out the bottom plate in the doorway.
Tools down, job done!
As you can see on this page Johnson Brothers Mitre 10 are having their annual Trade Day this coming Thursday, June 23rd. If you cannot make that, there is a current Tax Time Tool Blitz sale on, and with businesses being able to claim required equipment, there's never been a better time to invest in the top brands stocked at Mona Vale and Avalon.
The items shown here are all from the
Tax Time Tool Blitz catalougue, available online, HERE - on sale until June 30th.Bushman Lace-Up Safety Work Boots: $60.00 - Steel toe protection. Assorted sizes.
Karcher K2 Telescopic Home Pressure Cleaner: $229.00 - Kit includes K2 gun with quick connect. 6m hose. Vario power nozzle. Dirt blaster.
T-Racer 150 patio cleaner.