Backyard shed – Artists Studio
Approx: less than 10k if do labour bulk of work by self
Part 4: Walls, Windows, Door, Painting
1. formwork/concrete slab/pour
2. form up frame - order window (lead time approx. six weeks).: Part 2a
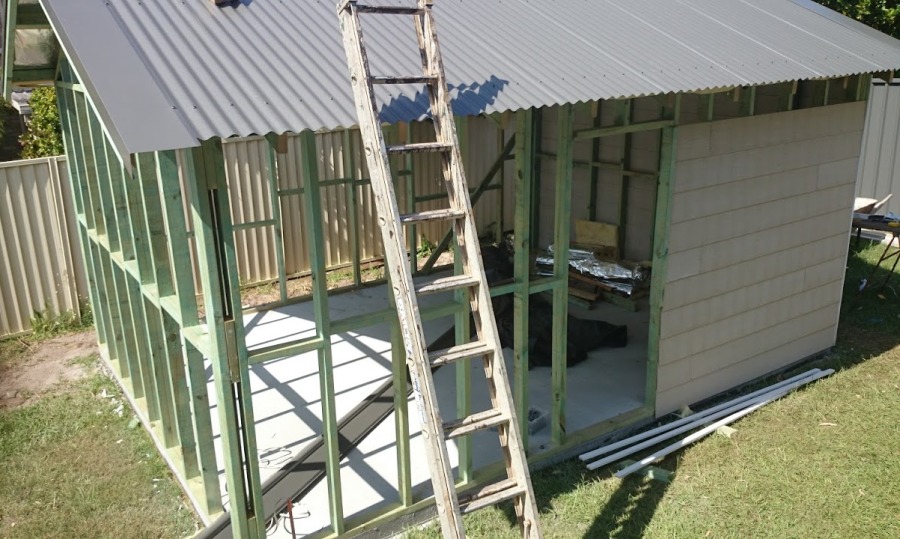
3. Roof Framing: Part 2b Roof Sheets Installation: Part 3 (has one clearer sheet to allow light in naturally – see the DIY Skylight option )
4. install walls, windows – and paint.
The final steps of your DIY Shed/Studio are now ready for completion. These involve installing the weatherboard cladding, installing your windows and hanging the door before painting. We have looked at Hanging a Door earlier in 2016. With an outdoors door for a shed, bear in mind you may need to adjust the door once the structure has 'settled' - this could be as simple a planing one side to fit the door frame. Tip: paint the top of the door before installation.
The first thing to determine is your Materials List - you will need Weatherboards, a Door and Hinges - stainless steel will work best in this environment, door furniture (the hand /knobs) and as this is in a garden we suggest adding a gate hook, also in stainless steel, so you can have the door open and not worry about the wind catching it. The Weatherboard Cladding for this project, at this size shed, will be around $1200.00 depending on which product you select. Also discuss the trims for the four edges - these can usually be supplied to compliment the product you select.
Trims for around your window and insulation (sill flashing) will also be required for a nice neat finish as well as a nice trim to sharpen the edges of the shed where the weatherboards meet at the four corners. For timber reveal finish size, add 38mm to both height and width. For Timber Windows and Doors Stud Opening sizes add 20mm to height and width. Remember our Stud Opening Size: "Height",960 mm,"Width",1270 mm for the windows ordered.
For paint -make sure you choose one that will wear well. The standard here is undercoat and two topcoats, depending on the paint and your preference - some paints do not need to be applied twice indoors but outdoors can vary in between brands. Johnson Brothers Hardware Mitre 10 have extensive paint options and trained staff to advise you on what will work best.
A Licenced Electrician is required for the Electrical works: 2 x Double GPO + 2 x 1200 strip lights, power Conjuted Cable from House underground.
Materials List: Weatherboard Cladding, Door, Fixtures
Door Handles Entrance Set - in Stainless Steel
Solidcore Door 2040X820X35
Stainless Steel Fixed Hinges 100X75
Cladding Plank in Woodgrain 4.2X230 - x 53 EA
Delivery Fee
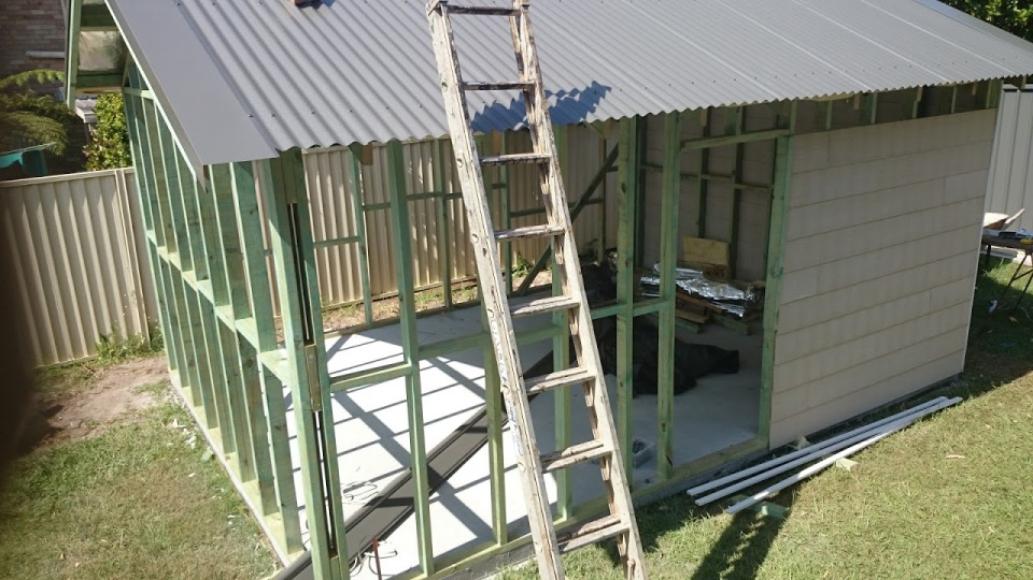
Installing Cladding
Weatherboard cladding installation
Installing Windows
Dry Fit Window
Before applying the silicone to the the window stop, dry fit the window to make sure there are no fitment issues. If you do have fitment issues, address them now and then dry fit the window again. When done properly the window should fit snugly into the opening. Do not move forward with the install until you are satisfied with the way the window fits in the opening.
Secure aluminum windows by nailing through reveal in brick veneer applications. Timber windows should be secured by back nailing through stud, not face of frame stud. If it is not possible to backnail, wedges should be installed between the window and the building frame to prevent opening of the frame joints when nailing is carried out.
It is the builder’s responsibility to ensure that windows and doors are installed in such a way that water does not penetrate from the outer skin to the inner skin of the building envelope. The extent of the flashing required will depend on local weather conditions. In some instances only sill flashings may be required. In others jamb and head flashing may be required. For further information please refer to the relevant sections of the BCA.
Jamb Flashing
• Required in high wind locations to ensure that water which enters between the window jamb and the outer skin is drained to the sill flashing. Where jamb flashing overlaps sill flashing, the overlap should extend the full depth of the sill flashing. Jamb flashing should extend 100mm above and below the window jamb height.
Sill Flashing
• Provided to stop water entering across underside of the window and wetting the inner skin. The window generates run off in down pours and sill flashing stops this water being blown across the cavity under the window. Some windows have drain holes which also direct water downwards into the cavity. The sill flashing also collects water which runs down the jamb flashing. Must project a minimum of 150mm both sides past the opening. Must be of approved materials to AS2904.
Some window manufacturers offer sill flashing as options when you buy the window. The one we’re using comes in three parts: two preformed corners and a center section that you cut to length to fit. Start by nailing the corners in place at the sides and over the house wrap below. Then cut the center section to fit. The flashing is easy to cut with tin snips. Pay attention to the raised ribs, which provide a flat surface where the window frame rests. You have to cut the middle section so that it overlaps the corners 1.5cm. Think it through before you cut to make sure the ribs don’t overlap. Add caulk at the laps and nail the flashing into place with roofing nails. Then use your thumb to caulk the nail heads.
Install Window
The actual install of the window is very simple. Ensure corner to corner dimensions are checked equal in length to confirm window has been installed square prior to final fixing. Then run a bead of silicone on the inside edge of the window stop and then slide the window into place. Place a level across the top of the window and press shim packers between the bottom of the window frame and the jamb as necessary to get the window sitting level. The window will usually come with its own hardware packet, typically consisting of screws that will go through the sides of the unit to anchor it to the jamb. Two screws should be put into each side of the window, one near the top and the other near the bottom. Mark these on the jamb and make pre-drilled holes in the window frame for the screws.
Add Extension Jambs and Trim Molding
This is optional but it makes for a nice finish. Pick a style of molding that fits what you want and create a frame around the window. Measure the length of each piece and use a miter saw to cut the trim to the appropriate length. Make your cuts on 45-degree angles so the trim will fit together with a nice picture-frame look. Attach the trim to the wall with finish nails. If you're keeping your shed a basic shed, you may not need this - just make sure the flashing steps are followed to keep it all waterproof.
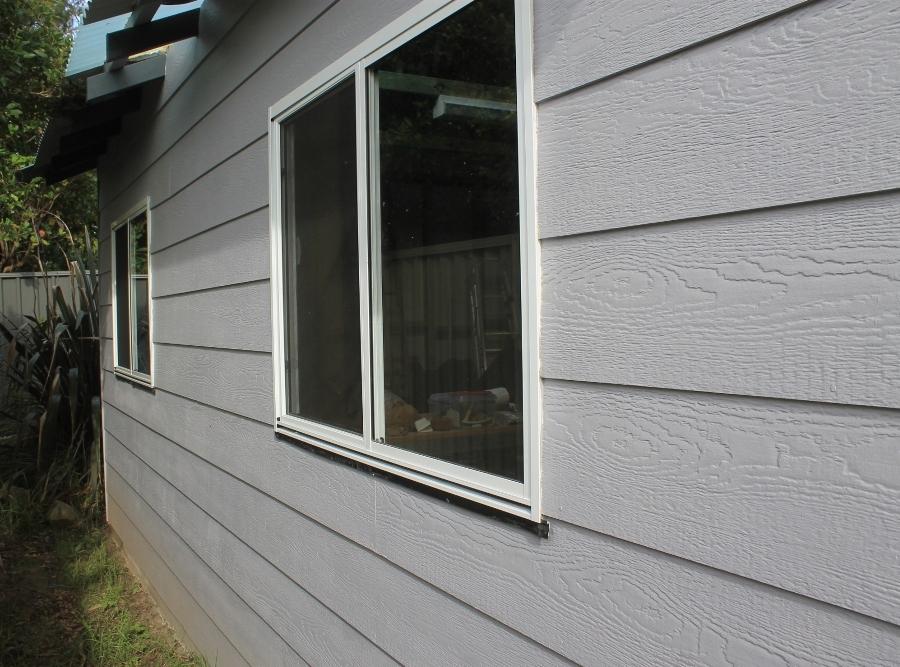
Installed windows - you can see the Sill Flashing
Install your door
Please Visit How to Install a Solid Core Door and Door Furniture
Install your Gate Hook - if you have come this far you probably don't need help with this task - just measure and check where you want to place it twice before doing so - you don't want to spend time filling more holes in your great new weatherboard walls. We'd recommend doing this after you have finished your painting.
Paint Finish
The weatherboard cladding makers/manufacturers recommend certain types of paint for their products and how many coats will produce a great finish. Check which will work best with what you have chosen. There are also regulations regarding the colours you may use - no bright pinks with yellow polka dots or a purple so purple it can be seen from Mosman!
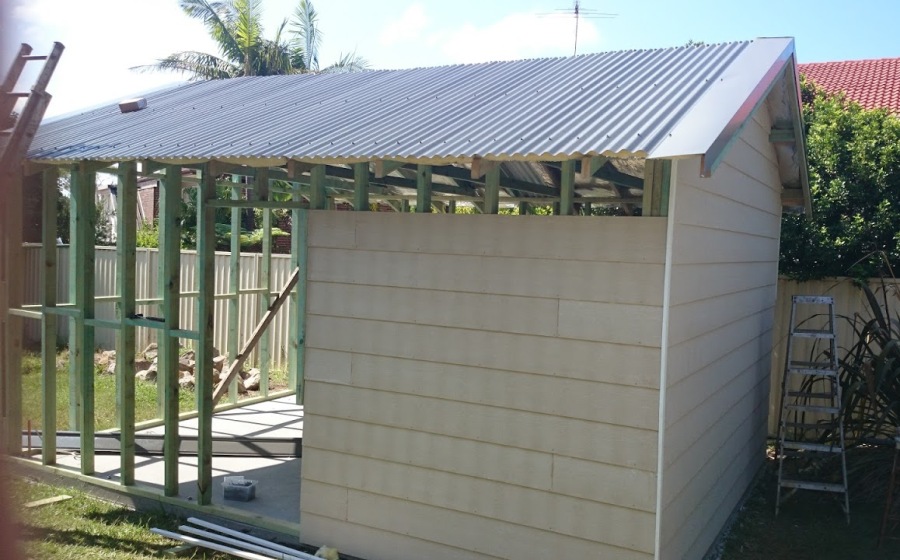
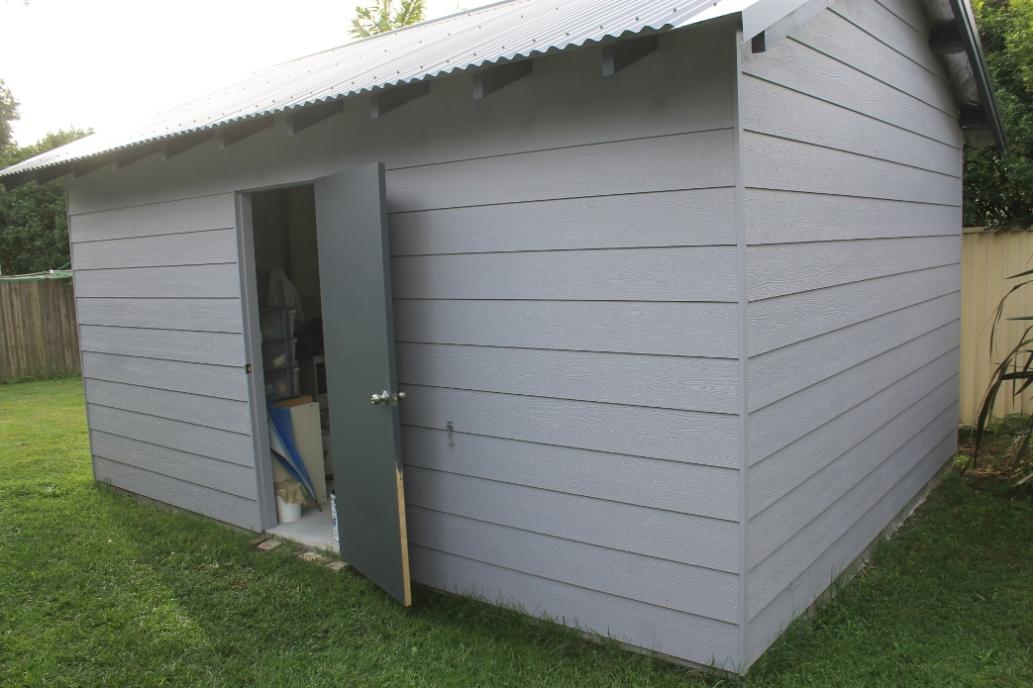
Most of these regulations regard Building Colours are logical and about being sensitive to the environment you're in. As you can see by the finished product below, walls that would blend with the roof was what was chosen here, and also in a colour scheme that won't attract the ire of neighbours.
A few tips run previously regarding exterior painting: Wear a Mask - Check the Weather - Avoid painting in direct sunlight. Avoid painting on very windy days. For best results, begin at the top and work your way down. Use long strokes in horizontal motions from one side to the other.
And.... guess what - you have a brand new shed!
An oasis from the ruckus in the house - a place to spin wool, write poetry, build a coffee table with a chess set in it... That's next!

As next Sunday is Father's Day, as this shed may quite easily become Dad's Shed - a few of the great Specials currently on offer as part f Johnson Brothers Mitre 10's Father's Day Tool Blitz - online Catalogue HERE
Go on - inspire him to another great DIY project!


Tradie Work Socks: $9.00 - Pack of 3. Sizes 7-10 or 11-13 Seasol Complete Garden Care 4 Pack: $24.00 - Includes 600ml - Seasol, Powerfeed, Powerfeed for Roses and Powerfeed for Vegies


Kincrome Knife and Multi-Tool Set: $29.00 Bullant Am/FmEarmuff Radio: $25.00 Includes 20 function pocket tool and folding utility knife with 5 spare blades 20dB+ protection. 2 x AA batteries (Sold separately.)

MAKITA 1200W CIRCULAR SAW: $99.00 - 185mm. Electronic speed control. No load speed 5,200RPM. 2.0m power cord. HS7600SP.

BOSCH 18V LI-ION DRILL DRIVER: $159.00 - Variable speed. Includes 2 x 18V Li-Ion batteries and charger.

Kincrome Socket Set: $85.00 - 57pce. 1/4” and 3/8” socketry. Chrome vanadium steel. Lifetime warranty

Weber Family Q3100: $729.00. Also available - Black: $749.00 - 109(H) x 140(W) x 74(D)cm with lid open. Cast iron split grill. Stand included. Also available - Black. Gas cylinders sold separately. Freight extra in some areas. Accessories not included. Not stocked at all stores but available to order

Oztrail Deluxe Gazebo: $199.00 - 3x3m
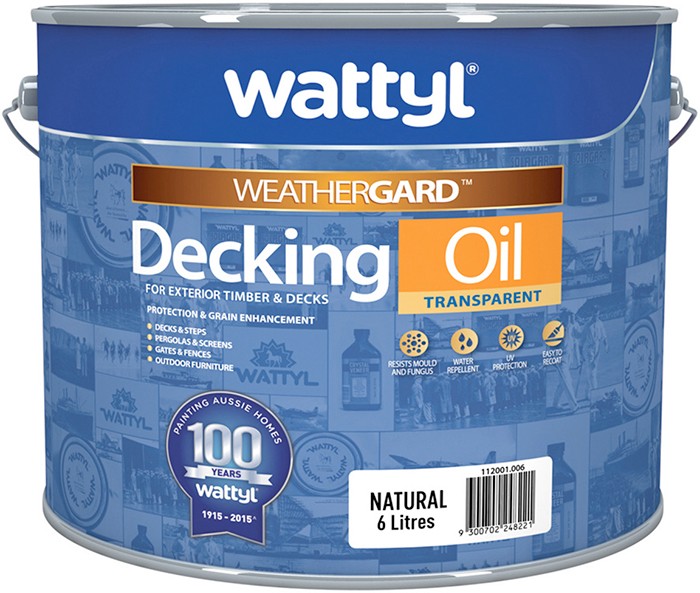
Wattyl Weathergard Decking Oil: $49.90 - 6L. Natural. Enhances the timber’s natural grain

SPRING CLEANING: Karcher K2 Telescopic Home Pressure Cleaner: $199.00 - Kit includes K2 gun, 6m hose, vario power nozzle, dirt blaster and T-Racer 150 patio cleaner


Click on logo to visit Johnson Brothers Mitre 10 website
Johnson Bros Mitre 10 - Avalon (02) 9918 3315
Johnson Bros Mitre 10 - Mona Vale (02) 9999 3340
JBH Timber & Building Supplies (02) 9999 0333
JBH Fencing & Landscape Supplies (02) 9970 6333