Having recently and finally found the puppy of our dreams we began to make a few safety changes within the home while the pup is growing big enough to venture outside; stairs need to be blocked off, everything chewable removed from within reach, and in the yard to make a safe outdoors area.
As we live on a road, and who doesn’t in the suburban landscape, making sure Matilda couldn’t get onto the road meant building side gates for passageways from the back of our property to the front where the road is. We began doing this long prior to finding her and the results have weathered well.

Matilda
Some of the ideas we put into place here may be helpful to others who have housemates between 2 ½ inches and 2-3 feet in height – ours is of the 10cm variety and is already faster than us. Clearly here the ‘if you can’t outrun it make sure it can’t wander or runaway’ becomes very necessary.
We’d always wanted an Australian Silky Terrier so the gates didn’t have to be Great Dane in height but they did need to ensure something of small to medium size couldn’t squirm between posts or dig underneath. Clearly you can adjust what we made to suit your own circumstances by installing taller planks and posts.
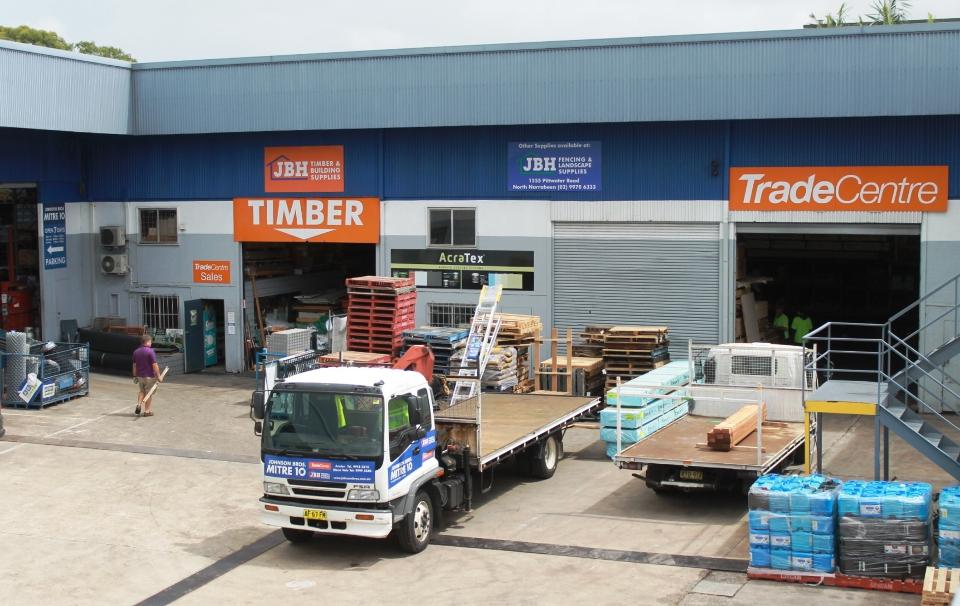
The products and timber we used, all bought from Johnson Brothers Mitre 10, included using wood that will last outdoors, hinges and locks that are also suited to a salt air environment, treating the timber with stains or paint so it will last longer, and a soft spring so those who forget to shut the gate can be taken into account of what may happen too.
This project, which encompassed tow of these gates, took us a day to complete. Measure the gap you wish to install a gate in and the height you want prior to ordering your timber.
For one gate you will need:
Materials
2 x HD Posts – or 3 if attaching to already installed fence ours 10x10 120cm length - always use hardwoods for outdoor posts.
1 x 11 lots of planks – 8.5cm width cut to 73cm lengths – we used cedar
4 x 47cm planks – for front face
1 x 94 cm – for added top rail
2 x Top and Base rail – 94cm we used Treated Pine
Gate frame post – 2x 84 cm (top and base inner)at 2 x 78 cm (inner sides) - we used Treated Pine
2 x cross-brace timbers to strengthen
Wood glue
Cement mix for Posts
Nails
Screws
2 x stainless steel hinges
2 x latch locks
1 x slide lock bolt
paint and woodstain
Tools
Measuring tape
Hammer
Drill
Circular Saw or Saw
Carpenters Level
Framing square
Screwdriver
Safety Ear Muffs
Dust or Respirator Mask
Safety First
Ensure you have protector earmuffs and are wearing a mask when cutting wood.
If you’re making this gate to insert into a fence make sure that can support a gate. The size of the gate should not be greater than 1.22 m in width. If it is wider, you will need to make and hang two gates, which will meet in the middle.
Measure the entry at the top and bottom as they can easily be different. Build the gate to be square based on the narrower measure. Take diagonal measurements to check for squareness.
Anchor and plumb the posts
You need to make sure that hanging the gate won't pull the posts to one side. The way you anchor the post will depend on the size of the fence, but in general, you need to make sure the post doesn't wiggle with weight. If it can be easily moved, the gate will sag. You should also check and see that the post is level, straight up and down.
Ideally a 1.22 m tall gate needs a 12.7cm x 12.7 cm posts. A 1.83 m tall gate requires a 15.3 cm x 15.3 m post. We used 10cm x 10cm posts. These were inserted into holes into which cement had been mixed and poured. The posts were inserted by 10cm leaving 110cm above ground level. We had painted them, prior to installing, with 'Antique Green' a colour we use on our brocaded iron outdoor furniture and gutters/downpipes as well - this is available at Johnson's Brothers Mitre 10 and won't fade in harsh sun or chip - a very good paint.
Measure and Cut the frame
Measure twice, cut once on all cuts! Remember, you can always cut things shorter but you can't undo any cut once you've done it. The frame for a basic wooden fence gate should be a simple box with 4 sides, usually smaller than the gate opening. If you've got a 1m x 1.5m opening in the fence, build a 1m x 1.4m box out of a weather resistant wood. The box should be about an 2.5cm less wide than the rough opening to account for hinges and the thickness of gate as it swings.
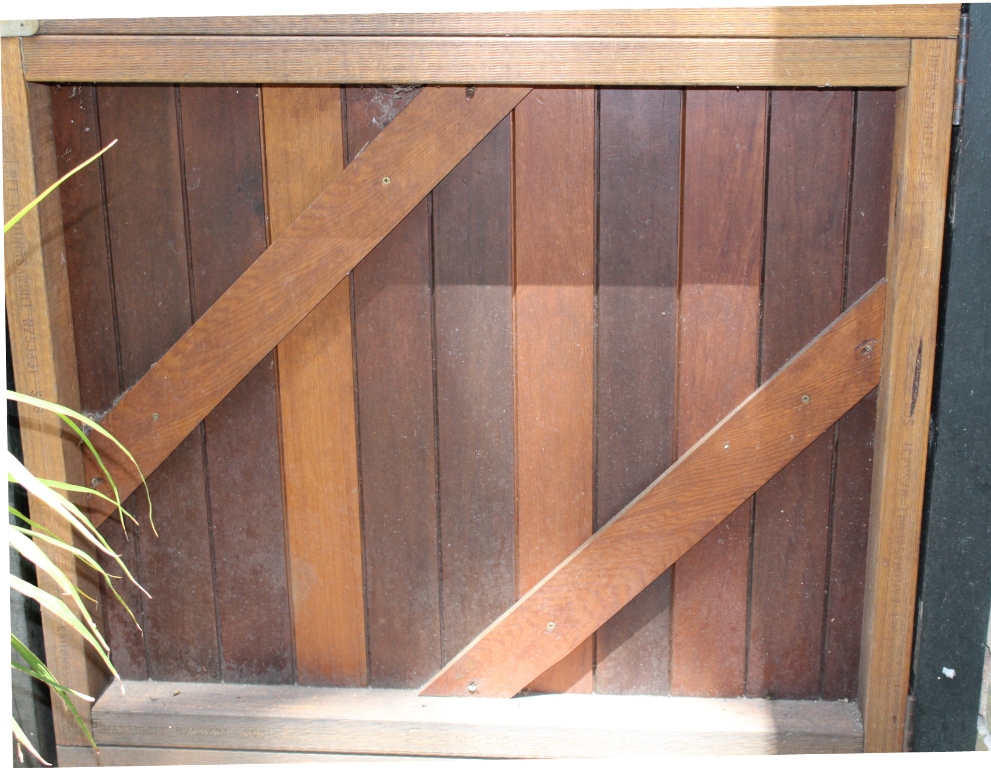
Cut the frame posts – 2 x Top and Base rail – 94cm, 2x 84 cm (top and base inner)at 2 x 78 cm (inner sides) and 2 x cross-brace timbers to strengthen with a mitre saw. Start the gate by cutting the top and bottom pieces to the same width/length as you planned for, slightly smaller than the opening in the fence. As seen here, and because we wanted something that will last and stay square, two extra top and bottom rails, inner, have been added to our design. We also used wood glue to strengthen the pieces and bond each length of timber.
Top and bottom planks. Drill a pilot hole for the screws before putting them in so that they do not split the wood. Fasten with deck screws to the sides, pre-drilling to keep the wood from splitting. Measure from the top bend to the opposite bottom corner. Both sides should measure the same.
As you start assembling, the gate framing, it's good to lay it out on a flat surface, such as a patio or driveway. Attach the top and bottom rails to the side rails, making sure it is square. Insert the inner top and bottom rails for added strength.
Cut an angled cross-brace and attach it to the top and bottom rails. This helps maintain strength and rigidity. Connect these to the frame boards that match the rest of the fence by using deck screws, pre-drilling as before.
Make your diagonal cut with a mitre saw. Place the diagonal onto the box and trance with a pencil where the angles go.
Cut and install the planks.
Once you've designed the frame and built it, all you need to do now is attach flat planks evenly over the front of the frame to finish your basic wooden gate. Measure planks from the top to the bottom of the frame and cut them accordingly. Cut planks using a table saw and secure them using deck screws or stainless steel nails, drilling pilot holes if using screws.
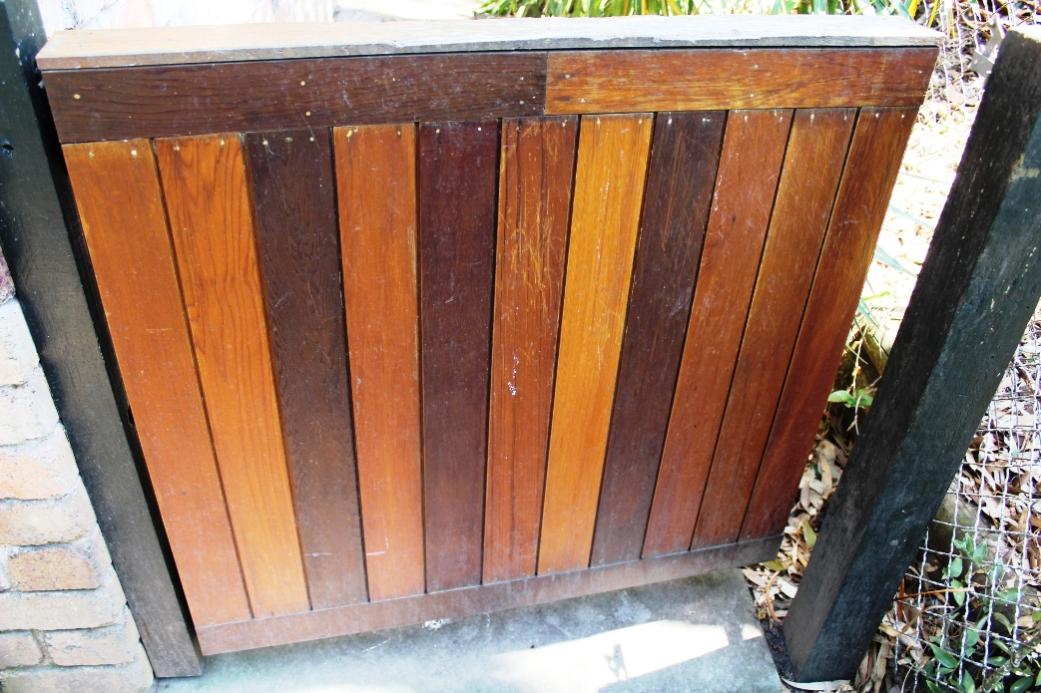
Finish the face of the gate. As you can see from this photo we have added 2 x 47cm planks at top and at base of the gate and then put 1 x 94cm plank across the top to give it a nice finish and add to strength and weathering (see photo at top of page).
Finishing the Gate
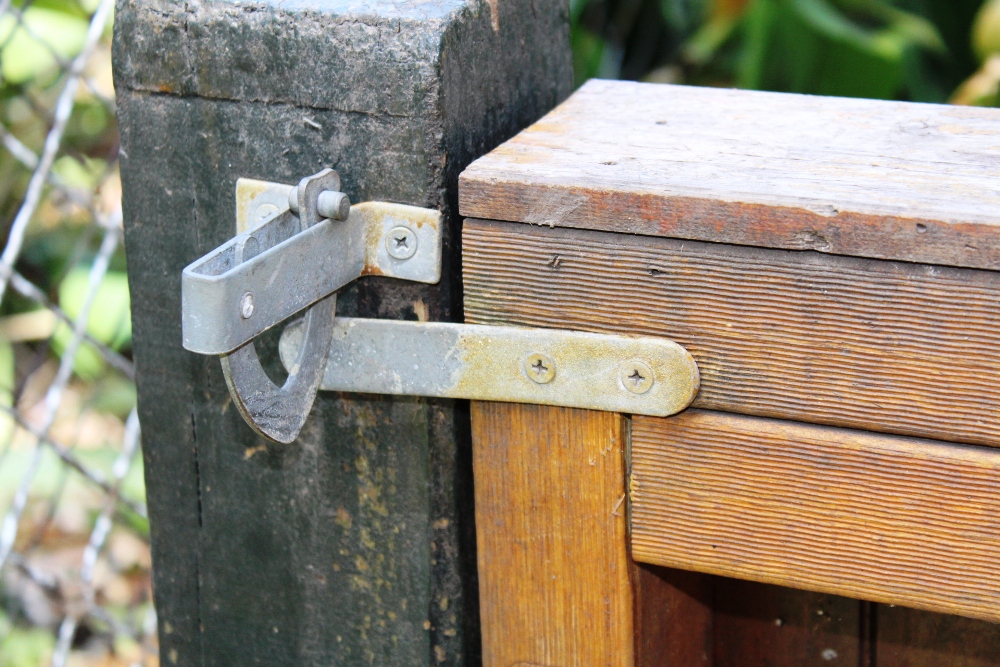
Install hinges and attach the gate to the fence. Put the gate into place, supporting it on the bottom with a piece of wood around 5-10cm off the ground. Use a pencil to mark where the hinge should go on the post, ensure this is away from the lower and upper edge of the gate to give added strength, and then put the gate down. Predrill where the screws will go. Prop up the gate and screw the hinges into the gate and attach the hinges to the post. We usually attach one screw into each hinge and then check the gate is level before installing the second one. You could use an extra pair of hands when doing this part to hold the gate steady while the screws are drilled flush.
Install a gravity latch. Most easy-to-use fences will use a gravity latch, which you can install after you've hung the fence. Mark where the screws will go with a pencil, then drill pilot holes and install the latch. Get the fit first before you put any finish on the gate.
Seal the wood
Make sure you cover every exposed surface with your sealer, using a paintbrush or garden sprayer to apply. You could also use a sponge on a stick that you can use to spread it around, if necessary.
Try to cover the whole surface evenly, making sure you get the bottoms of the planks, which tend to absorb more water than the face grains. This is the area most likely to rot or become discoloured. Let dry for a couple hours and you’re done – one new puppy kept safe with one new gate.
If your furred little squirmer will still be able to escape beneath or at the side of this, simply add an extra plank of wood at the base and side until he/she has grown too big to find their way out.
Below run some great high quality tools and products specials to help you with this project or any others all DIYers may find useful to help them get Stuck Into Summer - for product or project guidance please visit your local JBH Mitre 10 store at Narrabeen, Mona Vale or Avalon and talk to their trained friendly staff on what will work best for your yard and your gates or any other improvements you plan to make around the home.
BOSCH 500W IMPACT DRILL 33,000 BPM impact rate. Keyless 2 sleeves for comfortable handling. $79.00
BOSCH 18V LI-ION DRILL DRIVER 1 speed. Includes 2 x 18V Li-Ion batteries and charger. $148.00

MAKITA 12V MAX LI-ION 2 PIECE COMBO Includes 2 x 1.5Ah batteries and charger. $199.00
SPEAR & JACKSON UNIVERSAL SAW Rigid blade minimises whip and vibration. Finger guide for accuracy. $19.00
STANLEY SCREWDRIVER & HEX SET 20 Piece. Includes 9 screwdrivers, 5 hex keys, 5 precision screwdrivers and offset. Chrome vanadium steel.
$25.00

STANLEY FATMAX HEAVY DUTY BOX LEVEL 1200mm. Includes carry bag. $59.00
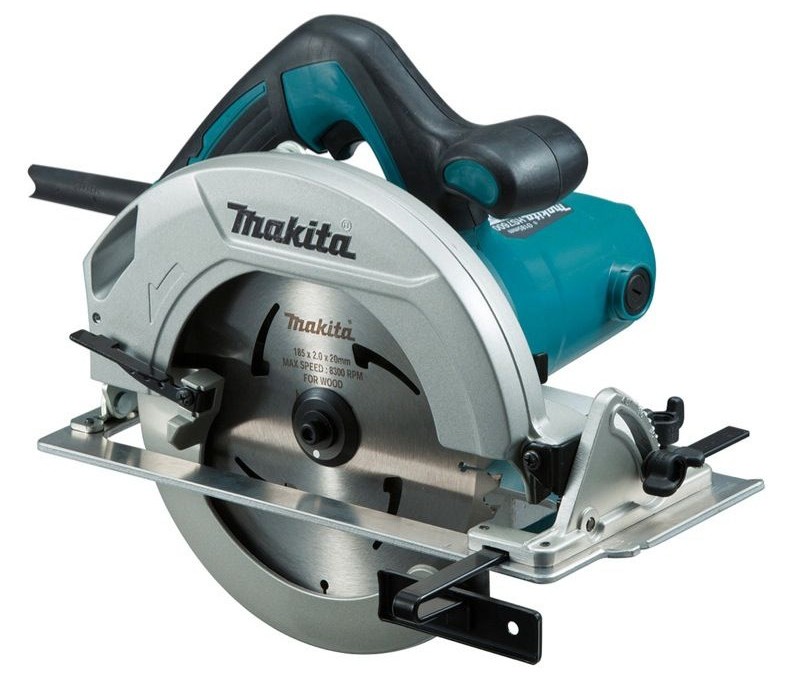
MAKITA 1200W CIRCULAR SAW 185mm. 2m cord. $99.00
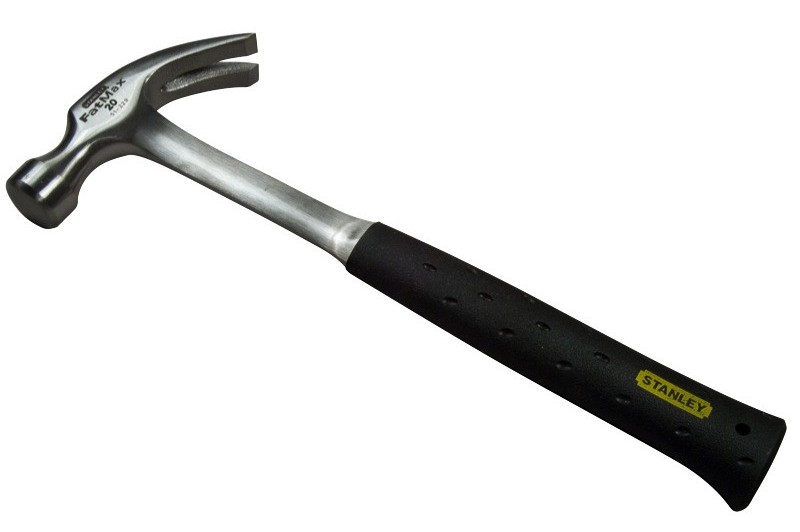
STANLEY FATMAX STEEL HAMMER 20OZ One piece forged steel. Slip resistant handle. $29.90

PROTECTOR HIGH PERFORMANCE EARMUFFS Suitable for use with chainsaws and ride-on lawn mowers. High impact acoustic cups. $24.90
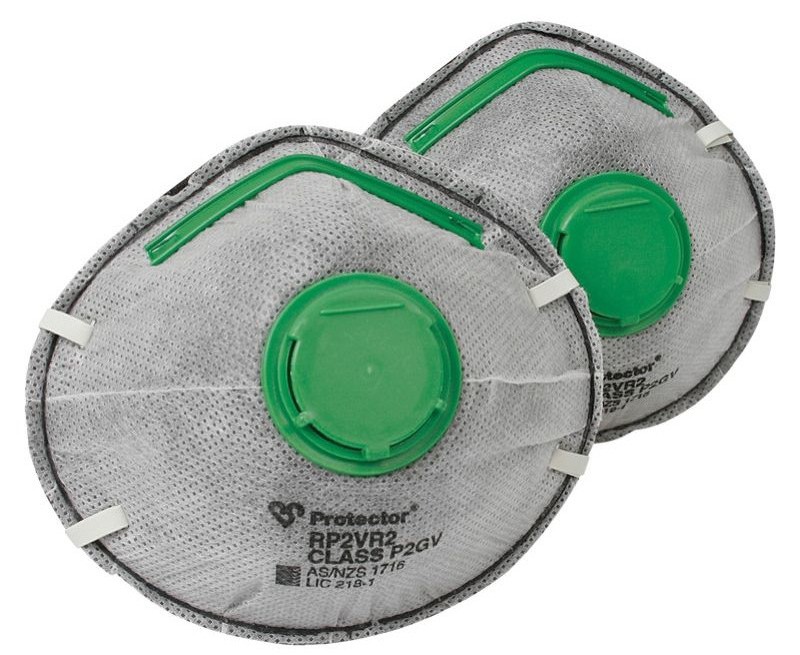
PROTECTOR MULTI MATE RESPIRATORS P2 rating for protection against dust, mists and fumes. Pack of 2. $9.98
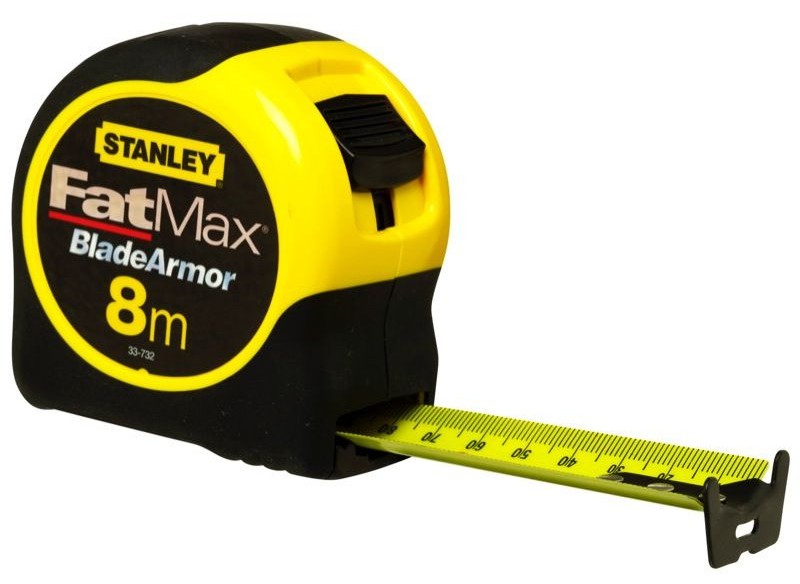
STANLEY FATMAX TAPE MEASURE 8M METRIC 8m. Metric. 32mm blade. $27.90
Click on logo to visit Johnson Brothers Mitre 10 website
Johnson Bros Mitre 10 - Avalon (02) 9918 3315
Johnson Bros Mitre 10 - Mona Vale (02) 9999 3340
JBH Timber & Building Supplies (02) 9999 0333
JBH Fencing & Landscape Supplies (02) 9970 6333