Under the National Construction Code a balustrade is required where someone could fall one metre or more from a floor or accessible roof of a building. Balustrading must be provided alongside any stairway or ramp, floor, corridor, hallway, balcony, veranda mezzanine or path of access to a building that isn’t bound by a wall. What's required is listed below, as is the required materials when using timber.
When building or renovating it’s important to understand the safety guidelines pertaining to balustrading, which relate to the actual balustrade design and also the substrate it’s fixed to. It’s also important to consider the style of your home and the other materials adjacent to the balustrading. For example, Stainless steel wire under tension is a popular modern balustrade design and it meets the regulations.
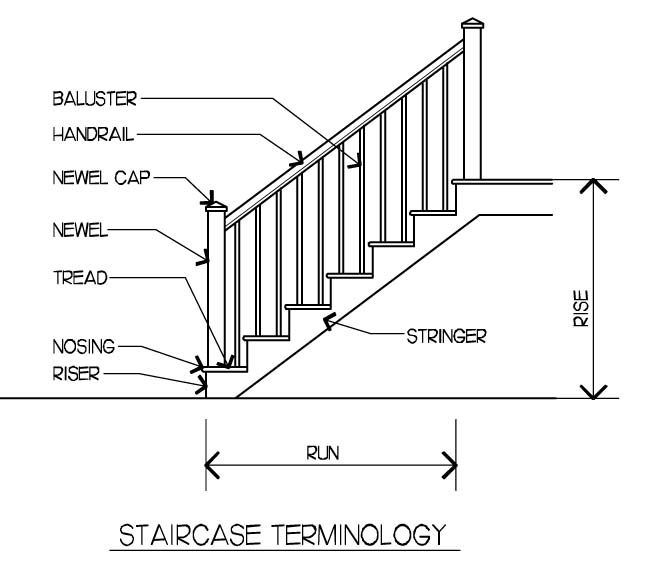
How to Replace a Rotted Wood Railing (toprail or handrail)
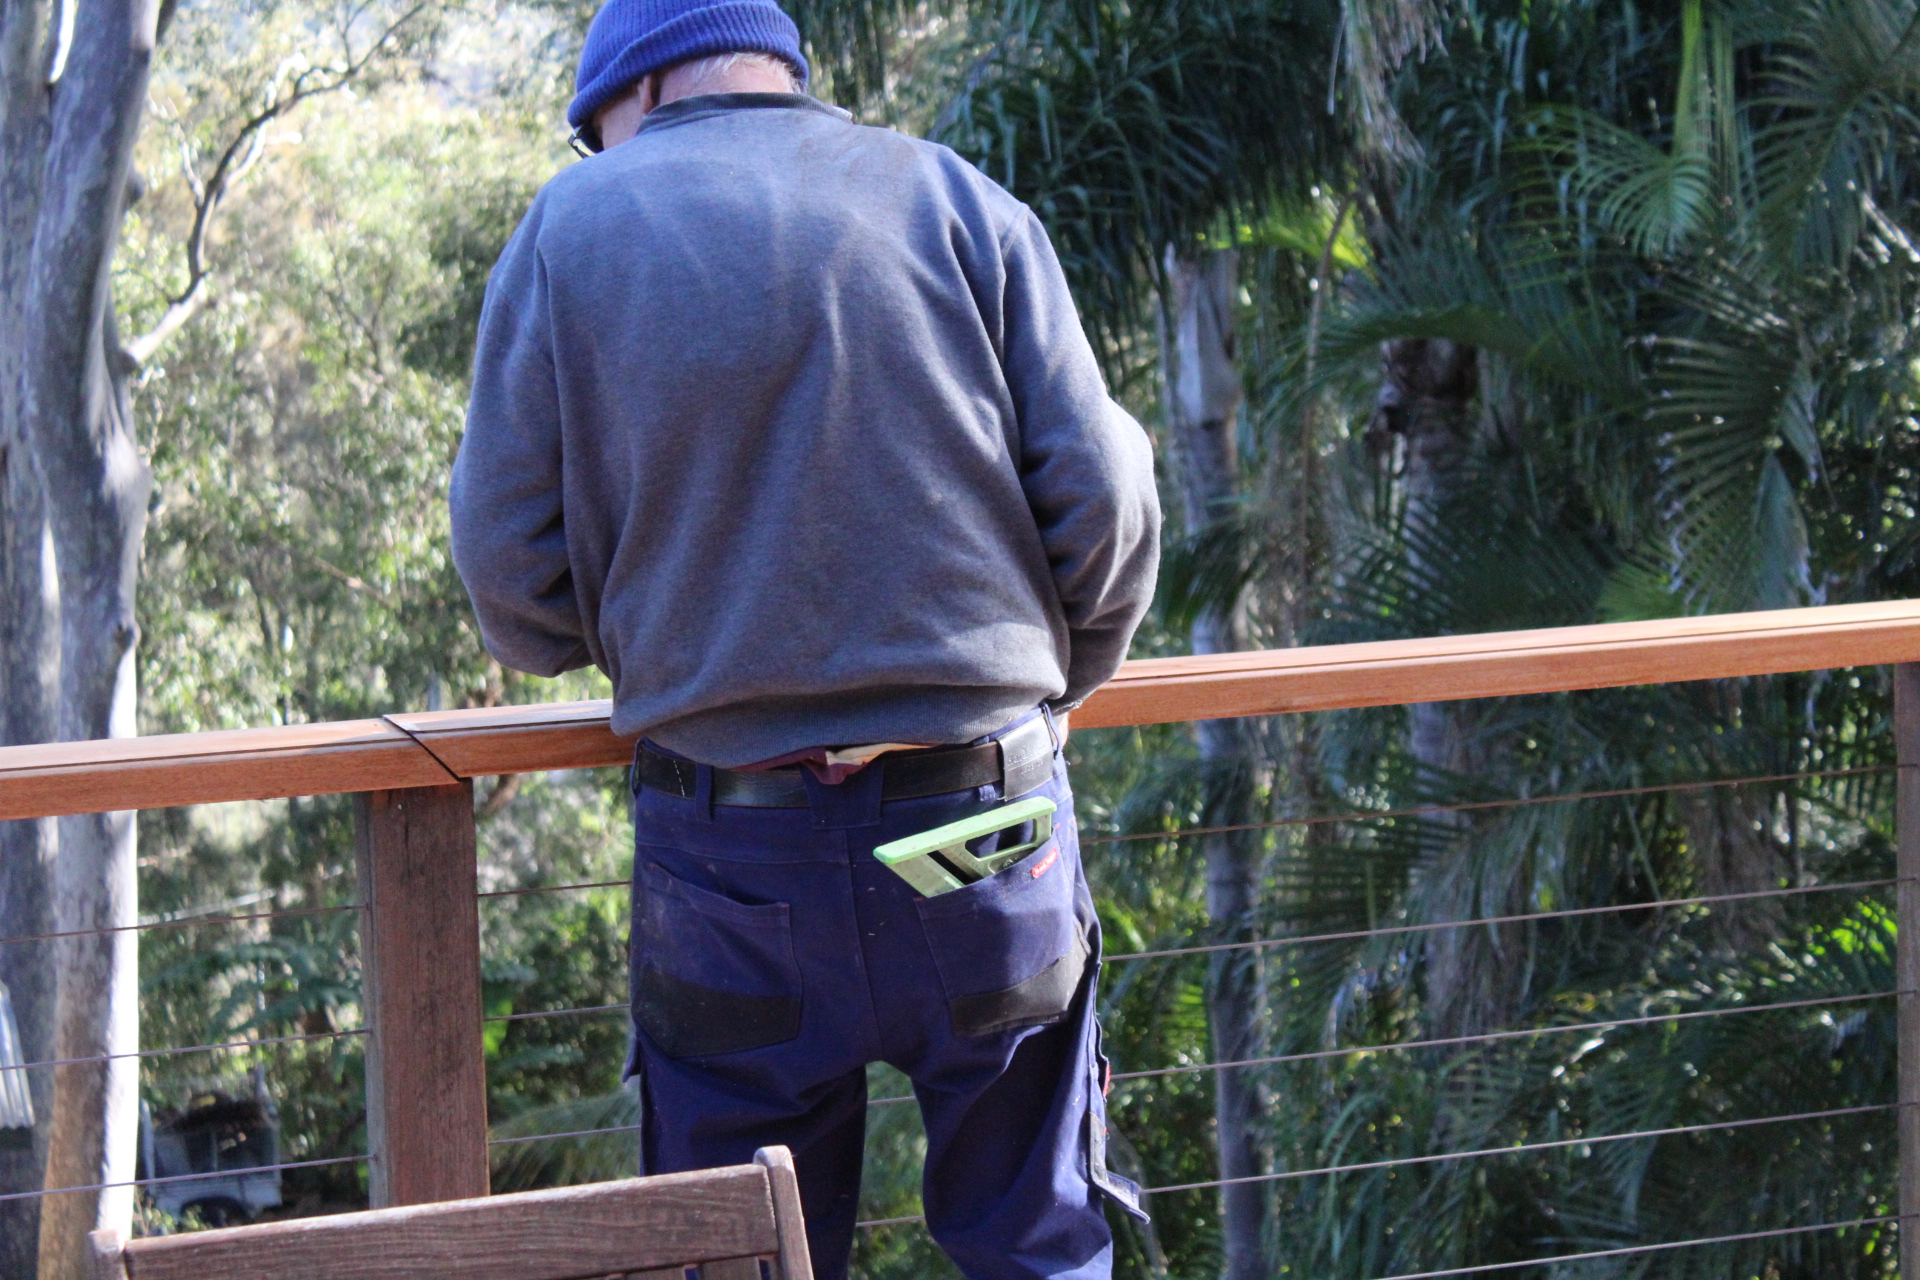
Rotted verandah railings are a safety hazard and can detract from the appearance of your home. In most cases, if a railing rots, it's because the wood used was not properly treated to resist the effects of weather. There are wood products available today that resist weathering and can be stained or painted to match the existing verandah and railings. If an entire section of railing and balusters is rotted, it may be best to employ a licenced professional. Otherwise, you can replace a rotted railing using a few carpentry tools and some fasteners.
Removing a Railing
1. Measure the section of railing between the posts. Cut a piece of pine to length as a stabiliser for the balusters, using a circular saw.
2. Set up a cordless drill with a magnetic screw-tip attachment. Fit the head of a 3.85mm deck screw onto the tip of the attachment..
3. Working from the verandah, position the pine stabiliser horizontally and flat against the balusters, about one foot below the rotted railing. Attach the stabiliser to a baluster near the centre of the section of railing, using the deck screw. Install an additional screw through the stabiliser at each baluster.
4. Measure for diagonal braces -- that install between the stabiliser and the ground -- at the outside of the verandah and between the stabiliser and the verandah deck. Cut pieces of pine to length. Install the diagonal braces by attaching the upper ends of each to the pine stabiliser, using a deck screw.
5. Pull out nails or screws that secure the ends of the rotted railing at the posts, using a nail bar and hammer or the drill and screw-tip attachment. Remove the nails or screws at the surface of the railing at each baluster. Remove the rotted railing.
6. Now is an opportune time to replace any rotted balusters, posts or treat these with products if they're fine to ensure longer life of the wood.
Install New Railing
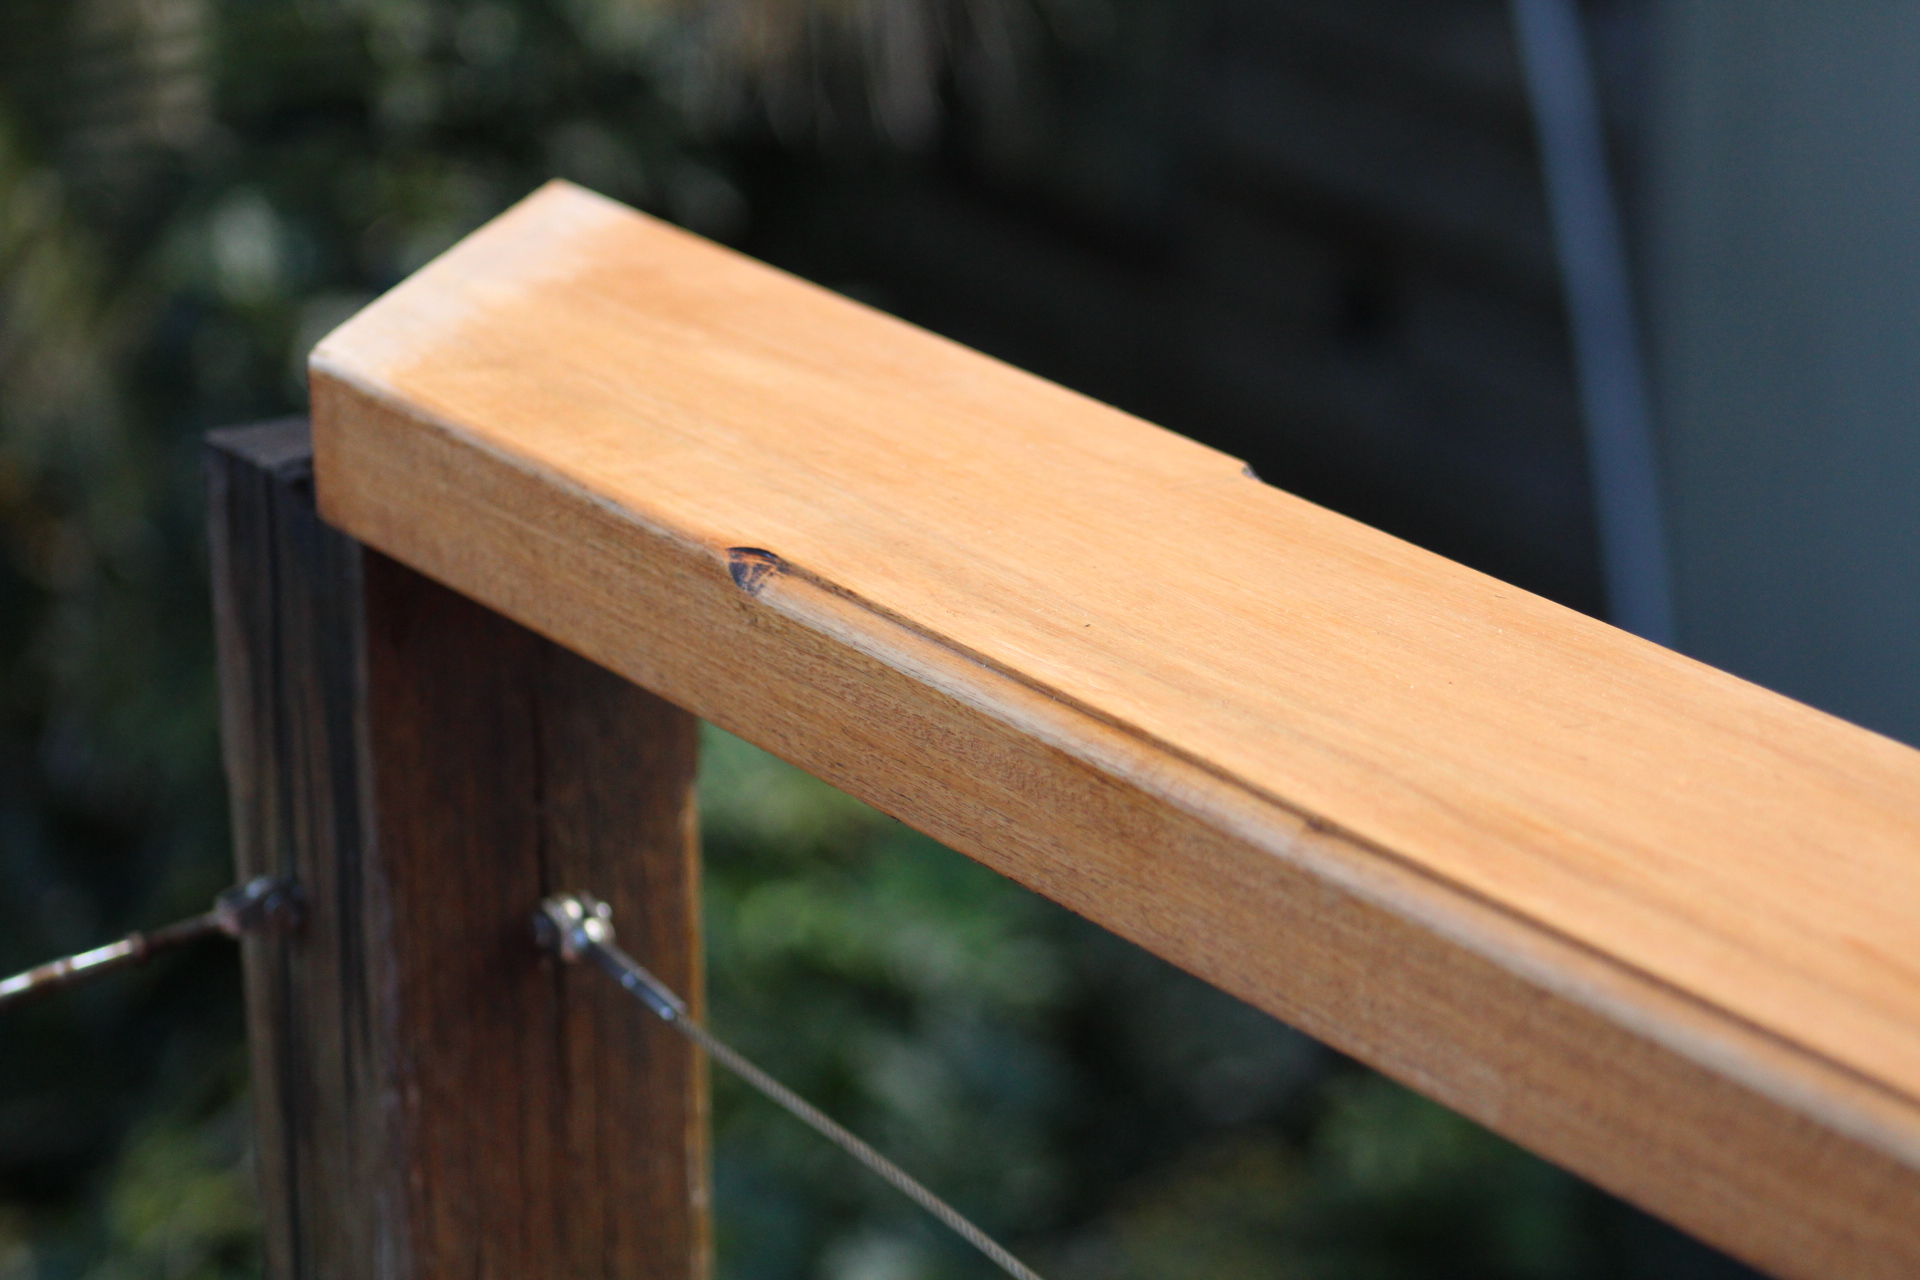
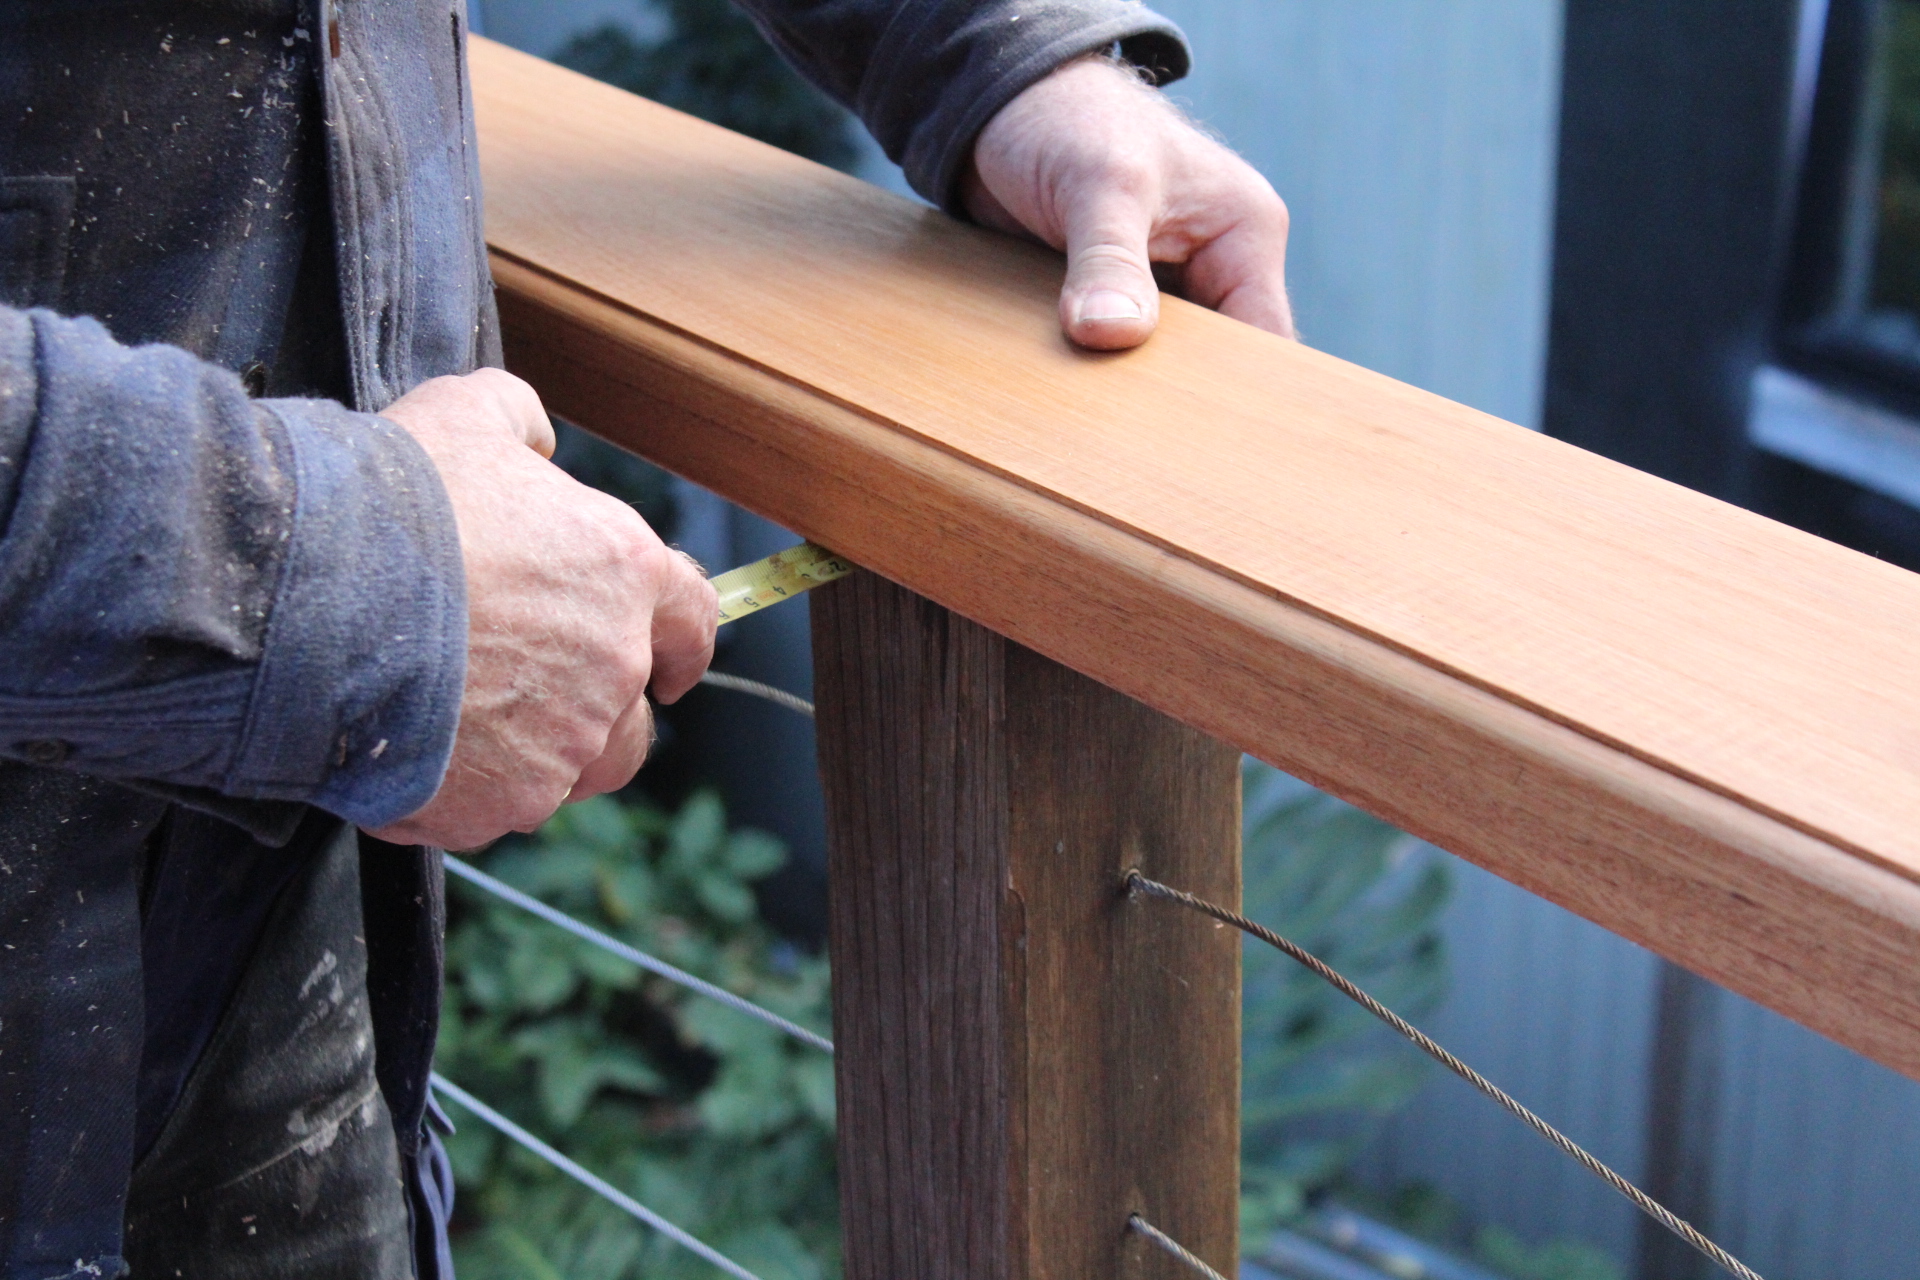
1. Measure the distance between the posts and add 1.5875mm to ensure a tight fit. Measure and mark a piece of wood to length. The size of the redwood used should be the same as the existing railings and may be smaller or larger than the sizes given. Square the mark across the face of the piece, using a builder's square.
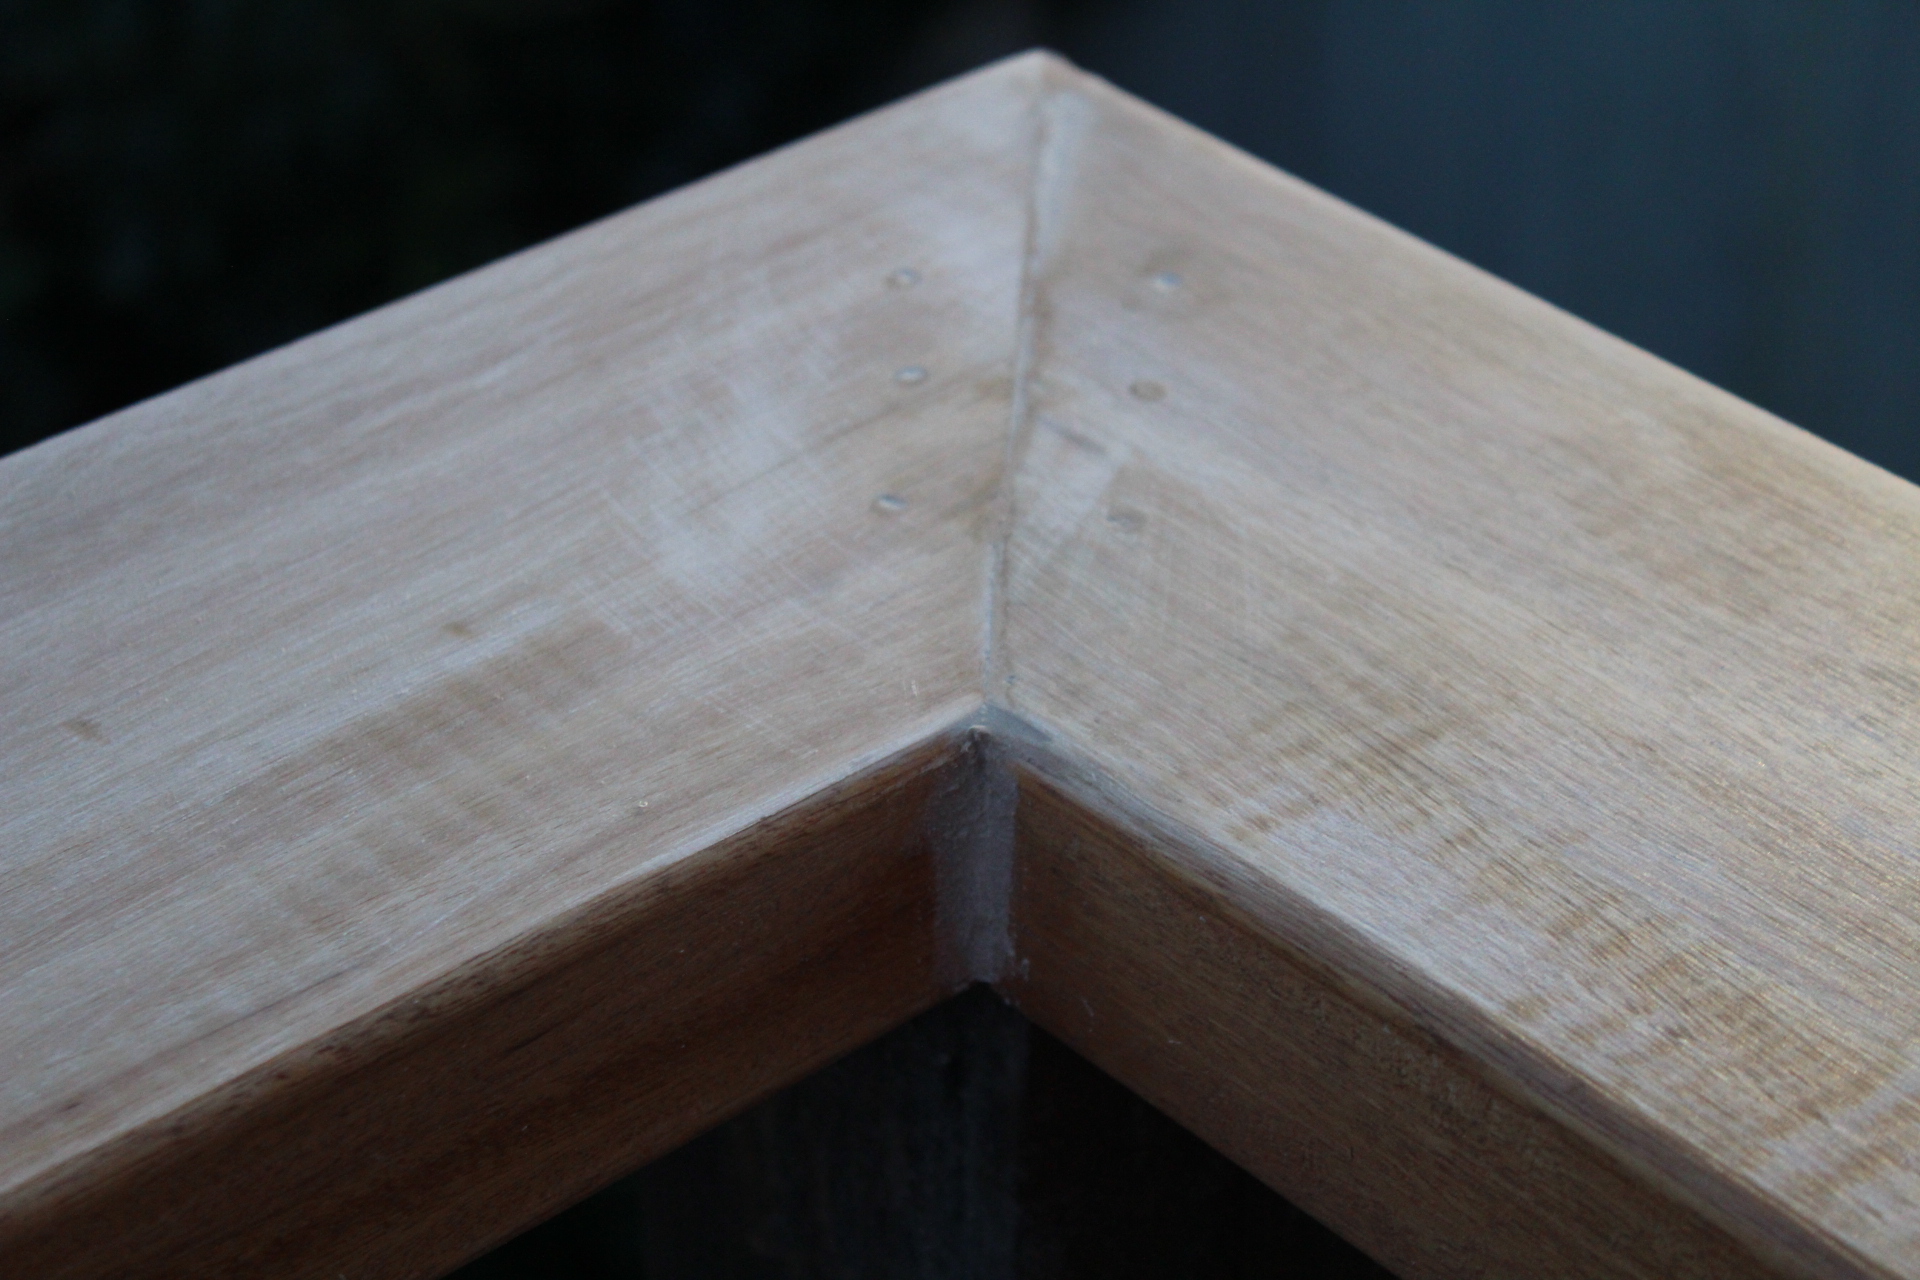
2. Cut the wood railing at the squared mark. Remove burrs at the cut end, using a sanding block.
3. You don’t have to rip shoulders or indents on the rails, but shoulders will help shed water and improve the rail’s appearance. Set the table saw at 30 degrees and adjust the fence so you’ll have a wide flat spot between the bevels. (Rip with the narrow part of the wood resting on the saw table.) It's also a good idea to stain the underpart of the rail length and apply one coat to the top at this stage so you're not bending to do this once it's installed.
4. Hold the railing flat and position one end against the post at one end of the section. Even the outer edges of the railing uniformly at the inner and outer edges of the post and press the opposite end into place. Use a wooden block and the hammer to even the outer edges of the railing uniformly at the inner and outer edges of the opposite post. You may need an extra set of hands to lift this into position for longer sections.
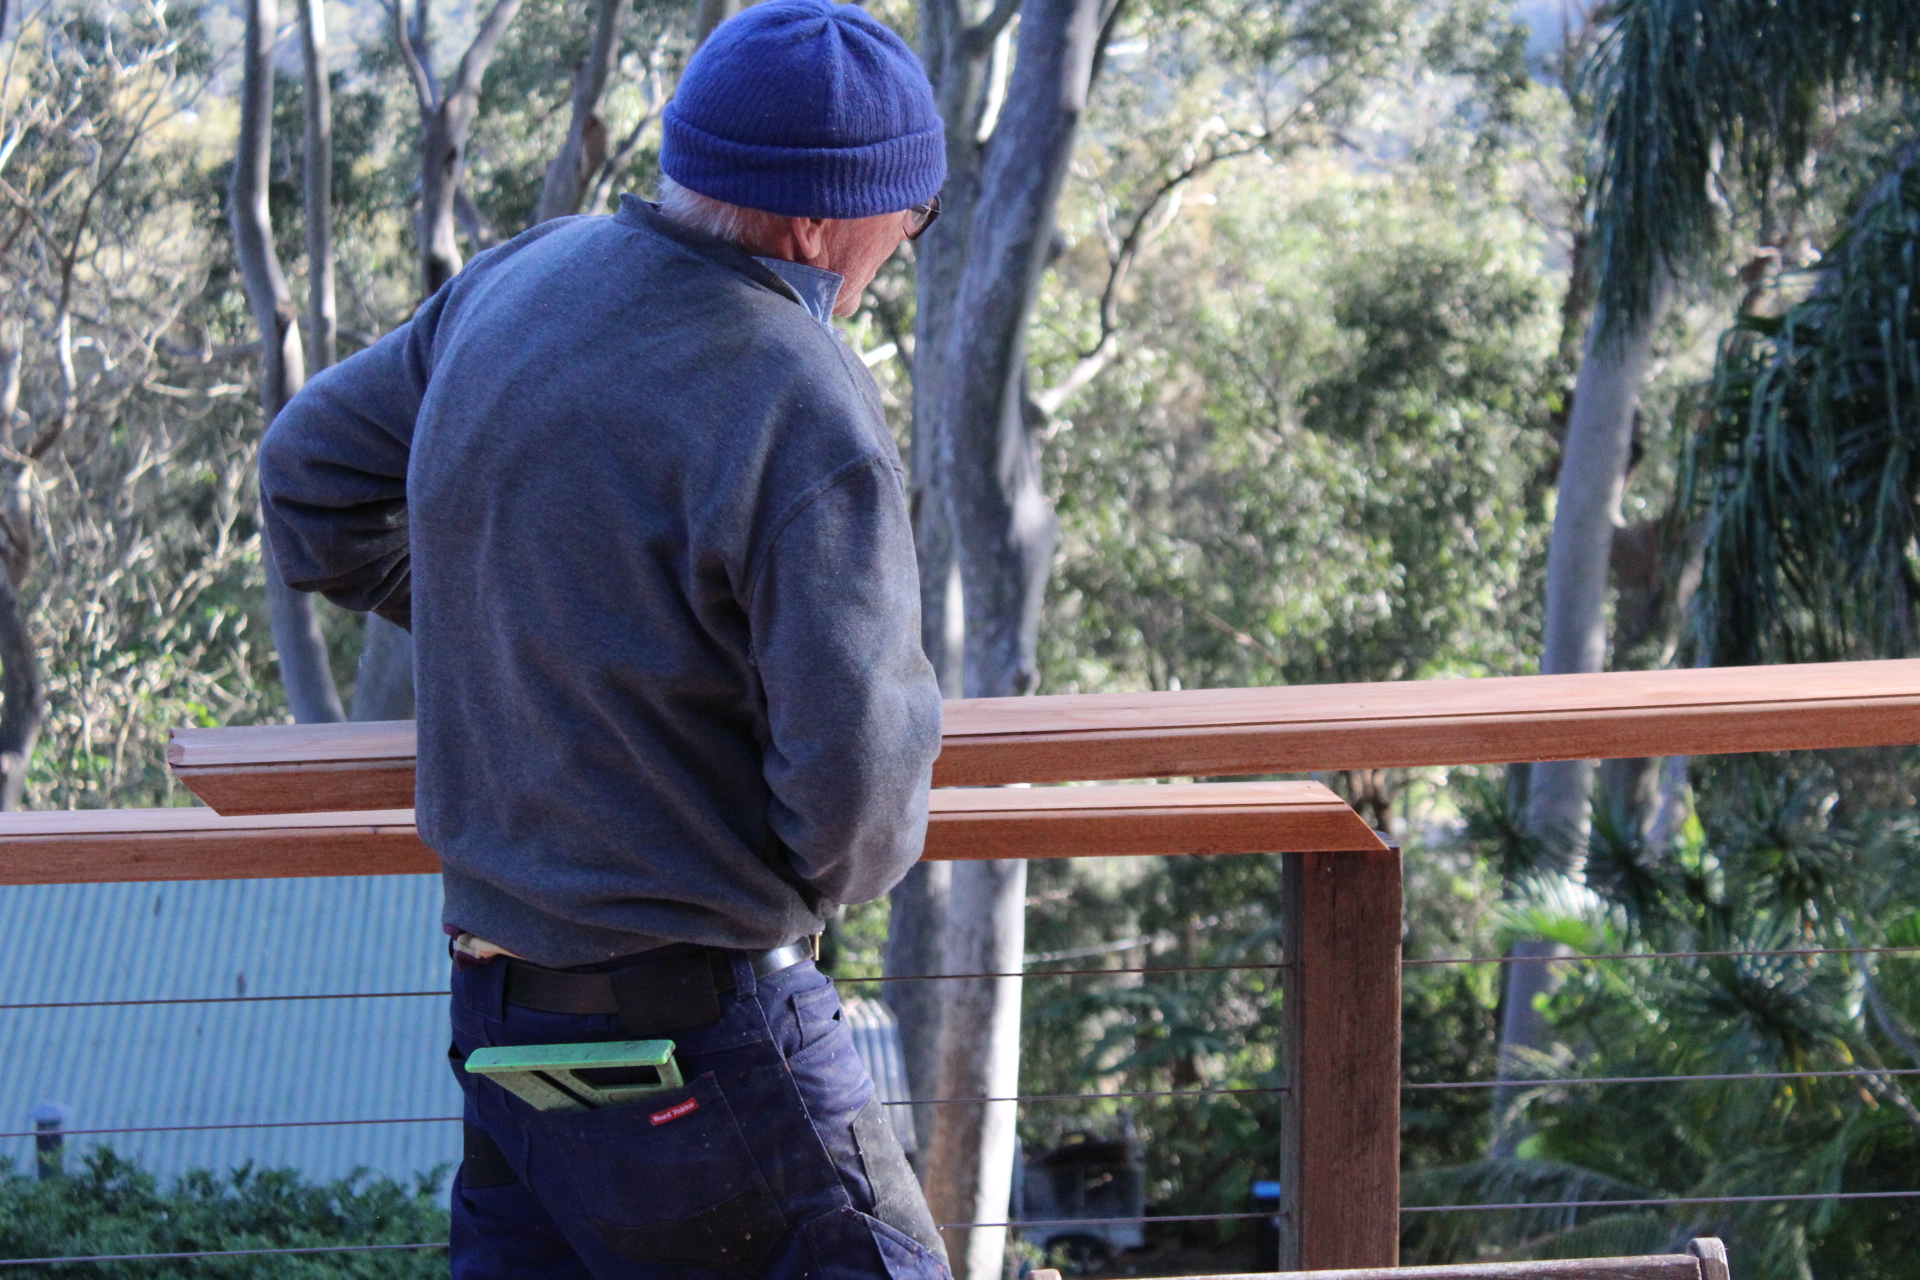
5. Fit the underside of the railing tightly against the tops of the balusters or posts, using the wooden block and the hammer. Use a level to ensure it is flush.
6. Measure the distance from the outer side of the balusters or posts at each end to the corresponding edge of the railing. Re-position one or both of the diagonal braces so the measurements are similar, if necessary.
7. Install a 6.35mm countersink bit into the drill. Drill 3.175mm deep countersinks that align with the top of each baluster along the centreline of the railing from end to end. Drill additional countersinks at the outer edges of the railing at each end. Ensure each of these are 3.81mm from an end and at the centre of the edge from top to bottom.
8. Install the screw-tip attachment in the drill. Drive a 7.62cm deck screw at each countersink and into the top of the corresponding balusters or post. Drive additional screws at 45-degree angles at the countersinks at the ends of the railing and into the corresponding posts. Fill these smalls holes with builders bog as rain/water can penetrate wood through screw and nail holes and cause it to deteriorate. Sand those back once they have 'set'.
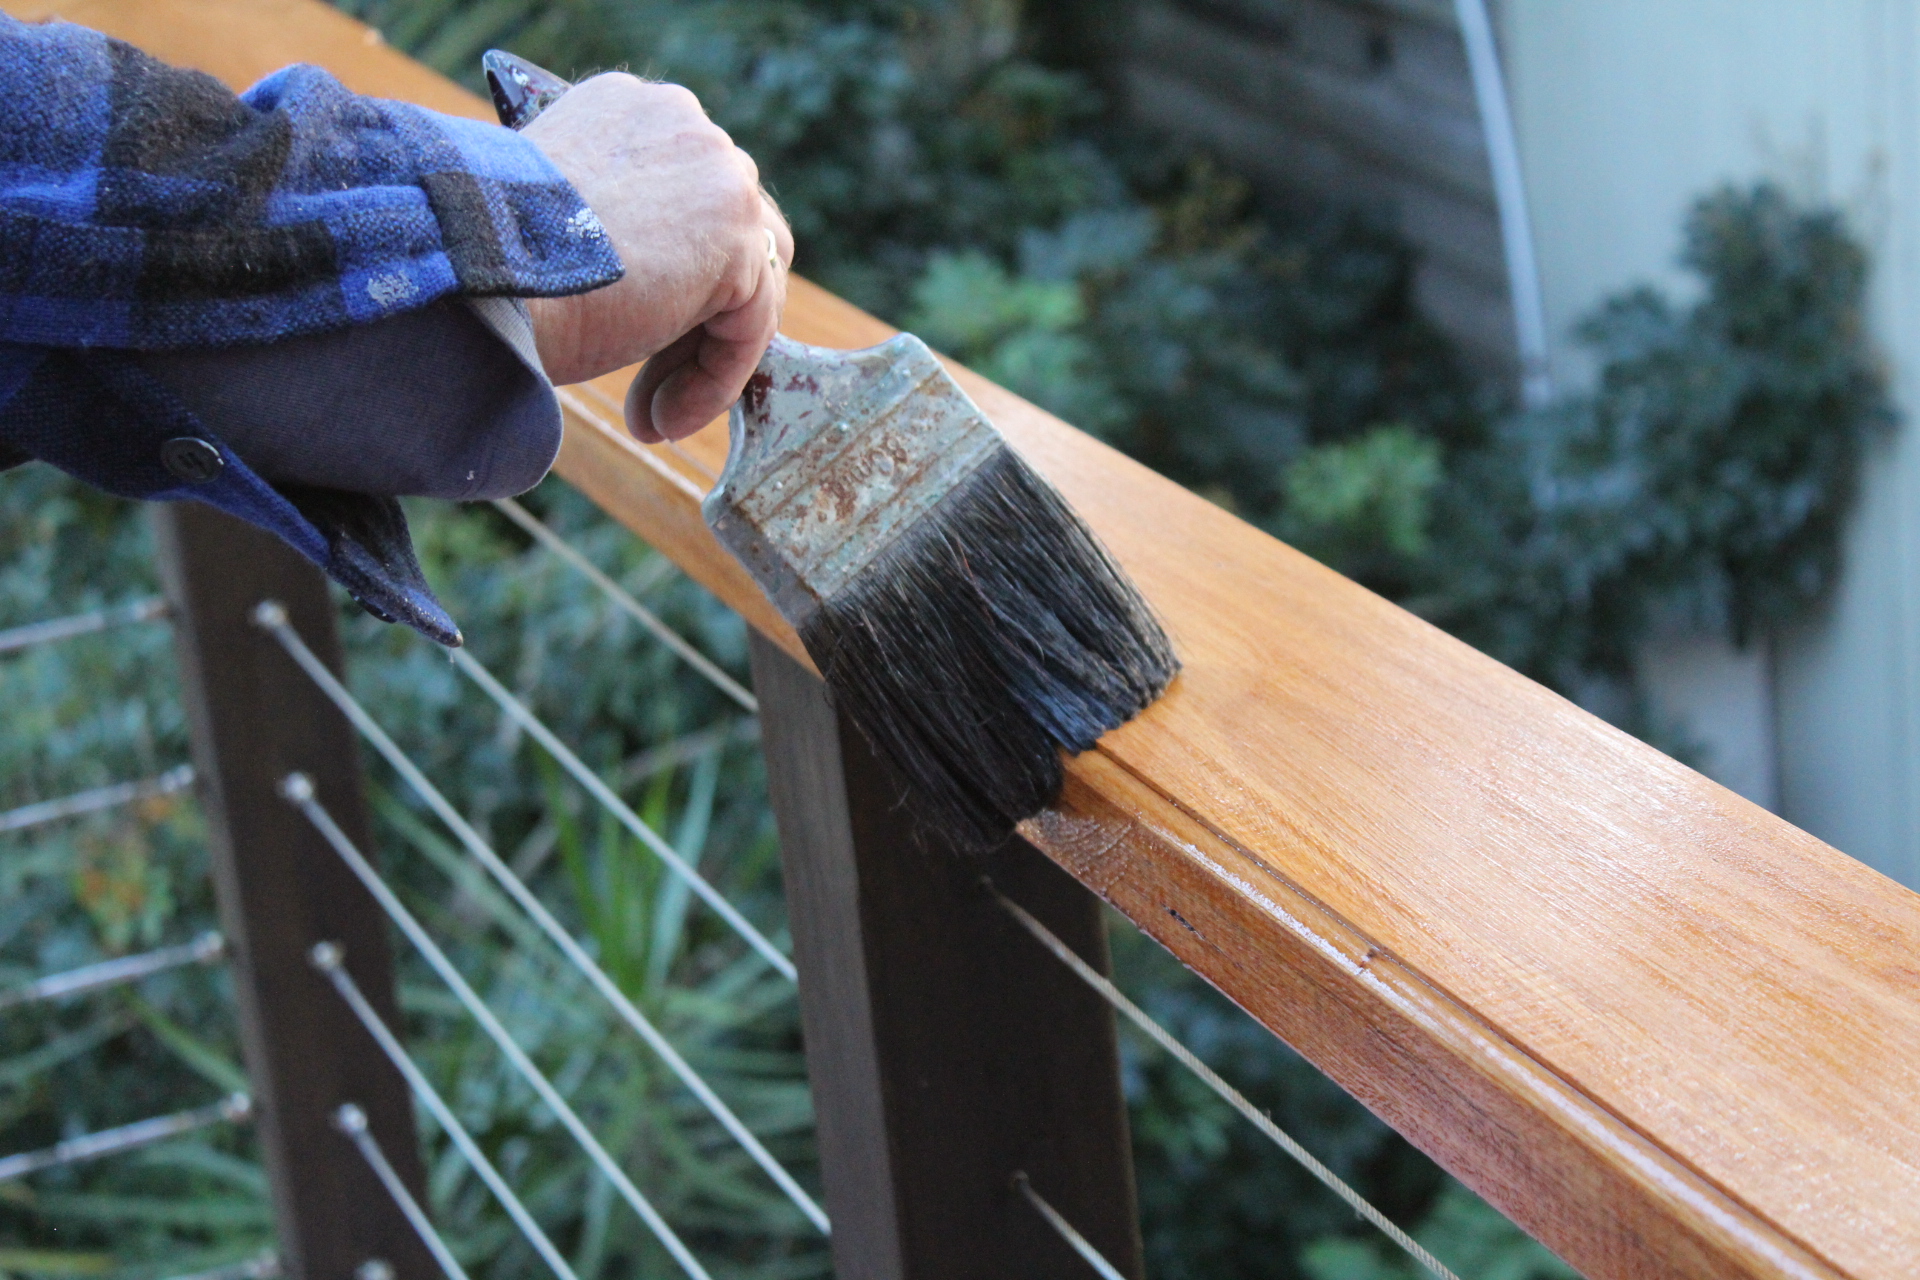
9. Treat the installed toprail with a stain product to protect it against the weather; rain and sun. Apply at least three coats initially. This is a great pocket-money earning get the youngsters involved stage of this project as long as they don't splash stain everywhere or apply it too thickly in one section and not enough in another.
Tools and Materials Needed
Measuring tape
Timber for Stabliser
Circular saw
Cordless drill
Magnetic screw-tip attachment
Nail bar
Hammer
Spirit Level
Builder's square
Sanding block
Wooden block
Countersink bit
Treated Pine of site specific timber of your choice
Deck screws
Timber Stain
Making it Easier
When pulling nails, use the hammer to fit the hooked end of the nail bar under the head of a nail. Position a wooden block under the stem of the nail bar and pry downward on the bar to pull the nail.
With some designs, the ends of the railing are notched around the posts. Cut the wood long enough for notches at each end. Mark the notches based on the size of the posts and cut the notches, using a jigsaw.
Safety First: Always wear eye protection such as safety glasses or a shield when cutting wood with a power saw.
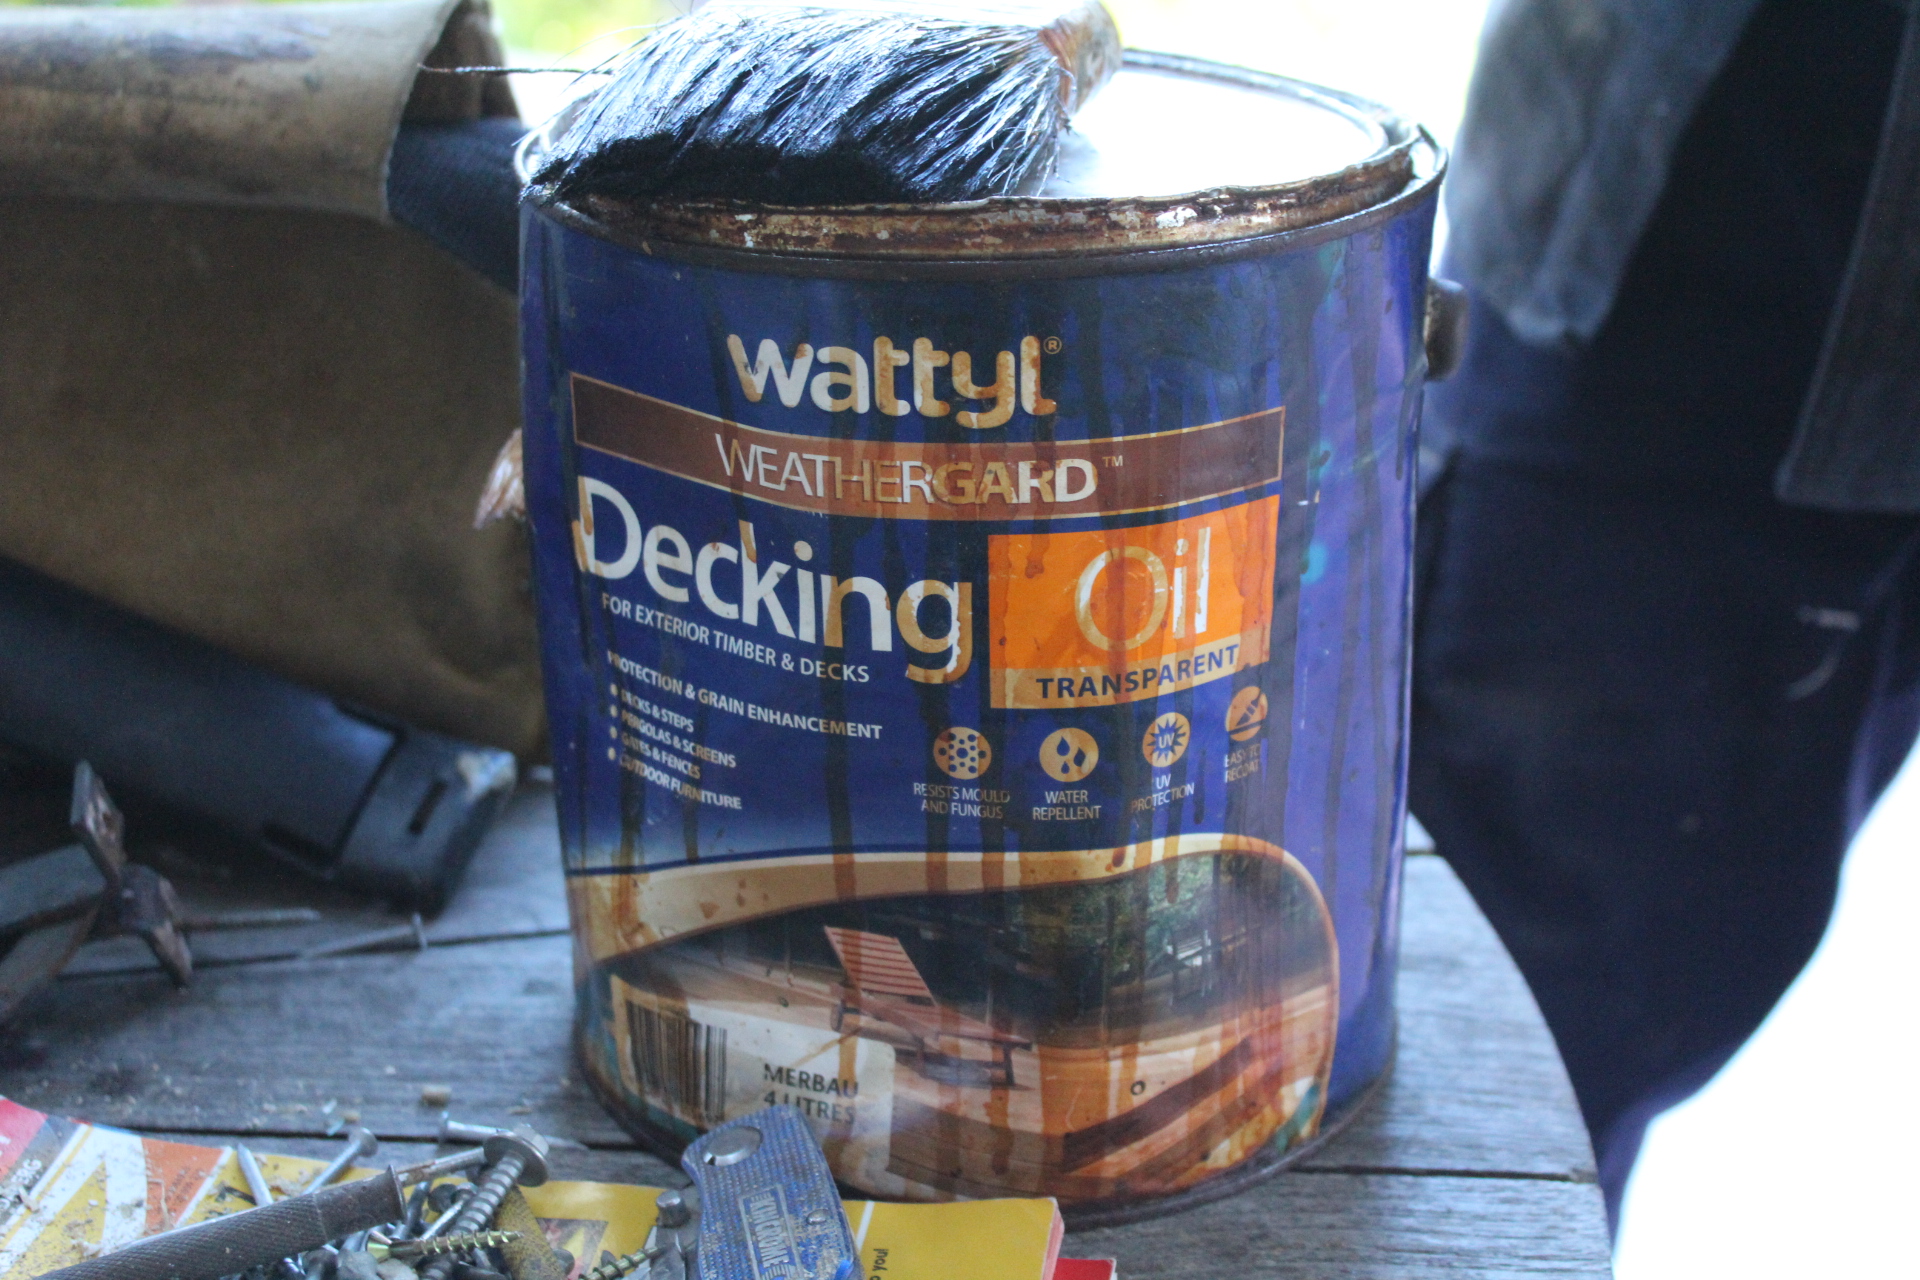
The Timber Stain we used for this project - available from JBH stores at Avalon Beach and in Mona Vale
Strengthen wobbly posts
You don’t have to live with loose, wobbly railing posts when a couple of bolts will make them safe and solid. Measure the thickness of the post/framing assembly, add 2.5cm. and buy 63mm. diameter galvanised fasteners that length (plus a nut and washer for each) from your hardware store.
1. Drill bolt holes: Drill the 1.27cm clearance holes well apart, one about 3.81cm from the top of the framing and one about 3.81cm up from the bottom of the post. You may have to angle the holes slightly to avoid joists, framing anchors or other obstructions. If your drill bit isn’t long enough to go through the post and framing, get a long spade bit. Versions up to 40cm long are available at hardware stores.
2. Drive in the carriage bolts: Tap in 1.27cm carriage bolts, shim if necessary to plumb the post, and install washers and nuts. Tighten the nuts until the bolt heads are set flush to the post. Most posts are held fairly plumb by the railing, but check them anyway with a level and tap in shims to straighten them if necessary.
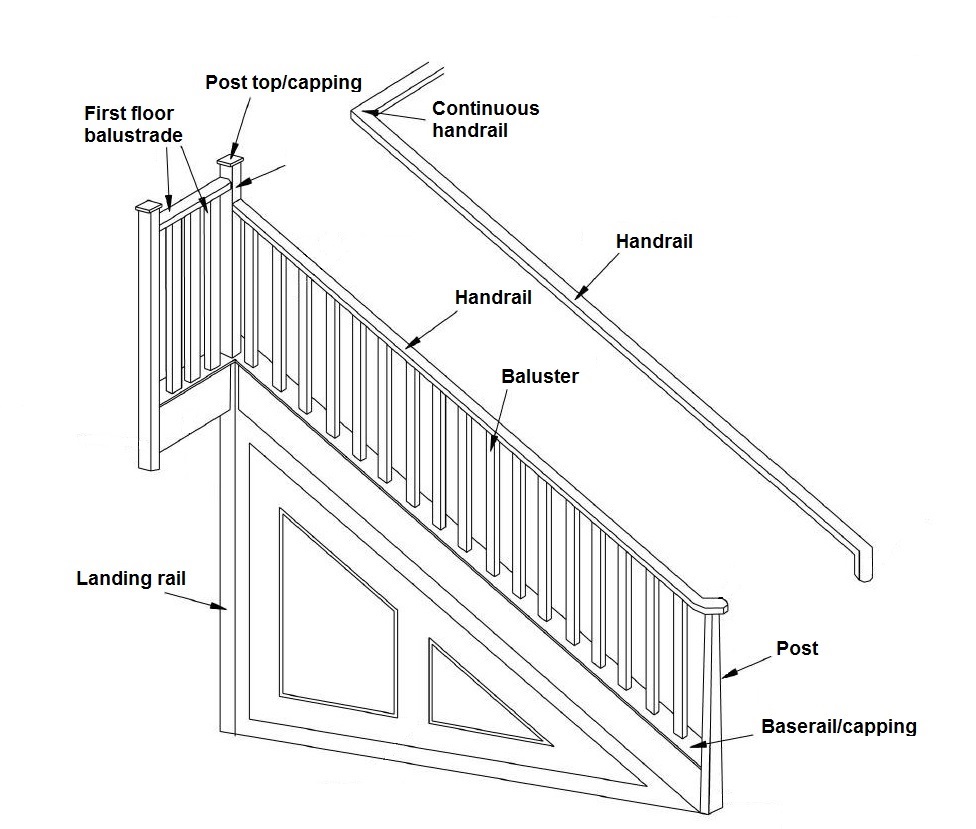
Balustrades Requirements
There are strict requirements when it comes to balustrades. In Australia Parts 3.9.1 and 3.9.2, Volume 2 and Australian Standard 1170.1 are written to ensure building that enables people to move safely between different levels of the building using stairs or ramps.
To prevent people from falling, a continuous balustrade or barrier must be provided alongside any stairway or ramp, any floor, corridor, hallway, balcony, verandah, mezzanine or path of access to a building if it is not bounded by a wall or any level more than 1 m above adjoining floor or finished ground level.
It is important to note that the measurement of the height of the balustrade or barrier is from the finished floor surface. Finishes such as ceramic tiles and even carpet can make a significant difference to the finished floor height.
The height of a Balustrade or Barrier must not be less than:
- 1m above the floor of any access path, balcony, landing where it is not bounded by a wall and its level above the surface is 1m or more than 4m where a person is able to fall through an open window
- 865mm above the floor of a landing to a stair or ramp where the balustrade or other barrier is provided along the inside edge of the landing and is not more than 500mm long.
A transition zone may be incorporated where the balustrade or barrier height changes from 865mm on the stair flight or ramp to 1m at the landing.
To comply with requirements of Acceptable Construction Practice, stairs should not have:
- more than 18 risers in a flight of steps to ensure that people negotiate a limited number of steps before a landing is installed so they can rest
- more than 3 winders in a ¼ landing where the going of the winders to either ¼ or ½ landings may differ from the remainder of the flight however they must be consistent with the landing and not varied individually:
- a riser opening greater than 125mm
- a going less than 240mm for a straight flight of steps.
The maximum gradient of a ramp should not exceed 1:8 and the floor surface must be non-slip.
Construction and Design
Balustrades or barriers should be constructed so that a person cannot fall over or through them while at the same time restricting a child crawling through them. Openings in balustrades or barriers must be constructed so that any opening does not permit a 125mm sphere to pass through it where for stairs this space is tested above the nosing line.
A barrier should be strong enough to resist collapse should a person fall or lean against it. A balustrade or barrier must be designed to take loading forces in accordance with AS 1170.1 which requires that a balustrade or barrier should be structurally adequate to withstand a point load of 0.6kN and an evenly distributed load of 0.4kN applied inward, outward, or downward on the handrail.
These design loads are intended to ensure that the barrier is rigid enough to withstand a person falling against it without collapsing (point load) and suitably rigid and strong enough not to collapse should people lean against the barrier (distributed load). The handrail must also be able to withstand wind loads, particularly where a solid panel is used externally.
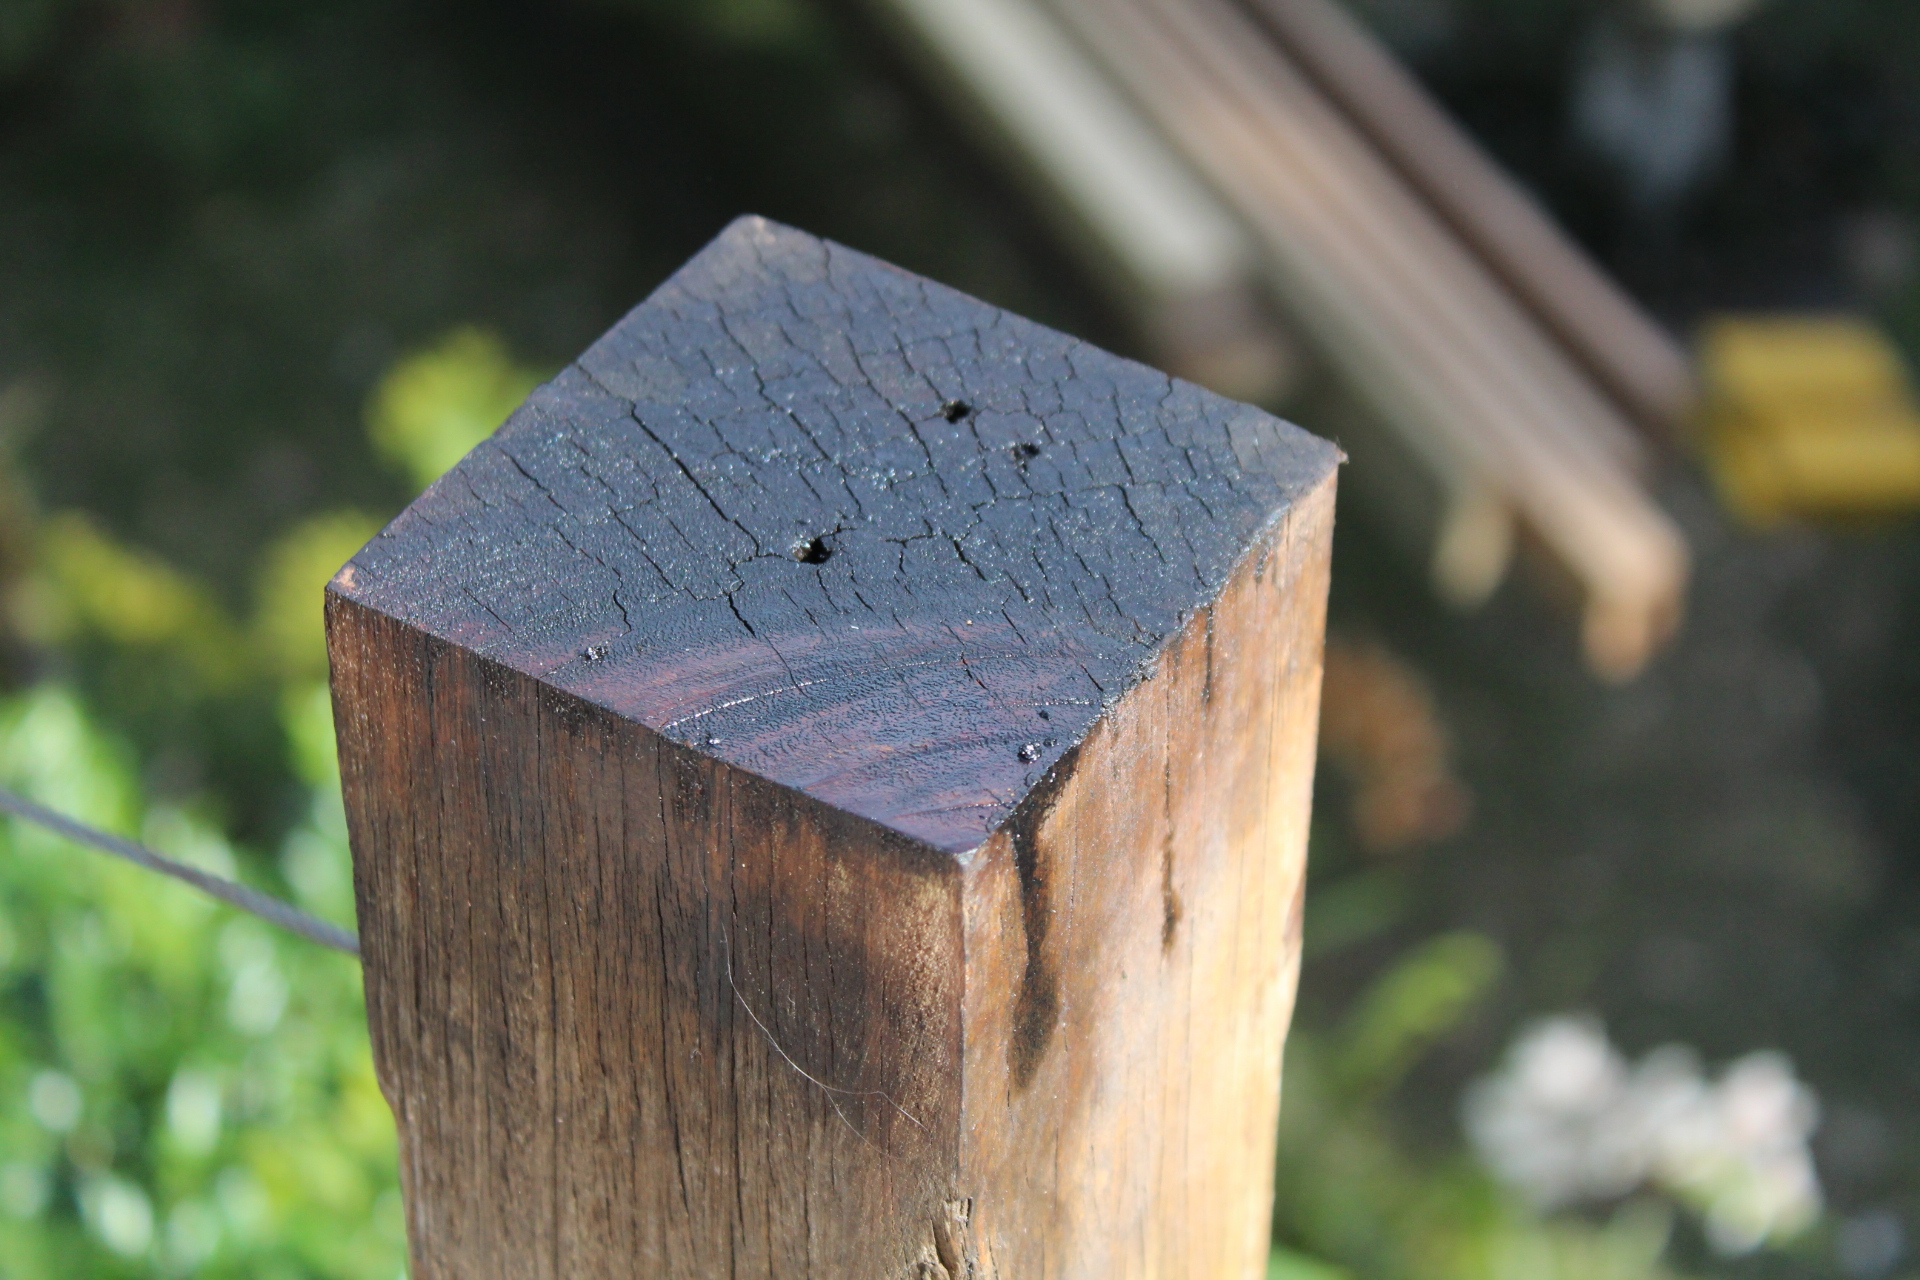
In weather or moisture exposed applications, handrails, posts, newels, balusters and infill should either be naturally durable Class1 or Class2 timber species such as Blackbutt, Spotted Gum, Ironbark, Jarrah, Merbau, or Kwila with any sapwood present treated to H3 standard. Alternatively, preservative treated softwood should be treated to H3 standard or higher and should comply with AS 1604. Ideally, the timber should be free of any major strength reducing features and be straight.
All metal connectors including nails, screws, bolts and brackets should be a minimum of hot dipped galvanised or for screws, Class 3 corrosion resistance as per AS3566. For coastal environments subject to airborne salts deposition, stainless steel or equivalent corrosion resistance metal connections should be used.
Nail holes should be stopped with exterior grade wood filler. Dirt or any loose material should be removed prior to coating. All timber-to-timber interfaces for all joints should have a seal coating of preservative formulation and all surfaces, ends and joints should be primed prior to assembly with a quality solvent based alkaloid primer or stain in accordance with manufacturer's recommendations. Two final top coats of exterior paint or stain should then be applied in accordance with manufacturer's recommendations.
For floors, more than 4m above ground, any horizontal elements within the balustrade or barrier between 150mm and 760mm above the floor must not facilitate climbing. To prevent this ideally, the balustrade should have vertical members spaced no more than the maximum opening or be a solid panel barrier.
Handrail and Barrier heights must not be less than:
- 1m above the floor access path, balcony or landing
- 865mm above the nosing of the stair
- A transition zone may be incorporated where the balustrade or barrier height changes from 865mm on the stair flight or ramp to 1m at the landing
- Posts are to be spaced maximally at 1.8m
- Wire must be stainless steel with a minimum diameter of 3.2mm
- Maximum wire spacing is 100mm
- Intermediate droppers are to be fitted at a maximum 900mm between posts and secured top and bottom
- Tensioners are to be placed on each strand of wire at each change of direction of 30 degrees or more
- A solid handrail is required of steel tubing with a minimum diameter of 40mm or timber as per the Timber framing Code AS 1684.2 1999.
For decks more than one metre above the ground, openings in balustrades, including decorative balustrades, cannot be greater than 125 millimetres. If your deck/verandah is more than four metres above the ground, balustrades cannot have any climbable elements located between 150 millimetres and 760 millimetres from the floor.
While retaining walls do not require a balustrade unless they are associated with a path of travel to, from or between buildings, it is still a good idea to provide a balustrade or other barrier in situations where there is a risk of a person falling from the retaining wall.
Make sure you don’t forget about stairs, because railings for stairs are just as important.
When people go up and down stairs, they generally use the railing for support. The railing can also act as a barrier. This means railings for stairs need to be sturdy and able to withstand appropriate pressures, such as the force of a person. For stairs, a barrier of at least 865 millimetres high above the ‘nosing’ of the stair treads is required.
You can measure the ‘nosing’ of the stair treads by placing a string line, or straight object, where each stair tread begins, forming a slope. The measurement of 865 millimetres can be taken vertically anywhere along this line to the bottom of the railing.
As with balustrades for decks and balconies, gaps in railings on stairs cannot have openings greater than 125 millimetres.
For stairs of more than four metres in height, a railing must also not have any climbable elements, such as horizontal rails, located between 150 millimetres and 760 millimetres from the floor.
Please note: Should repair or replacement of a balustrade be required, you are only required to comply with the standard that the dwelling/building was constructed to in relation to repair or replacement of the balustrade (or any other building element with the exception of pool fencing) however; if the replacement is part of a substantial renovation exceeding 20% of the system, the certifier may request replacement construction to a current standard.
Tools And Products To Help You Get It Done: From Johnson Brothers Mitre 10
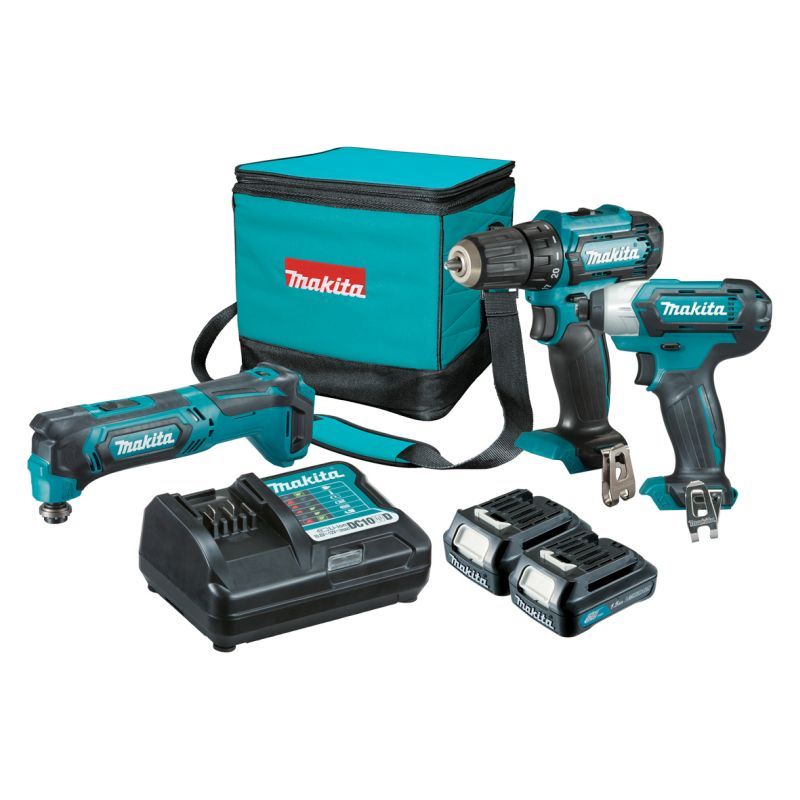
MAKITA 12V MAX 1.5AH 3 PIECE COMBO KIT CLX307: $269.00
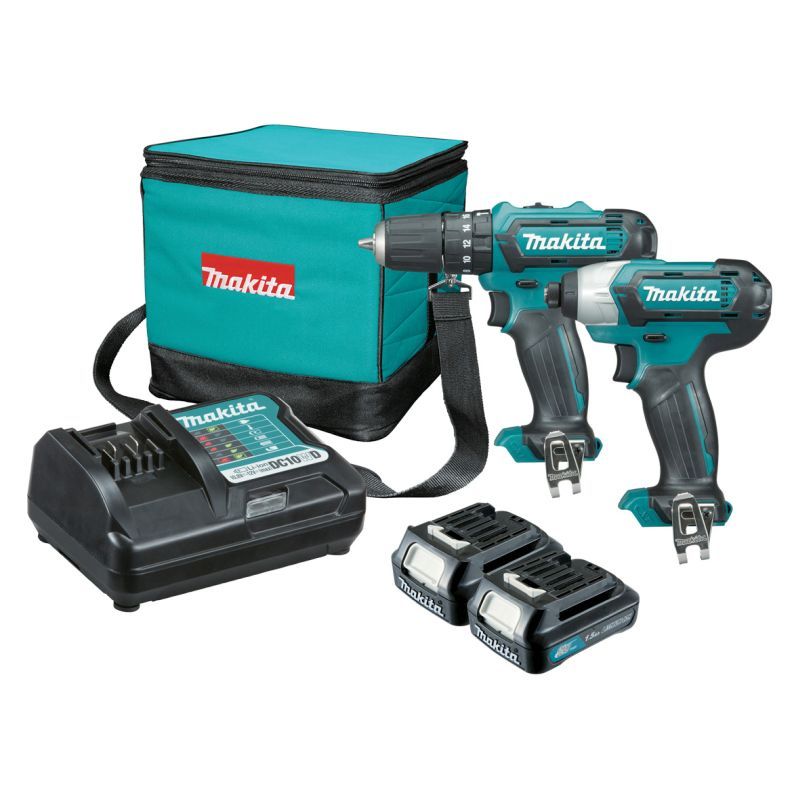
MAKITA 12V MAX 1.5AH 2 PIECE COMBO KIT CLX202: $199.00
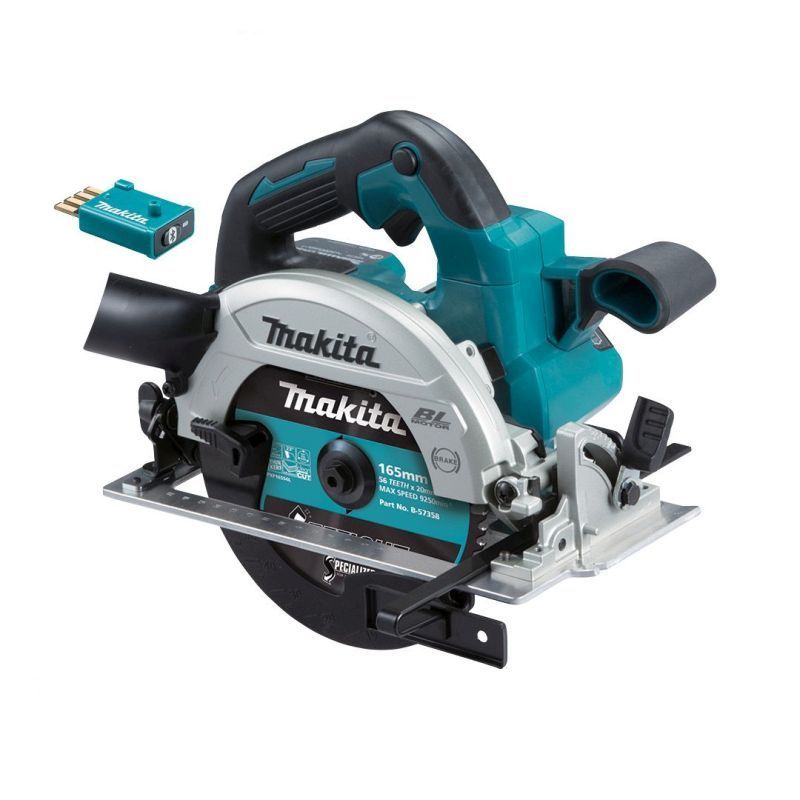
MAKITA 18V LI-ION BRUSHLESS AWS 165MM CIRCULAR SAW SKIN: $349
Dust extraction nozzle for connection to dust extraction vacuum. Efficut blade (right side). Blower function. Electric brake. Skin only - battery and charger sold separately.
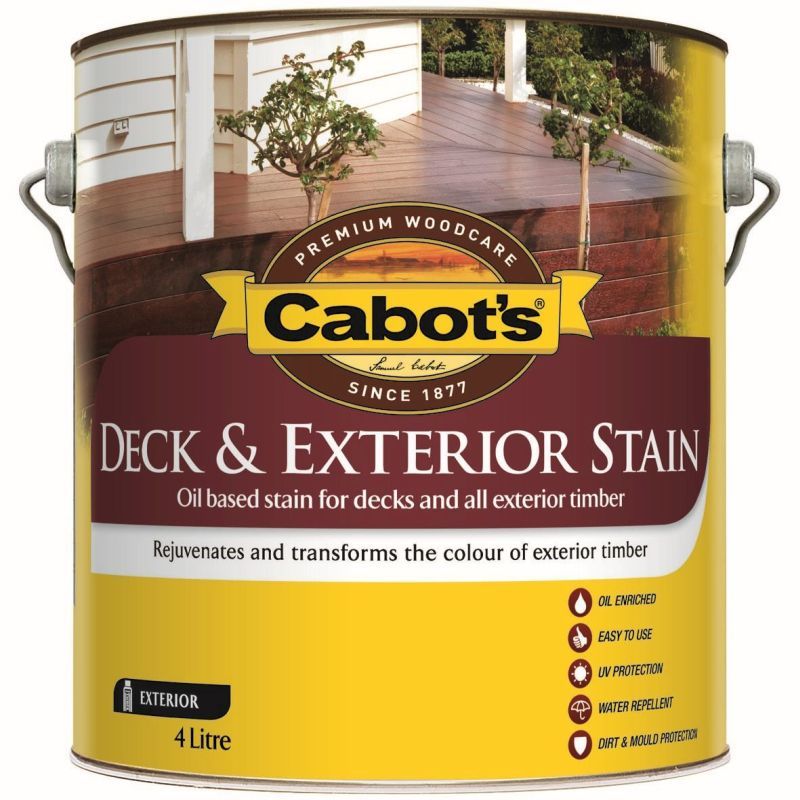
CABOTS DECK & EXTERIOR STAIN NEW JARRAH 4L: $89.00

Ends 29/12/2019 - Details
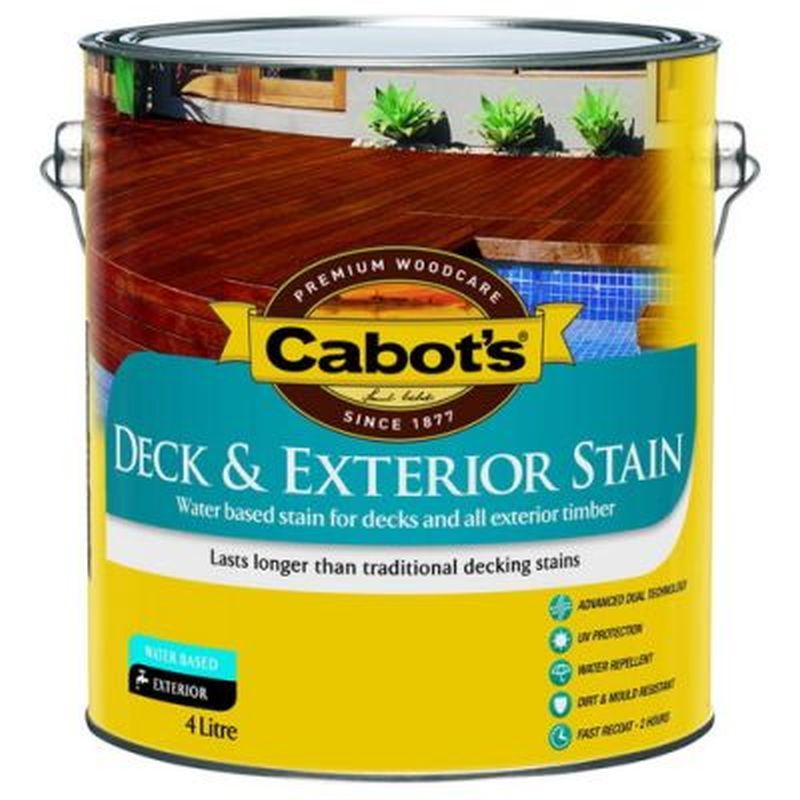
CABOT'S DECK & EXTERIOR STAIN WATER BASED 4L OCTOBER BROWN: $99.00
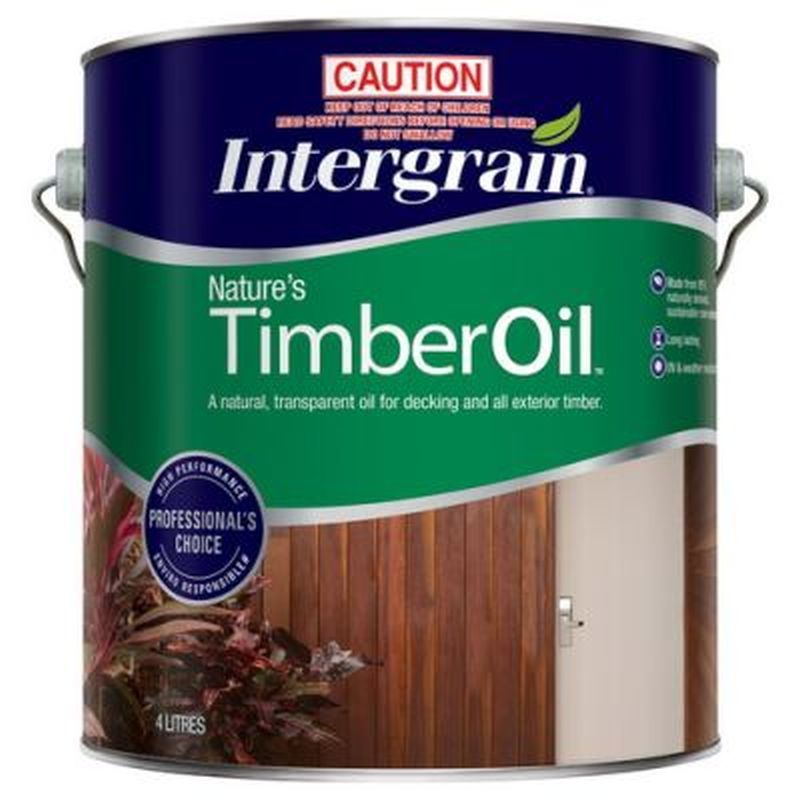
INTERGRAIN TIMBER OIL MERBAU 4L: $104.00
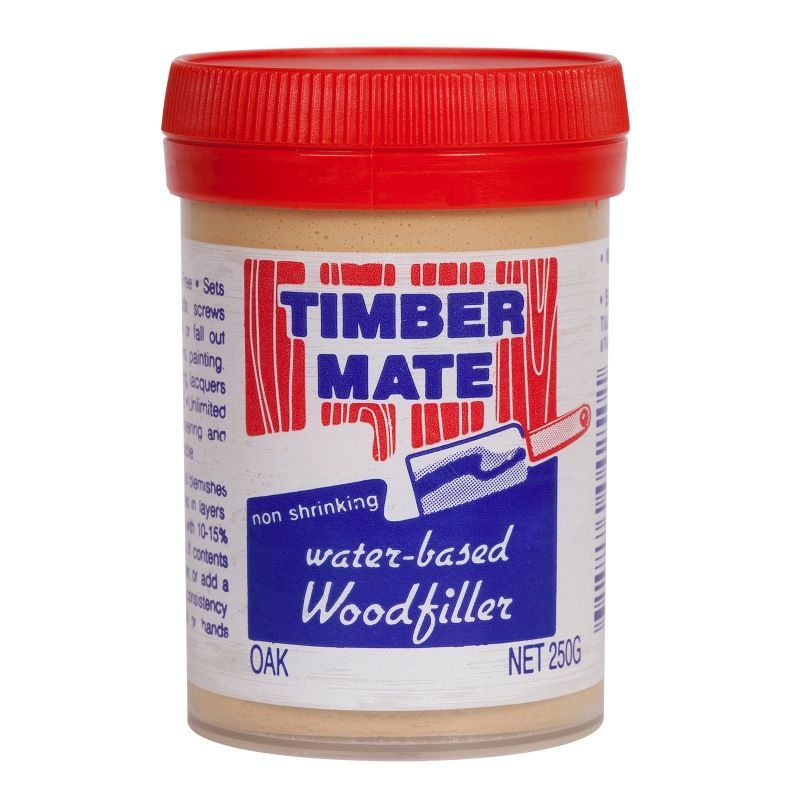
TIMBER MATE WOODFILLER 250G OAK: $9.75


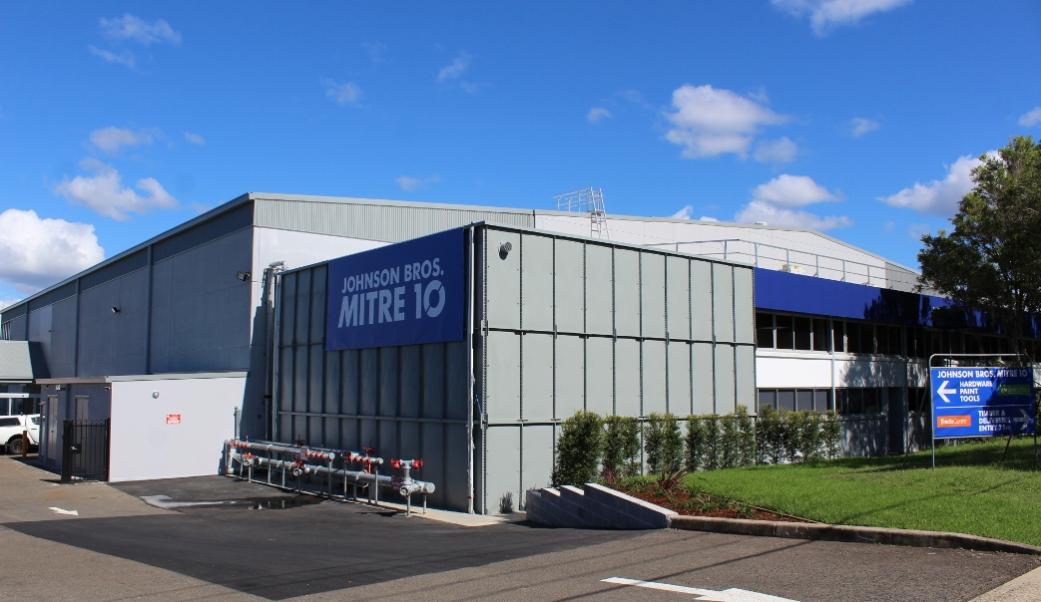


Click on logo to visit Johnson Brothers Mitre 10 website
Johnson Bros Mitre 10 - Avalon (02) 9918 3315
Johnson Bros Mitre 10 - Mona Vale (02) 9999 3340
JBH Timber & Building Supplies (02) 9999 0333
JBH Fencing & Landscape Supplies (02) 9970 6333
www.johnsonbros.com.au Online store: jbhmv.com.au
