We still have to select a new barbecue - having decided to get rid of the gas bottle and run a pipe to make use of the gas already sent into the premises and by installing a bayonet, and we've discussed shade sails, perhaps even utilising an actual sail itself and rigging this so it is retractable to provide shade but still keep the space open. All those items that will run as a Finishing stage of this project in this DIY Ideas page soon but a few ideas have been suggested already in Make Your Own BBQ Kitchen Garden: Gifts That Grow Past That Giving Day and in Preparing Al Fresco Areas for Christmas Get-Togethers and Summer Visitors as well as many others - links below.
.JPG?timestamp=1572323875034)
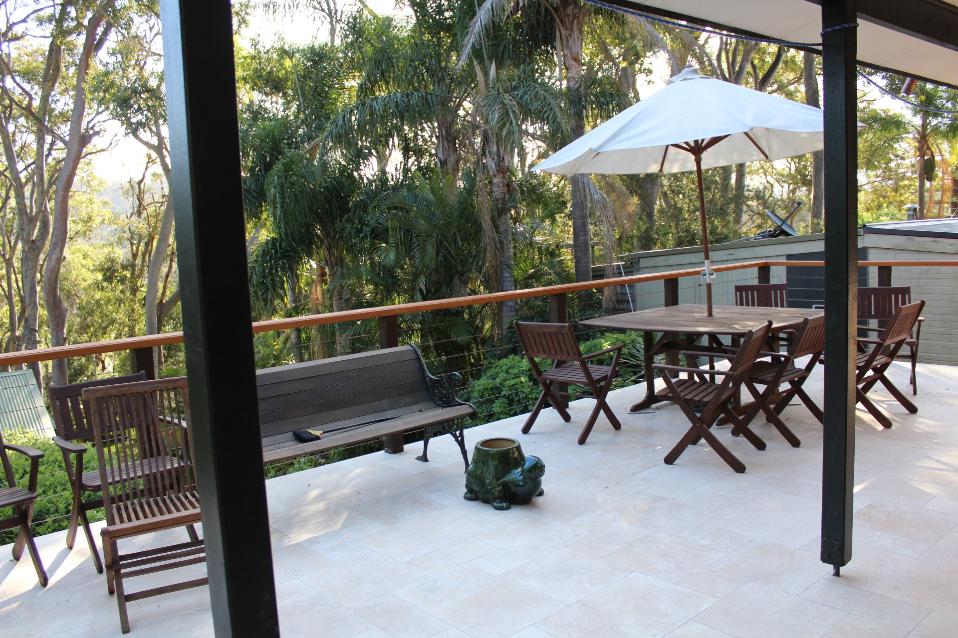
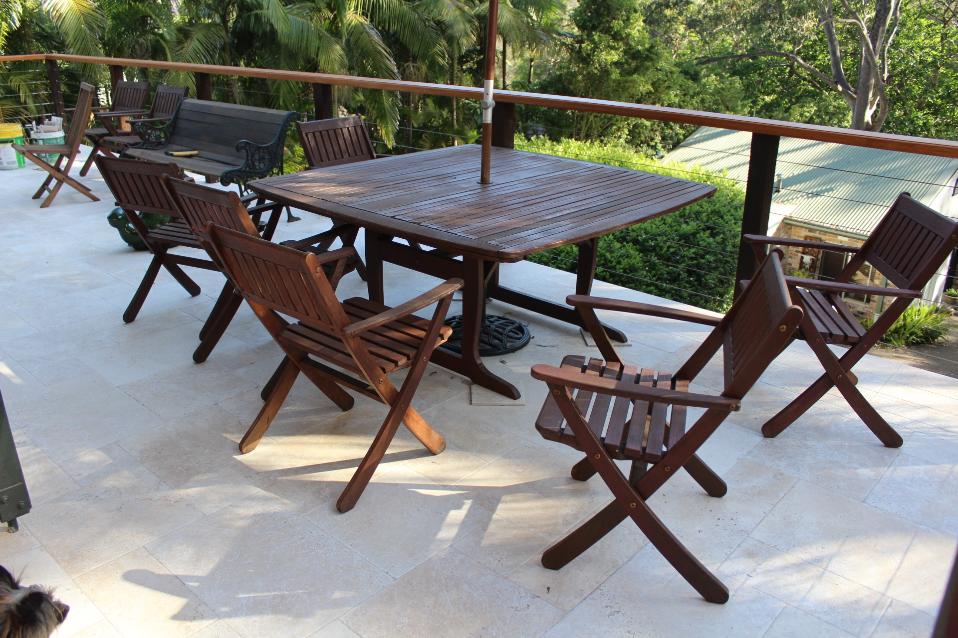
This week the next step is completion of the Tiling Installation and Grouting, which brings in the choice of Tile Pattern selected. What is called a 'French Rustic' tile pattern was chosen, in a light shade; a creamy mix with rose splashes, in celebration of the Brittany lineage (and some Scotch blood too) of the feminine half of this partnership and her clearly enunciated preference for 'something not boring and in a colour that would bring in more light'. The great end result here is that areas of the verandah that were once a different colour or used different materials have all been turned into one and this makes it look (and feel) much bigger and more spacious.
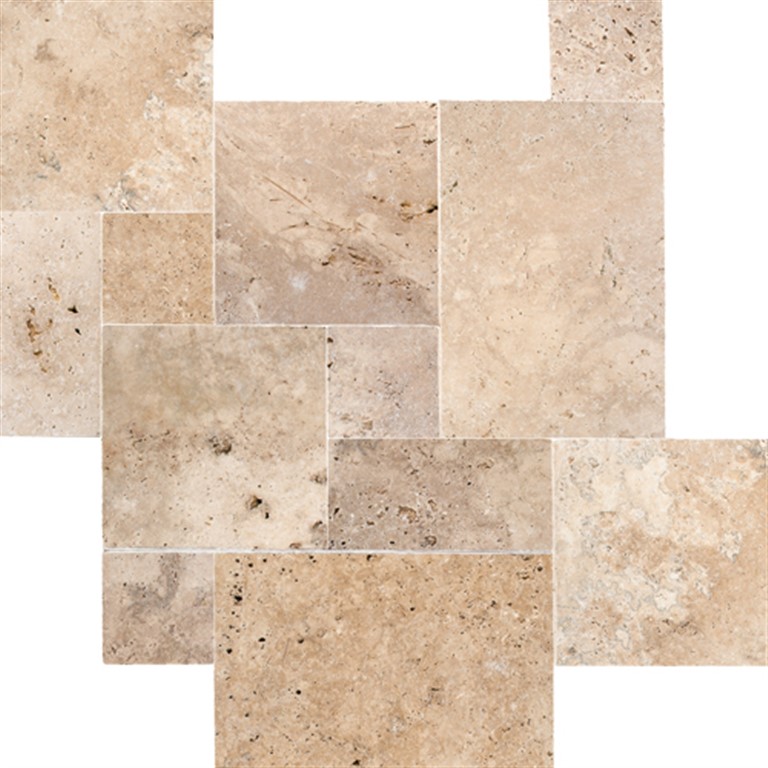
French Rustic Tile Pattern
Choosing the right tile colour to suit what you want to create - whether an airy light filled open space outdoors, or something darker and spectacularly shiny for a bathroom, is only half of what you need to think about. The other half is choosing a tile pattern to suit that choice of tile and its placing in or outside of the home. There are at least 10 basic tile patterns most people use in bathroom, kitchen, laundry and outdoor areas, all of which can add to the feel of that space. The more complicated ones are not so complicated anymore with tiling manufacturers providing these in packs with what you need inside - including those patterns that have varying sized tiles.
Don't be put off by using some of the more involved patterns, just give yourself plenty of time to lay out the design carefully if it's the first time you have done this and you'll find that these patterns are achievable.
Also, tiles are like batches of wool and a good thing to follow is what knitters do there when purchasing tiles; make sure all tiles used have the same batch number so there is no variation in colour. It's also best to order more than you think you will so any excess can be stored at home should any repairs be required at some stage or someone drops some and they become unusable - similar to what you do in keeping an old tin of paint for the colour/number.
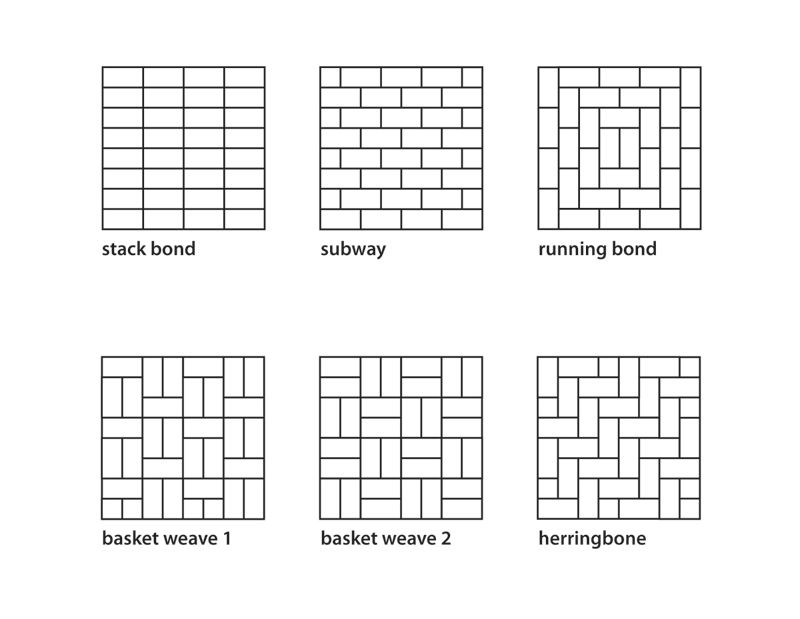
Tile Patterns
Below run some information about tile patterns and their applications in different areas/rooms. There are others, and as you may have seen in some of the world's great buildings, tiling can be quite an art form. These are the more basic and easy to lay versions.
Straight (or Stack Bond)
The most common and simplest tiling pattern. The tiles are laid in straight lines so the grout lines end up like a grid. A great tip when buying your tiles is to make sure that they all have the same batch number. Different batches may have slight colour variations that will show up in the finished product. You’ll find the batch number on the packaging.
Diagonal
Diagonal is similar to the straight pattern except the tiles are laid on a 45-degree angle, turning square tiles into diamonds. This style can be used with a border as a feature in a kitchen splashback or for an entire floor to make a small room look bigger. It’s perfect for the bathroom.
Herringbone
Perfect for hallways or outdoor paths, as the “V” in the pattern acts like arrows pointing you in the right direction, the herringbone pattern is achieved by laying rectangular tiles in a zig-zag pattern.
Basket Weave
Also using rectangular tiles, the basket weave pattern has two tiles laid next to each other to form a square. The following pair of tiles are laid at 90 degrees to the first and so on. The horizontal and vertical tiles then alternate on following rows. This gives the impression that the tiles are woven over and under each other like a basket.
Windmill
To create the windmill pattern, four rectangular tiles are arranged around a square tile in the centre. Using a square tile and grout in a contrasting colour to the rectangles really make this pattern stand out. It can look busy on a floor but is good for a shower or as a border.
Pin Wheel (also called Hopscotch)
Similar to the windmill, this design uses a small square tile surrounded by much larger square tiles to create the effect of a spinning pinwheel. Tiles in contrasting colours should be chosen for the best effect.
Stretcher Bond or Subway
Stretcher bond uses square or rectangular tiles that are laid like bricks in a wall. The end of each tile is lined up with the centre of the tiles that are both directly above and below it. This creates a staggered, but cohesive look.
Cobblestone
This pattern starts with rectangular tiles laid in the herringbone style. Around the edges of these it has smaller square tiles to create a larger pattern that is then repeated across the floor. This is a look suited to more traditional styles.
English Bond
English bond uses alternating rows of rectangular and square tiles. The square tiles are centred on the rectangles and the ends of all the tiles line up between rows.
English Cross Bond
Similar to the English bond except that the rectangular tiles in the alternating rows are staggered like the pattern in a stretcher bond.
Installing Tiling
When installing and laying out your tiles, there are a few things you need to know prior to commencing. These are: Calculate the amount of tiles you need - How to fit and install tile trim - How to mix grout - How to apply grout- How to Seal grout.
Calculate the amount of tiles you need
A clear idea of the size and shape of the area you want to tile and how it’s going to be used is vital prior to commencing. For those who are doing this for the first time we suggest you first draw your area on paper, e.g.: two walls and one floor. Next determine if the tiles are to cover the whole area or part of the area and mark the area to be covered.
Make sure you settle on a tiling pattern early on and your grout width. Remember to take out the spaces for windows but add in any sills or skirting you plan to tile. It's also a good idea to think about the fixed accessories you want incorporated with your tiling - those that you install in a bathroom will be different to those you may install on a verandah (our gas connection outlet for example V. towel rack etc.). As already stated, you should always order an extra 10 to 15% because even if you don’t use them for the project, they may come in handy at a later date.
Take area measurements
If it’s a floor you’re tiling, use a measuring tape to measure the length of one side of the room and then the width of another side of the room. For walls, measure the length of the wall up and down and the width left to right.
Multiply your measurements
Multiply the length and width measurements you obtained, which will give you the total square meterage of the wall and/or floor areas. So, if the wall or floor measures 5m long by 4m wide, multiply 5 by 4 and your calculation will be 20 square metres. Do this for each wall or floor area you need tiled, and then add all of the numbers together.
Calculate the coverage
So now you have the square meterage, but it’s important to buy more tiles than you need to cover the space as you should factor in cuts, waste and breaks. The extra tiles will also help if your supplier runs out of stock mid-project.
Multiply the square meterage you have by 15%, this will be the actual amount of square meterage you should buy tiles for.
Work out the amount of tiles
Tiles usually come in boxes with their amount labelled, so divide the total square meterage required by the total square meterage of the tiles in the box. For example, if the room is 120 square metres and each box has 10 square metres of tile inside, then you’ll need 12 boxes.
How to Lay Tiles
Tools and Products needed
Angle grinder or Diamond Cut Saw
Tile Cutter
Bucket
Dust mask
Mixer
Notch trowel
Pencil
Safety glasses
Spirit level
Sponge
Tape measure
Tile cutter
Trowel
Paint Mixer
Tiles
Tile adhesive
Tile spacers
Prepare your floor
Before your start laying your tiles, make sure that your floor is clean and dry and the right membrane as been applied to ASA. When you are tiling always try to avoid making small cuts in the tiles and in wet areas like your bathroom and laundry make sure you keep the fall, so that the water drains away.
Measure and mark your datum line
Use your spirit level, tape measure and pencil to mark out your datum line. This is your point of reference for laying the tiles, so that they are straight and symmetrical. In this instance, the datum line allows for a full tile either side of the line, and then for tiles that are the same width at the edges of the area being tiled.
Mix up the adhesive for your tiles
Start with an empty bucket, pour in some water and add the powdered adhesive. Mix it until it is the same consistency as toothpaste. If it is too runny, add more adhesive, if it is too thick add more water. Tip: only mix the amount of adhesive you are going to use to commence with - it may take you a few days to lay all your tiles and the adhesive going down and the tile atop it needs to be a quick process - don't mix or lay more down than you will use in a single session, you don't want to waste time trying to get up set adhesive prior to laying the next section.
.jpg?timestamp=1572317060468)
Dry laying your tiles
It’s a good idea to lay out some tiles dry, to see what the finished floor will look like. Before applying the adhesive, lay out the tiles on the floor using your datum line as a reference. Check that they are evenly spaced on every side of the wall. If they’re not, you will need to adjust your datum line. Also think about which section you are going to start from and where you will finish - like washing a floor, you don't want to be treading all over what's done to get to what you need to do next. Start in one corner and go to the other, allowing yourself a walkout route and so that the last tile you lay allows you to exit the area without walking back over any section already done. Once you have laid tiles and then grouted it is a good idea to leave at least 12-24 hours for these sections to 'cure' prior to any weight being placed on them.
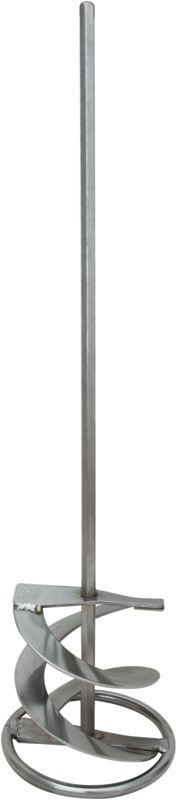
DTA PAINT MIXER: $26.30 - Nickel plated steel construction.
Lay the tiles
Mix your tile adhesive. Use a notched trowel to spread tile adhesive on the surface. Work with patience and with great care, as the thinset bed should be even on the whole surface. Use your trowel to apply the adhesive between the datum line and the nearest wall. Run your notch trowel through the adhesive to increase the surface area of the adhesive that will stick to the tile. Then apply a small amount of adhesive on the bottom edge of the tile that runs along the datum line. Place the first tile in the adhesive and gently press it down to make it flush with the datum line. Tip: use your spirit level to ensure each is laid straight and an adjacent length of straight/true wood to mark off the area being tiled first.
.jpg?timestamp=1572316908743)
.jpg?timestamp=1572317421322)
Insert the tile spacers
After laying a row of tiles, insert tile spacers between them. They will help keep the grout lines straight and create a professional looking result. Use two spacers for each side of a large tile. Insert spacers between all of the tiles you lay. Once the adhesive is dry, you can easily remove the spacers using needle nose pliers. You can also purchase these now at the measurements you want between tiles.
![]()
JBH Mitre 10 SPACER TILE LUGS 3MM PK100: $3.99
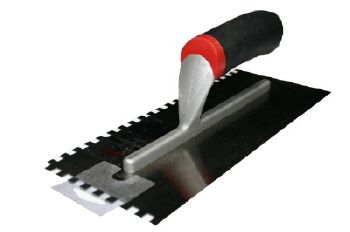
TROWEL - ADHESIVE 12MM WITH RUBBER HANDLE: $17.99
Renovator Series Adhesive Trowel. 12 mm. Bright Steel.
Cutting Tiles to fit corners
There’s no substitute for a diamond tile saw when you have to make fine cuts—corners, curves, slivers—or cut stone or other hard tiles. You can also use an Angle-grinder for this but the saw will give you a sharper edge and better fit for your tiles when they have to be cut to fit around posts and corners. Angle grinders are an affordable and useful small power tool. Diamond blades are more expensive than other blades you can get for the grinder, but they cut through tiles much better. You can also buy or hire a Tile Cutter relatively cheaply now - so a good investment if you want to do more DIY tiling projects or the youngsters wouldn't mind having a go at creating some great mosaic patterns for large pots or other parts of the garden - that boring old cement or brick wall for instance. Choosing which tool you use will depend on what you're using it for; if you're going to have a lot of straight cuts, the Tile Cutter will be best, if you have a lot of angles or posts to accommodate, the Angle-Grinder or Diamond Cutter may be best. You can buy new blades for these if one wears out.
.jpg?timestamp=1572318374346)
Basic square cuts: Mark the tile with a lead or grease pencil. Set the tile against the fence on the sliding saw bed and line up the diamond blade with the cutting mark. Turn on the saw and wait for water to flow over the blade. Hold the tile on both sides of the cutting line and slowly feed it into the blade. As the cut nears completion, gently push the two halves of the tile together to prevent the tile from breaking before the cut is complete. When the cut is complete, carefully slide the bed and cut tile back toward you until the tile is clear of the blade.
Diagonal cuts: Sight down the cutting mark and align it with the blade. Hold the tile in this position and guide it through the saw. Wear safety glasses.
Saw Safety: Plug the saw into a protected outlet. Don’t wear jewellery or loose-fitting clothes. Tie back long hair. Wear safety glasses and hearing protection. Use both hands to guide the tile through the blade. Keep your fingers away from the blade.
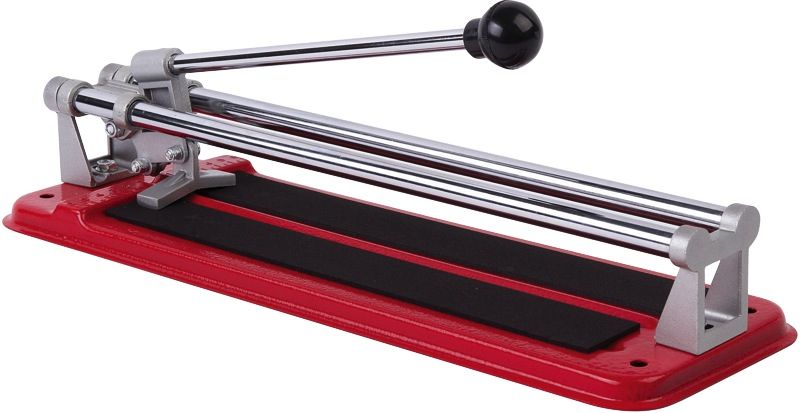
JBH Mitre 10 - CUTTER TILE ECONOMY 300MM: $32.99 - steel alloy

Makita 125mm Angle Grinder: $79.00
720W. Slide switch. GA5030.

MAKITA 110MM 1200W DRY DIAMOND CUTTER: $149.00
1200W Motor. 110MM. Dry diamond cutter saw. Redesigned base.
Cut your tiles to size
Measure the distance between the laid tile and the wall at both ends of the tile, to make sure that it is square to the wall. Mark this distance on both sides of a new tile and draw a line between them. Place the tile in the cutter and run the blade along the line. Press down to break the tile along the line and lay it in the adhesive. Repeat this process when measuring and cutting all of your tiles. If you plan to tile the wall, leave a small gap between the wall and the tile on the floor.
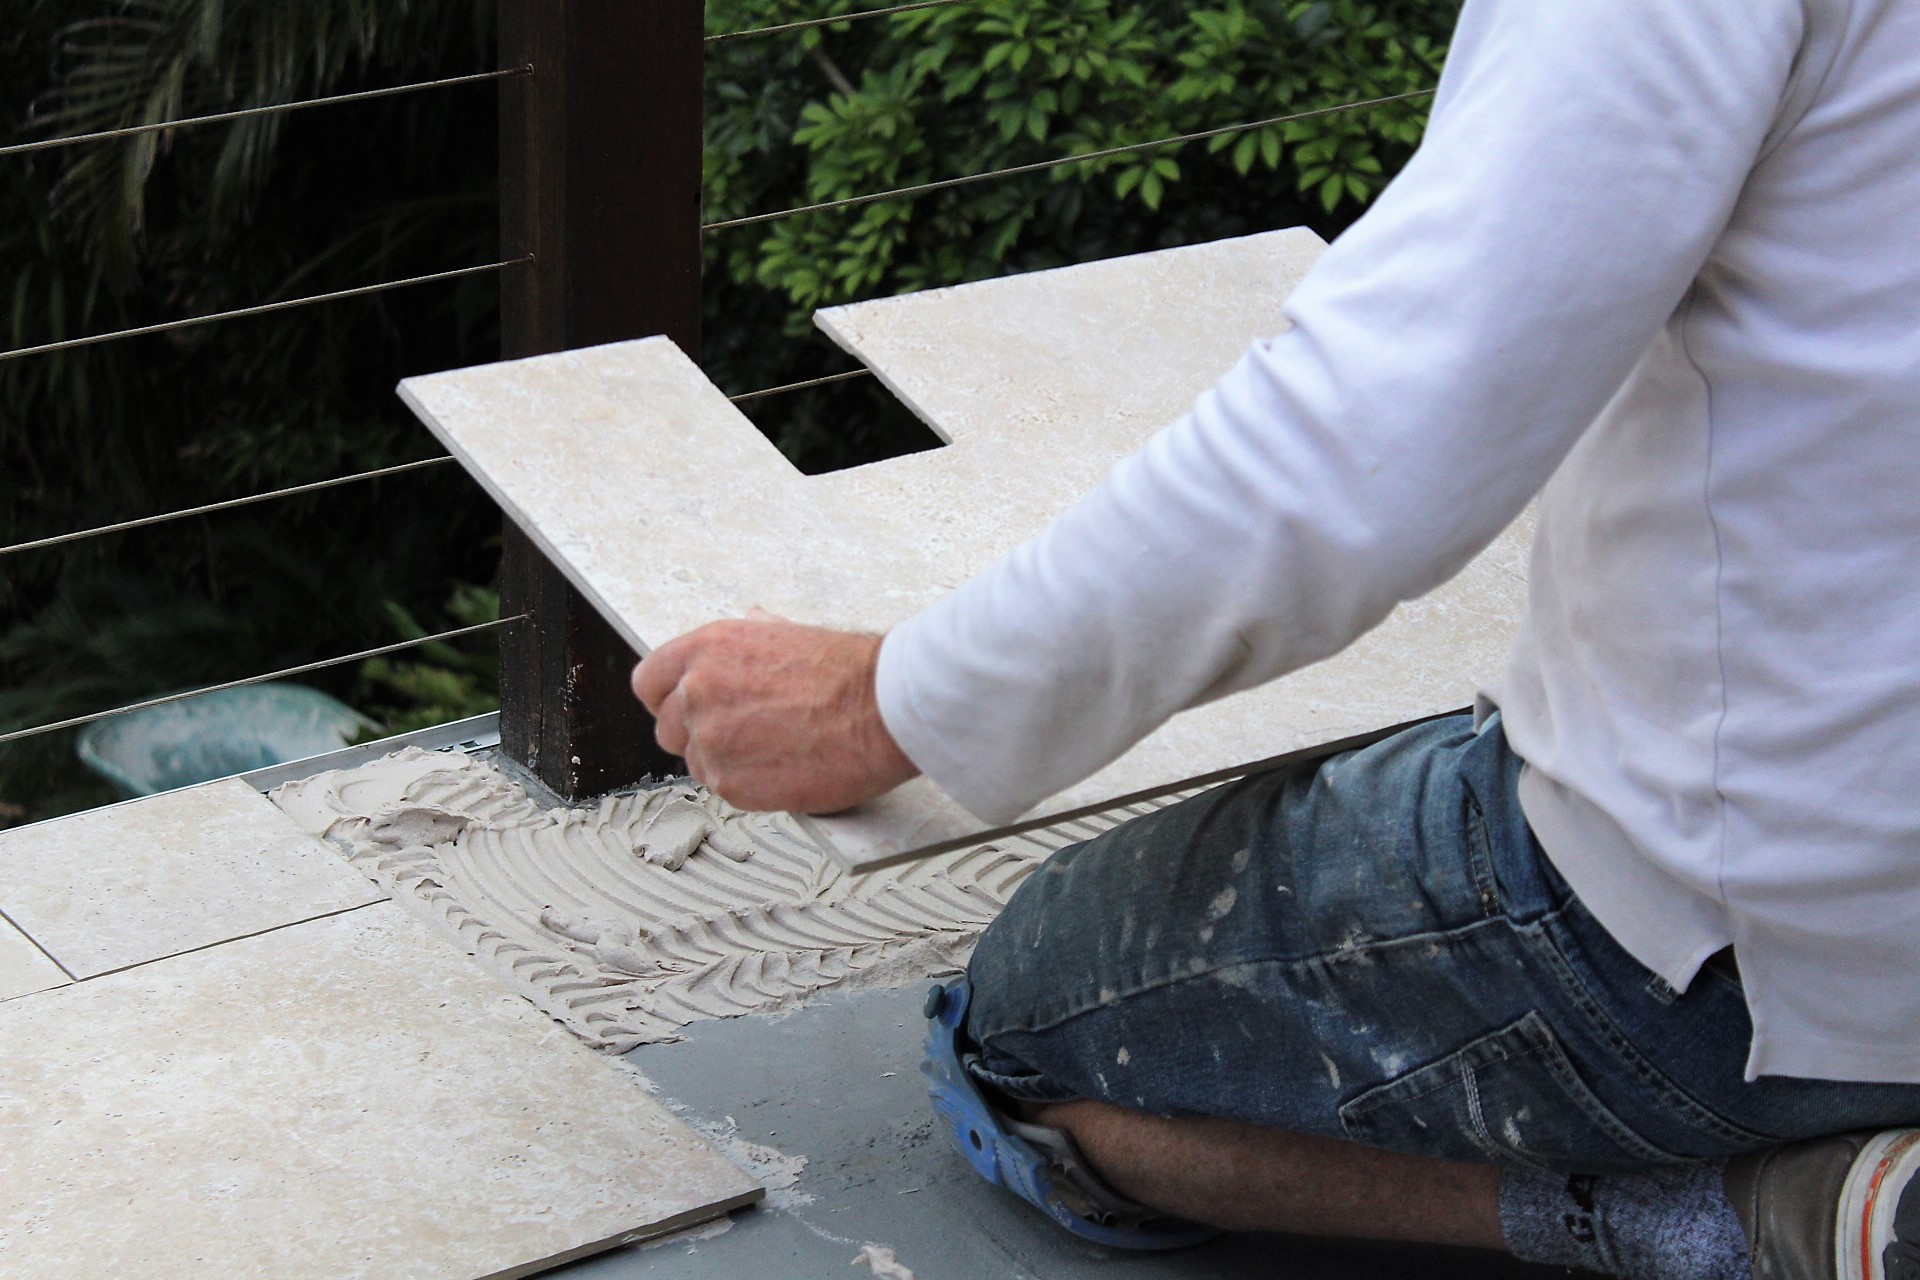
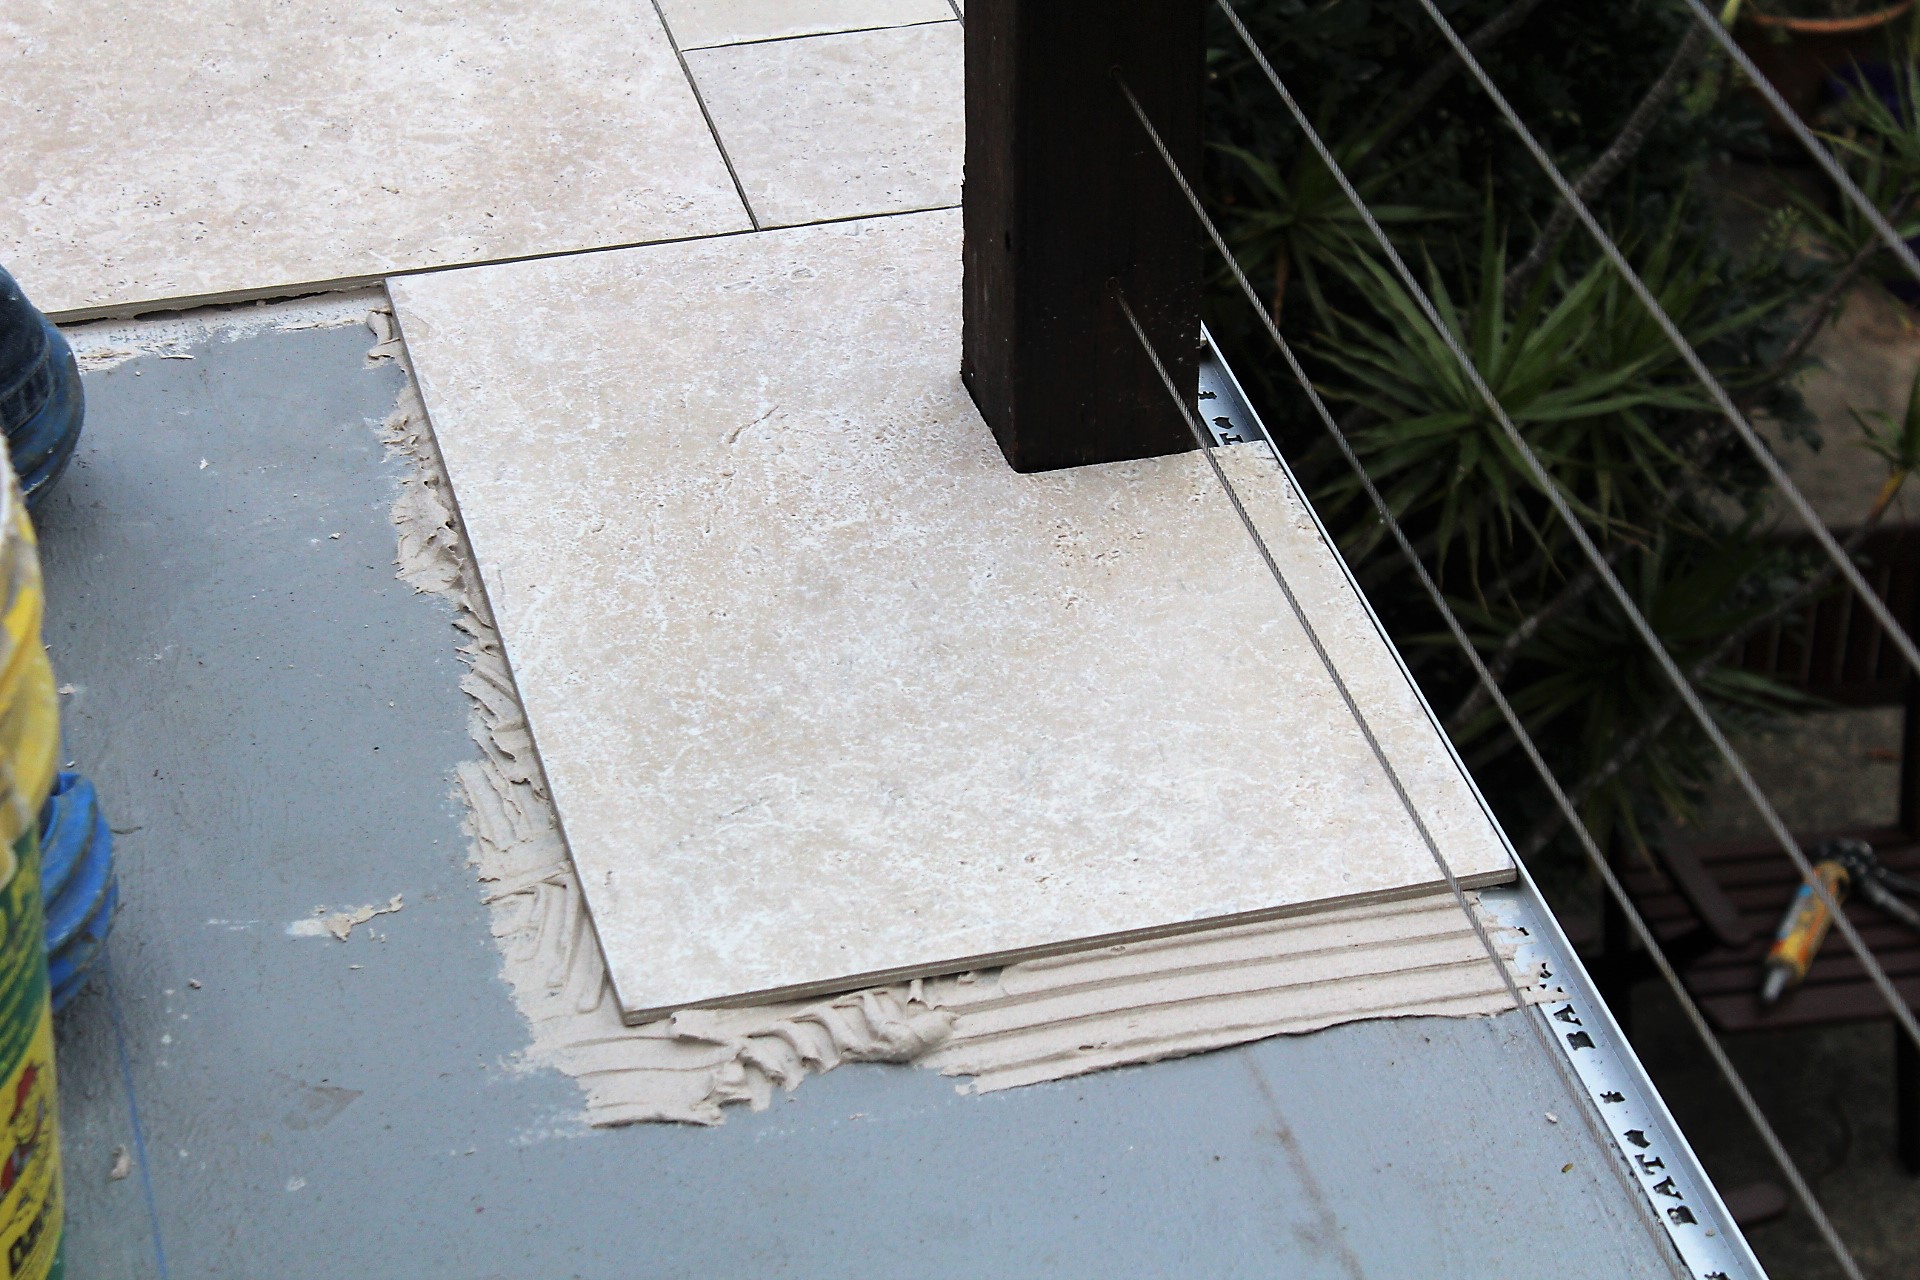
Cut your tile for drainage
In this case we need to cut a square in the tile for drainage. To do this, lay the edge of the tile you need to cut against the one that is laid next to the drainage hole. Mark on the tile along one edge the length of the drain. Then turn the tile on its side, hold it against the tile above and mark the width of the drain. Draw lines across the tile to mark the length and width of the drainage hole. Now in a well-ventilated area, use your angle grinder to cut out the square for the drain. Once you have cut the outline of the drain, cut a diagonal line across the square to make it easier to push the off-cut out. Lay the cut tile over the drainage hole.
Finish laying the tiles
Continue marking, cutting and laying tiles to fill the floor space. Use a straight edge or level to make sure all the tiles are lying flat or have the necessary fall to let water drain away. If any tiles are above or below the level of ones next to them, remove them and either add or take away adhesive to make them level. Use a damp sponge to wipe off any excess adhesive that may rise up between the tiles when you press them down.
How to fit and install tile trim
As part of installing tiles it’s important to make sure the edges and the corners have a professional finish, rather than leaving an exposed tile edge, which can be easily damaged. A tile trim is easy to install and not only reduces how long it will take to lay your tiles, it also protects the edges and completes the look. Those that you use in exterior tiled areas will need to be waterproof - we used an aluminium version.
Check the thickness of your tiles
Select the aluminium edging according to the tile thickness. We recommend you to take a piece of tile with you, when you go to your local JBH store, otherwise the edging might not fit your needs. In addition, if you want to protect the edge of the tiles, you should buy metal trims.
Cut the tile trim
Cutting the tile trim is like cutting a picture frame, all of the joins have to be at 45-degree angles at corners. Double check your measurements to make sure they’re correct. Place the trim in a mitre box and cut them with a hacksaw. After cutting the trim, use a file to create a nice smooth edge. Repeat this process to cut the other pieces of trim, making sure that the 45-degree angles at each end of the trim are opposing.
Install the trim
Put the bottom piece of the tile trim into place. If you want to install the edging on an outside wall corner, you have to tile first one side. Next, you should spread tile adhesive on the other side of the corner with a notched trowel.
Last but not least, you have to press the perforated flange of tile edging into the adhesive and align it with the wall tiles. Use a spirit level to make sure the edging is plumb and then install the tiles into position.
How to mix Grout
Putting grout between your wall tiles fills in any gaps, helps keep them clean and gives you a smooth professional look. With a little know how, you can do it yourself. In just a few steps, we’ll show you how to mix the grout, apply it to the tiles and clean up after. Grout comes in a wide-range of colours, so choose one that best suits your décor.
Mix the grout with some water
First, cut open the grout packet with your scissors and measure it out. Pour the grout into your empty bucket. Pour in the water and stir it into the grout using your paint mixer. Make sure you stir right around the bucket and add more grout or water if necessary. Keep stirring until the mixture has a ‘smooth toothpaste’ consistency without any lumps.
Leave the grout mixture to thicken
Once you have the grout consistency you want, leave the mixture to stand and thicken up. Most of these products come with instruction on the packet, follow those and you can't go wrong. After about five minutes, give the mixture another stir. To test if it is thick and firm enough, hold up your stirrer. If the grout mixture just hangs and doesn’t drip, it’s ready to use.
How to apply Grout
Lay down some drops sheets
Protect your floor from splatters outside the work area by laying drop sheets on them and use masking tape to keep them secure. Then remove any spacers between the tiles before you start.
Apply the grout onto the tiles
Dip your grout float into the mixture and spread a generous amount onto the tiles. Use the float to make sure that every joint is full of grout. Always try to grout diagonally across the tiles, so the mixture goes into the gaps. Run the flat edge of the float across the tiles to remove the excess grout. Keep applying the grout until the mixture in the joints starts to set.
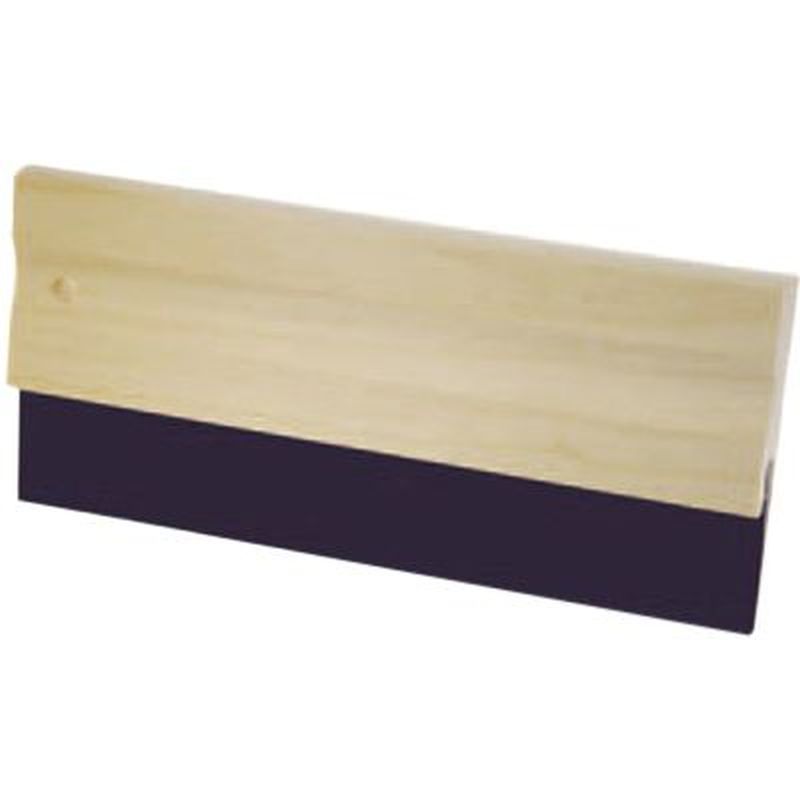
GROUTER TILE TRADESMAN 150MM DTA: $7.50

TROWEL GROUT RUBBER POINTED: $16.99
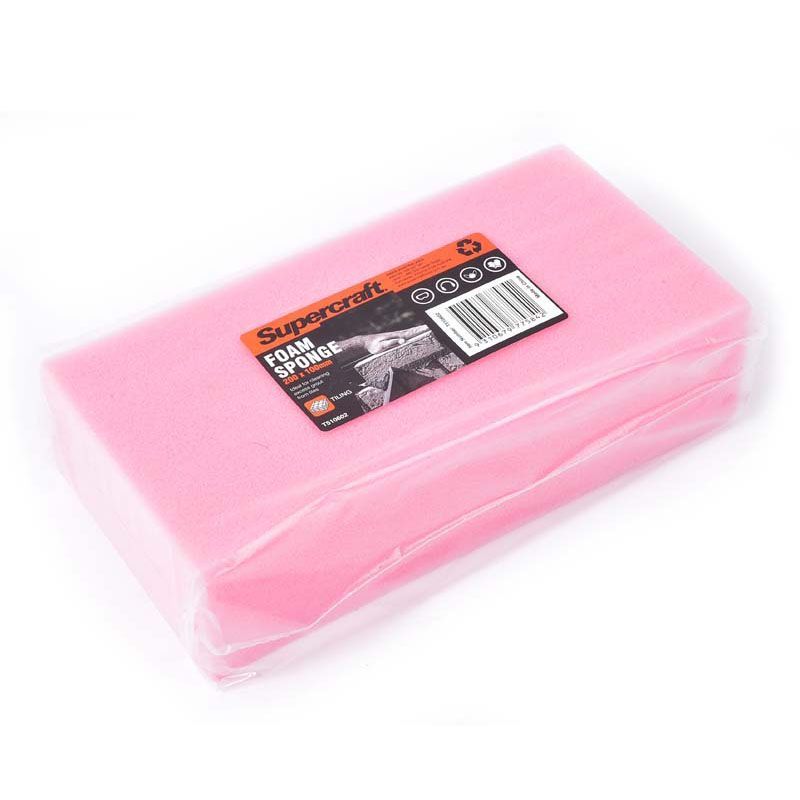
SUPERCRAFT LARGE FOAM SPONGE: $5.99
Wipe off the excess grout
Wet your sponge and wring out all of the excess water. Wipe diagonally across the tiles, until you have a nice clean joint that is full of grout. Repeat the grout and wiping off excess grout processes until all the tiles have grout between them. Once the grout is completely dry, put on your safety gear and buff the tiles and grout with a soft cloth.
How to Seal Grout
Clean the tiles
If you’re sealing new grout, you should leave your tiles for 72 hours until they’ve properly cured. If you’re sealing old grout, you’ll need to clean the tiles and let them dry. Use dish-washing liquid, water and a sponge to clean any dust, dirt, grease and adhesive. Also ensure all of the grout is sound and secure and there are no cracks or bits missing.
Tape the horizontal tiles
To protect the tiles, apply masking tape horizontally to each side of the grout seams. This will ensure that the sealant will have straight edges when you’re finished. You should also tape off any materials or surfaces nearby to protect them. If you’re sealing around smaller tiles, clean up with detergent and a cloth as you apply the grout sealer instead.
Apply the grout sealer
Shake the grout sealer bottle well. Then with your safety gear on (mask please), use the foam brush to apply the sealer along the grout. Do it in thin coats to allow it to penetrate. You should apply two coats of sealer, allowing 30 minutes to 1 hour between each coat.
Remove the masking tape and wipe off excess
Once the second coat is dry, remove the masking tape. Then polish the tiles with a dry cloth to remove any bits of sealant that you may have missed. Use a damp sponge or cloth to wipe off any excess grout sealer from the tiles before it cures.
Also available in this project series:
Tools And Products To Help You Get It Done: From Johnson Brothers Mitre 10 Online Store & Spring Into Action Catalogue - All Specials Available Until November 5th, 2019 - Read Online HERE

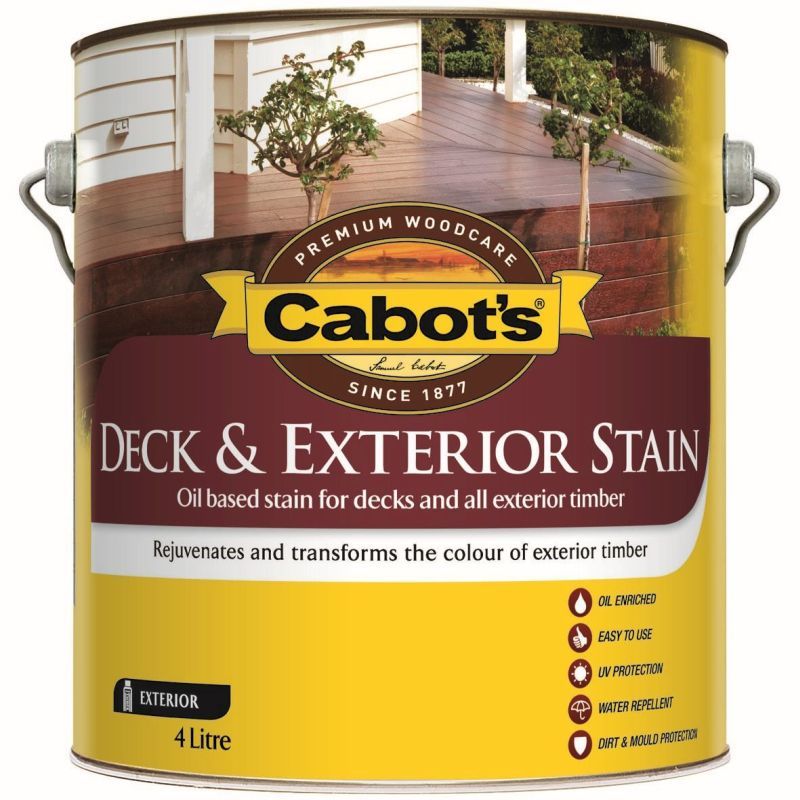
CABOTS DECK & EXTERIOR STAIN NEW JARRAH 4L: $89.00

Ends 29/12/2019 - Details
CABOT'S DECK & EXTERIOR STAIN WATER BASED 4L OCTOBER BROWN: $99.00

INTERGRAIN TIMBER OIL MERBAU 4L: $104.00


Click on logo to visit Johnson Brothers Mitre 10 website
Johnson Bros Mitre 10 - Avalon (02) 9918 3315
Johnson Bros Mitre 10 - Mona Vale (02) 9999 3340
JBH Timber & Building Supplies (02) 9999 0333
JBH Fencing & Landscape Supplies (02) 9970 6333
www.johnsonbros.com.au Online store: jbhmv.com.au
