DIY Traditional Rocking Horse
 I have always wanted to have a traditional wooden rocking horse BUT have been put off by the cost, anything from $4000 up to
$16000 !!! Way out of my budget range.
I thought about carving one but worked out the wood alone would cost $100's - again too much.
So I hatched a scheme to make one a LOT cheaper.
Specification:
1. It had to be big size because my grand daughter is 6
2. It had to be strong enough to hold a reasonable sized adult
3. It had to stand being out side all year round because there was no room in the house.
4. It had to be made from easily available materials I could get in the local DIY and with the hand tools I had.
The Build Method
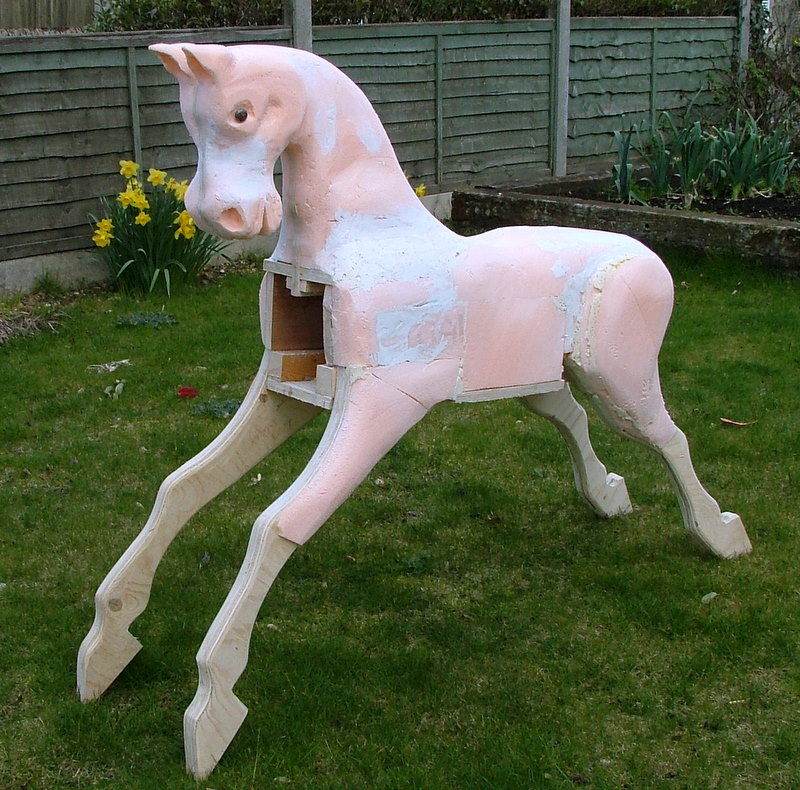
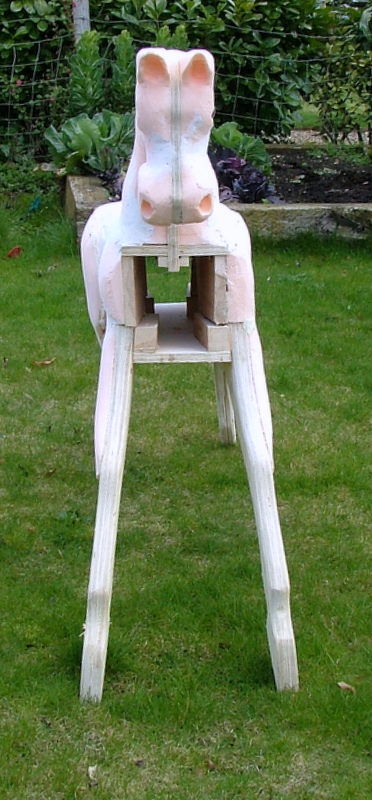
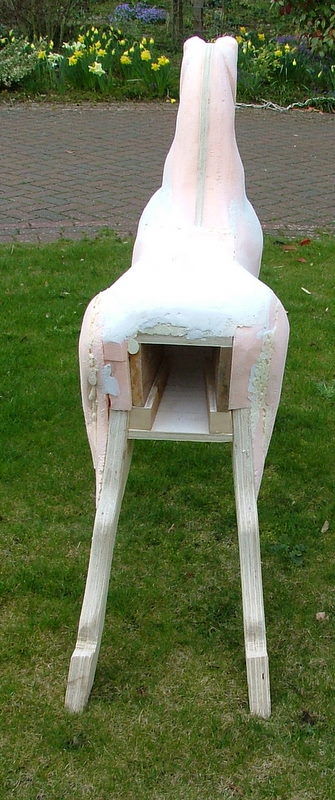
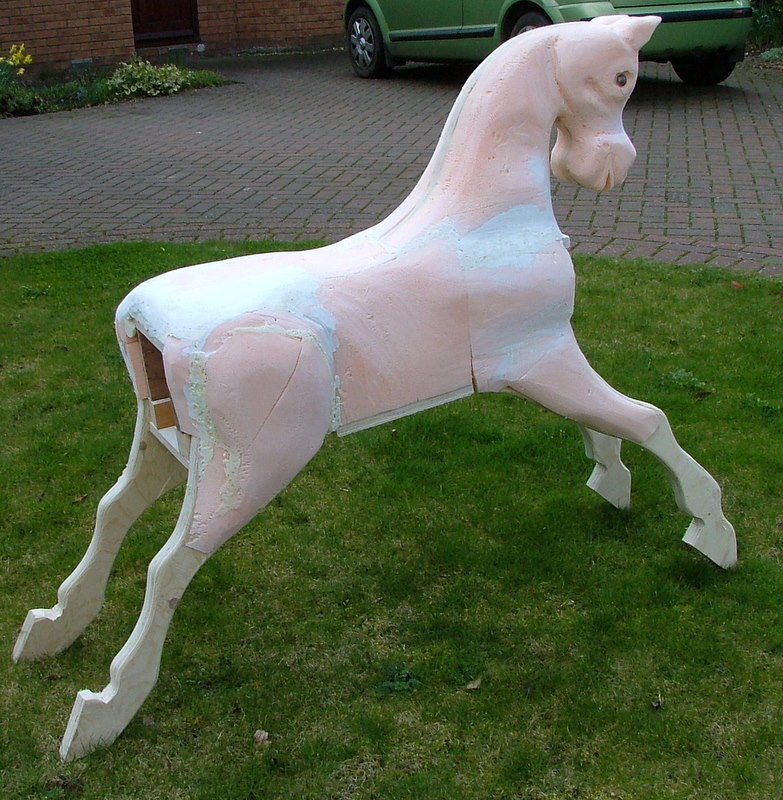
I decided to build a ply wood base consisting of the legs, head and a box for the body. This would then be "clad" in insulation foam polystyrene - the dense sort you can get for house insulation. the stuff I got was pink but is available in blue as well. If your local DIY store hasn't got it you may have to visit a builders merchant.
The dimensions were established by looking at existing models and scaling them in a CAD system to suite the size I wanted. The outline were then drawn in a CAD system on a 1 inch grid so I could transfer them to 18 mm ply wood at full size.
Transferring the Outlines
For anyone unfamiliar with this method of copying a drawing - You need to make a grid of 1 inch squares over your paper - The paper will need to be quite large - I use wall paper lining paper which is plain but anything will do, indeed you could do this direct onto the ply wood.
Once you have the grid pick a starting point on the drawing and copy it square by square - This sounds tedious but once you get going isn't too bad and takes an hour or so. The grid gives you a reference to get the proportions right.
So to recap the grid on the drawings is a 1 inch square grid (25 mm) You need to draw a 1 inch square grid so you can copy the drawings.
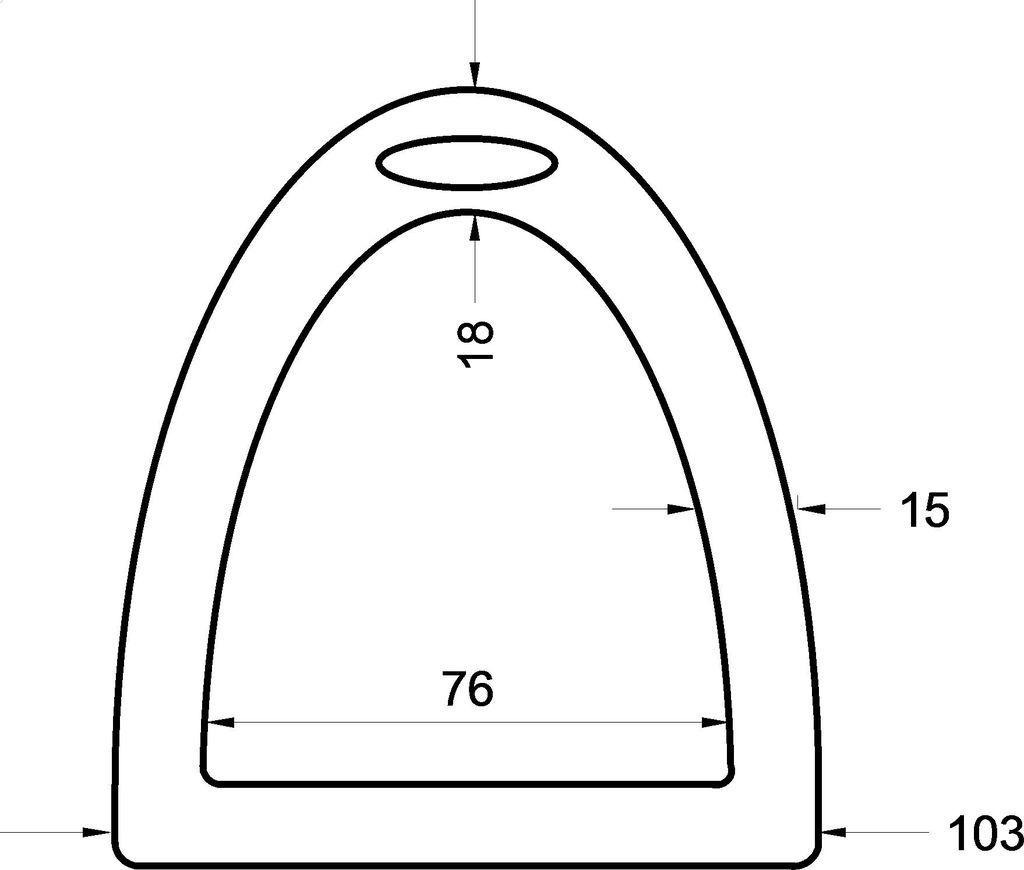
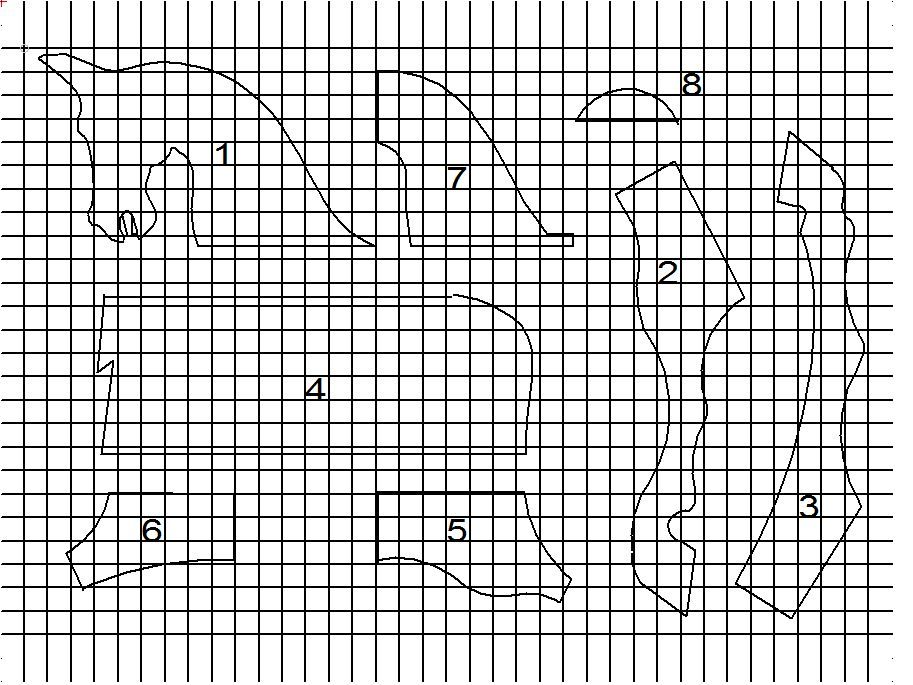
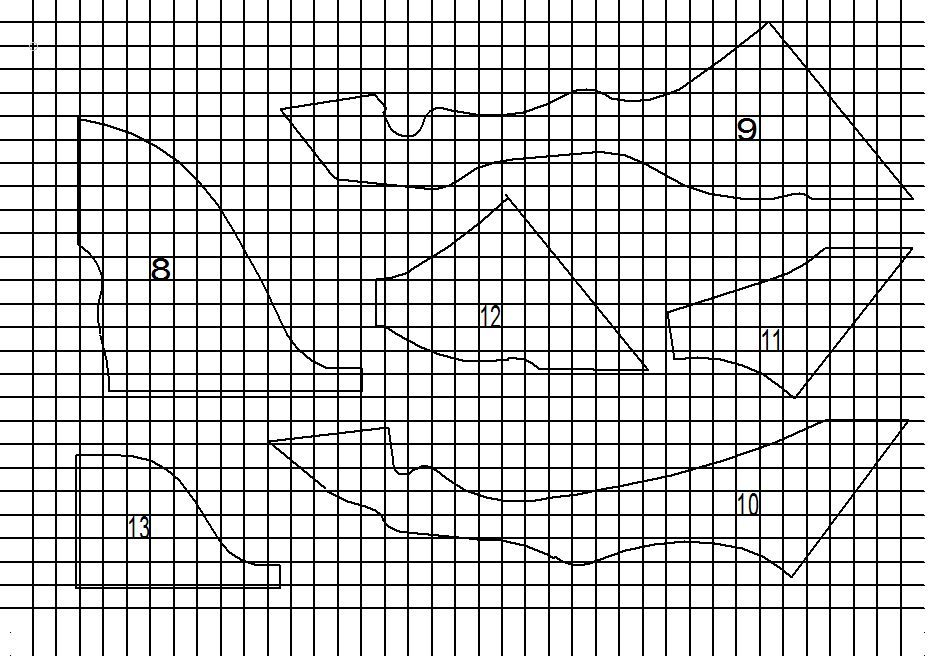
Some parts are cut from a 8 foot by 4 foot sheet of 18mm Ply wood and some from the pink insulation foam. See cutting list.
Cutting list
Part
1 The horse's head 18 mm Ply
2 A rear leg 18 mm Ply
3 A rear leg 18 mm Ply
4 The body (This is for shape information only)
5 A thigh cheek This will be in foam
6 A thigh cheek This will be in foam
7 A neck cheek This will be in foam Requires 2 for each side.
8 The seat back - optional 18 mm Ply
9 A Front leg 18 mm Ply
10 A Front leg 18 mm Ply
11 A leg cheek Foam 2 required
12 A neck cheek Foam 2 required
13 Outside neck cheek Foam requires 2
In addition to the above you need to form the body from 18 mm ply wood shaped into a rectangular box, 71.12 cm long x 20.32cm wide x 10.16cm high. This box will have a layer of 2 inch thick foam stuck onto it to shape the body.
Put you parts together
The legs are bolted directly to this box before the foam is applied using 8 mm coach bolts at least 40 mm long
The body ply panels are screwed and glued with wood glue to make the box.
The upper panel has an 18mm slot cut into the top front to take the head.
The head slots into the body and is secured with screws and glue and a couple of plywood blocks to make the head secure.
The legs are secured with 2 x 8 mm 40 mm long coach bolts each to the body ensuring they are in line with each other.
Once all the wooden parts have been secured and the glue is dry the foam body can be added.
I chose this as the foam is durable, easy to carve and not all that expensive compared to the cost of the wood.
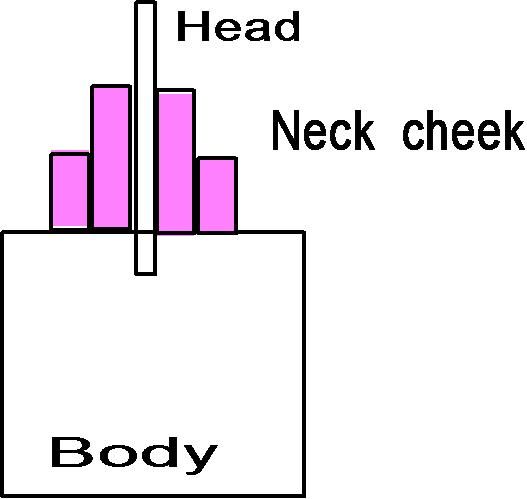
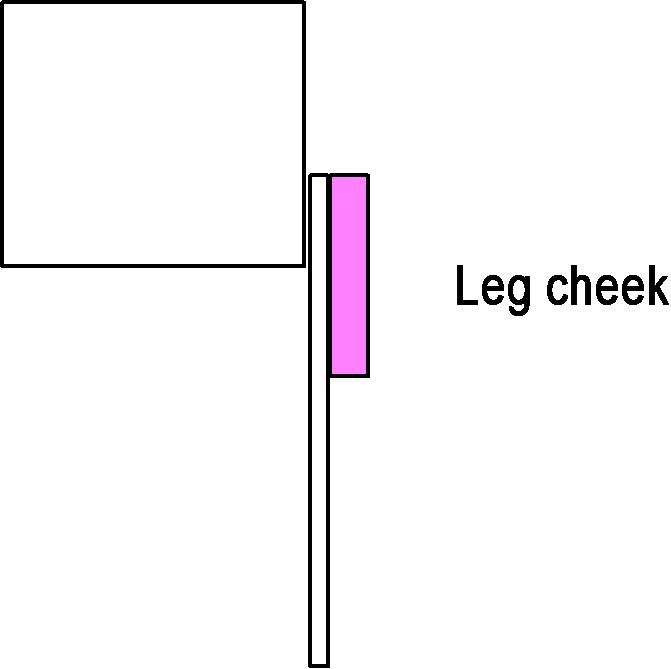
The cheeks are added to the wooden body, legs and head using white wood glue. At present they are just square sides shapes.
The leg cheeks go to the top of the leg to form the haunches
The neck cheeks go each side of the head to form the neck muscles. Note this is a double layer of foam.
Fitting shown in diagrams.
Carving
The carving is all done in the foam so is quite easy - Easy that is to take too much off!! so go slow and take care.
I did the majority with a sharp long carving knife, Take care to make sure you still have all your fingers at the end ALWAYS cut away from your hand or fingers.
The fine smoothing I did with sand paper wrapped round various wooden sticks as the shapes required.
Try not to use sand paper in your hands as this makes it hard to keep the shape sharp.
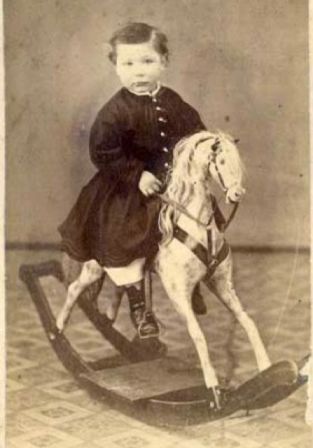
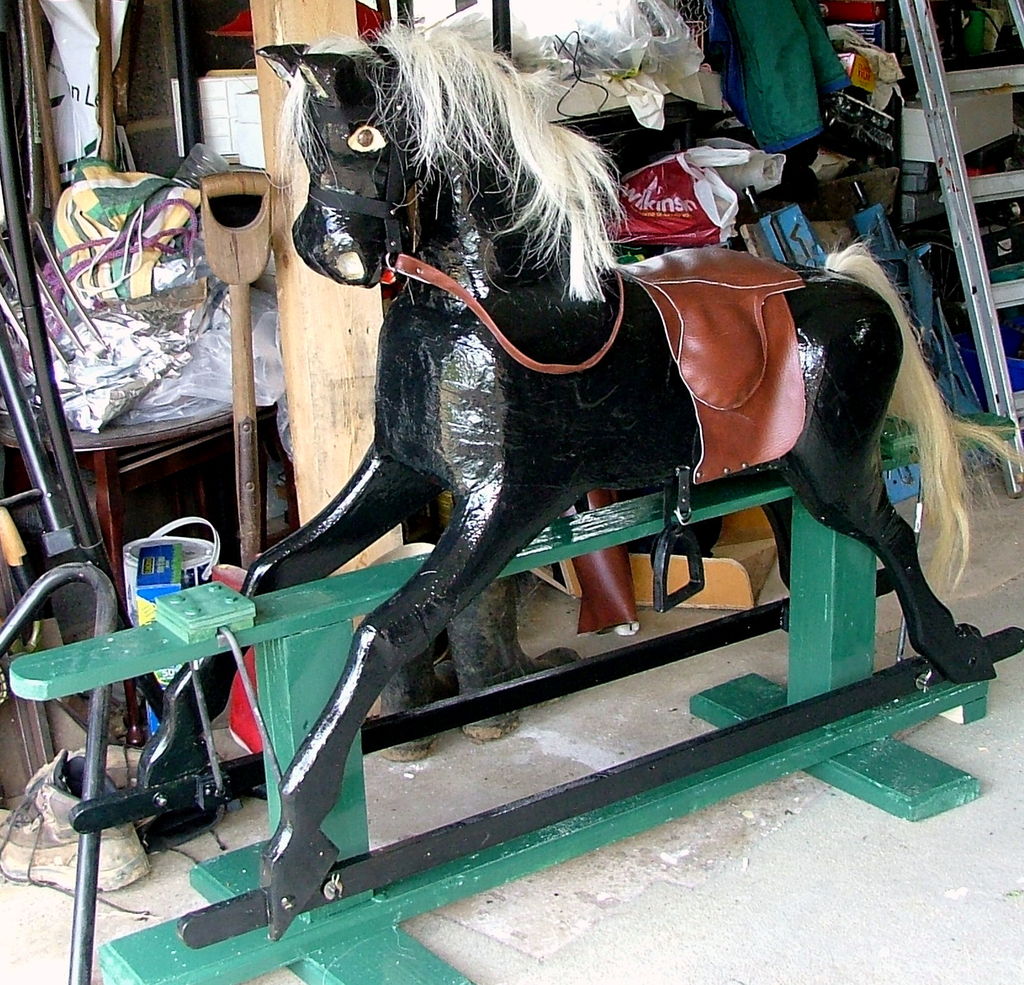
All of the shaping was done by eye with a note taken of the shape of the example picture I show at the beginning of this instructable.
The pictures show the construction of the under box for the body and the carved foam. I found I needed to use some light filler to go over a few places where I had either carved away too much or had a join line between foam sections, (This is the white filler), I used a common polyfiller, (wall crack filler), which seemed to works well.
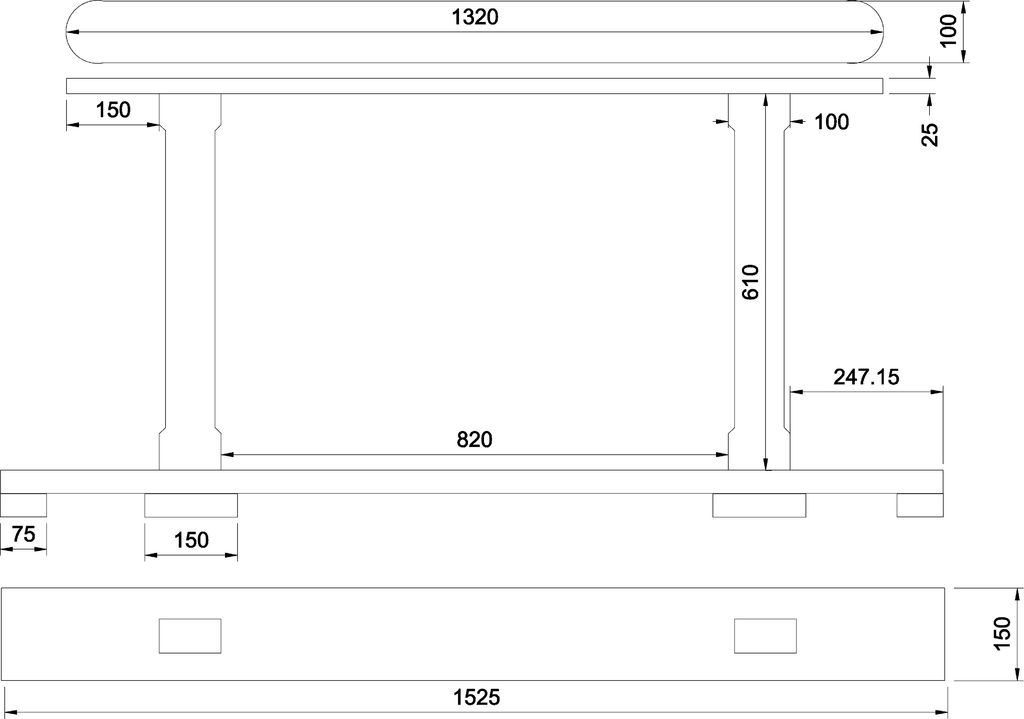
The Stand
A wooden stand was constructed - For this I used some spare fencing pine but you can use whatever you can find that will fit and be strong enough.
The dimensions are in the drawing.
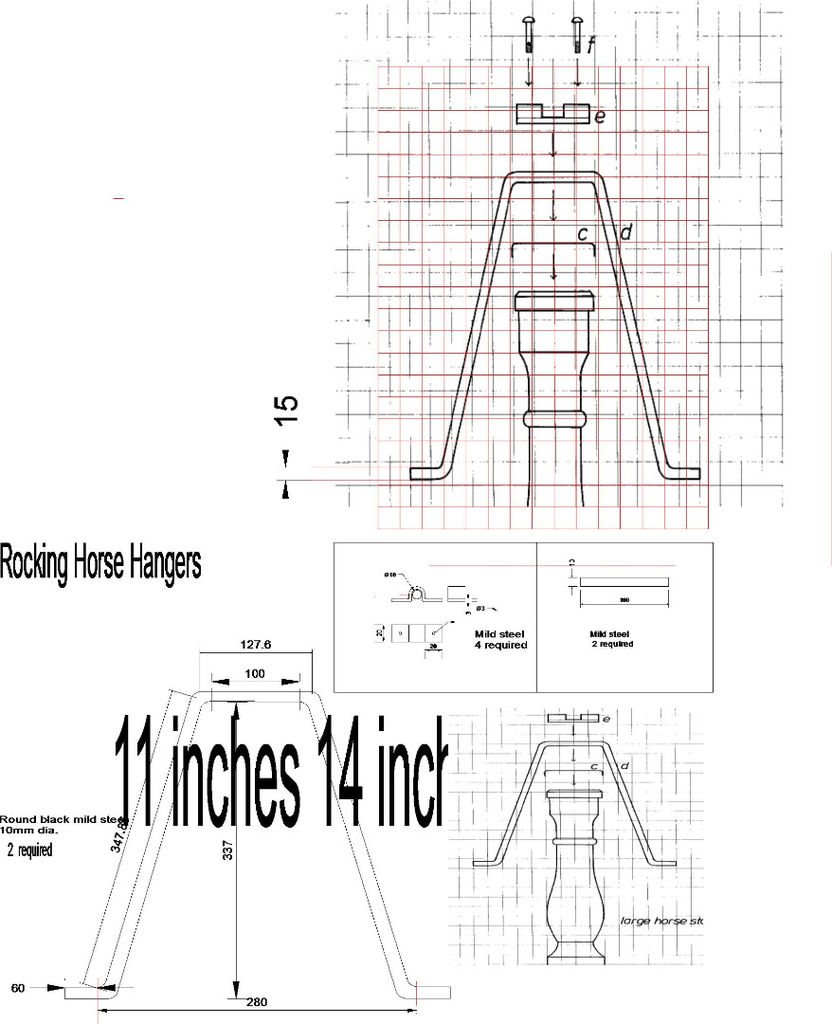
The Hangers
The swinging irons, correctly called hangers can be bought online but I made mine from some 8 mm black mild steel rod bought in the local DIY shop. Bending it was a bit tricky but in the end I did it cold and it proved to be a success.
The details are as the drawing shows.
Some strip 3 mm mild steel was used to make the straps to keep the hangers in place, I later changed this to a block made from Ply wood which seemed to work just as well.
Grease the hangers where they rest on the Stand. The ends that go through the rocking horse legs are drilled and a washer and split pin put through to hold them in place. Turn the ends over well so they don't scratch little legs.
Finishing
I elected to paint the Rocking Horse with normal Household emulsion wall paint. A coat of water based primer was done all over and then the colored emulsion on top.
I had several tries to get a dappled look but did not like the finished effect - The dapples are put on with a sponge cut into a circle and dipped in paint - Use very little paint - . My Granddaughter elected to have it painted black although I am again not happy with the end result my choice would have been brown BUT the customer is always right.
On top of the paint I put 3 coats of clear varnish to water proof the finish.
The stand was also painted and varnished to water proof it.
The saddle and bridal were cut from a table protector; they are fairly common in markets and bigger department stores. The outside is a leather look and the under side a white felt. The shape was cut by eye to suite the body shape - The saddle is nailed to the body with long furniture nails into the ply wood. These have a domes head that looks nice.
The mane and tail can be bought online at a cost or make your own version using wool. The tail was bound with strong thread and dipped in white glue to keep the hairs together. It was then glued into a hole drilled in the rear foam block.
The mane was fitted into a slot cut down the back of the head, I used a router but it could have been done with a saw and a little care. Lots of glue and patience. The eyes are a couple of glass buttons found in our local hardware store. Epoxy glued into the foam.
Project Overview
it seems to be a well played with addition and is very traditional. Hopefully it will last and prove to be a heirloom long after I am gone.
Time to make: about 8 weeks over several months as other things became more urgent!
Was it worth it - Yes the cost was a total of about $150. Much less than the $1000's wanted for a commercial version.
Would I do it again - Yes I might yet make one totally in laminated plywood. A challenge and much harder to carve but more traditional.
This would have been an easy project were I able to use a shop bot for the cutting out and carving. I would be turning these out every week for all the kids round here!.
I have used CAD CAM routers in my School career and found them to be versatile and flexible in their application.
Project by Rick Harris on Instructables - under Creative commons.
Currently Available At Johnson Brothers Mitre 10 To Help You Get This Project Done + A Few Extras
MAKITA 18V 3 PIECE COMBINATION KIT: $529.00
18V. 3.0Ah. Kit includes: 18V Hammer Driver Drill, 18V Impact Driver, 18V Brushless Angle Grinder, 2 x 3.0Ah Battery with Gauge, Fast Charger and Tool Bag.
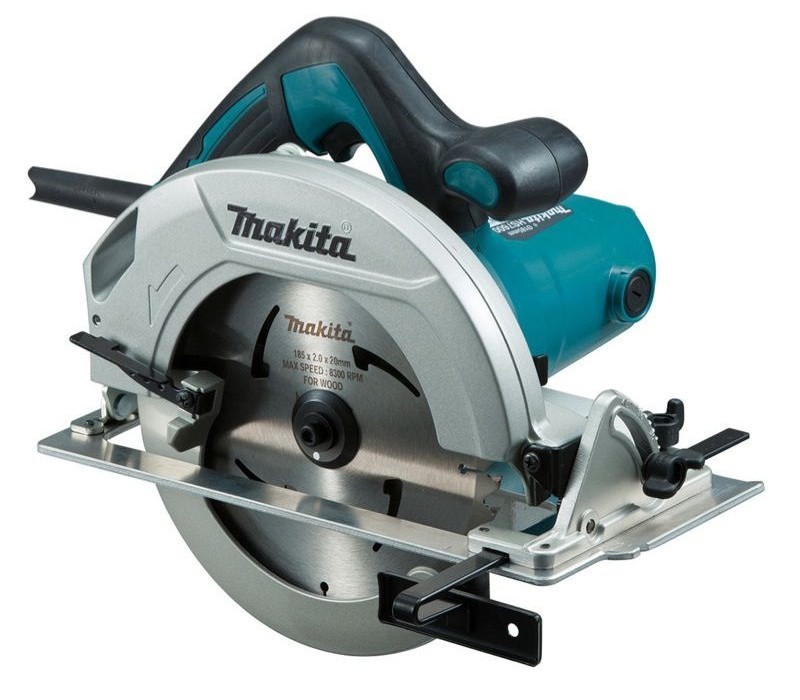
MAKITA 1200W CIRCULAR SAW: $109.00
185mm. 2m cord.

ACCENT® ENAMEL 4L GLOSS: $74.00
Gloss. Low odour. Interior and exterior. White base.
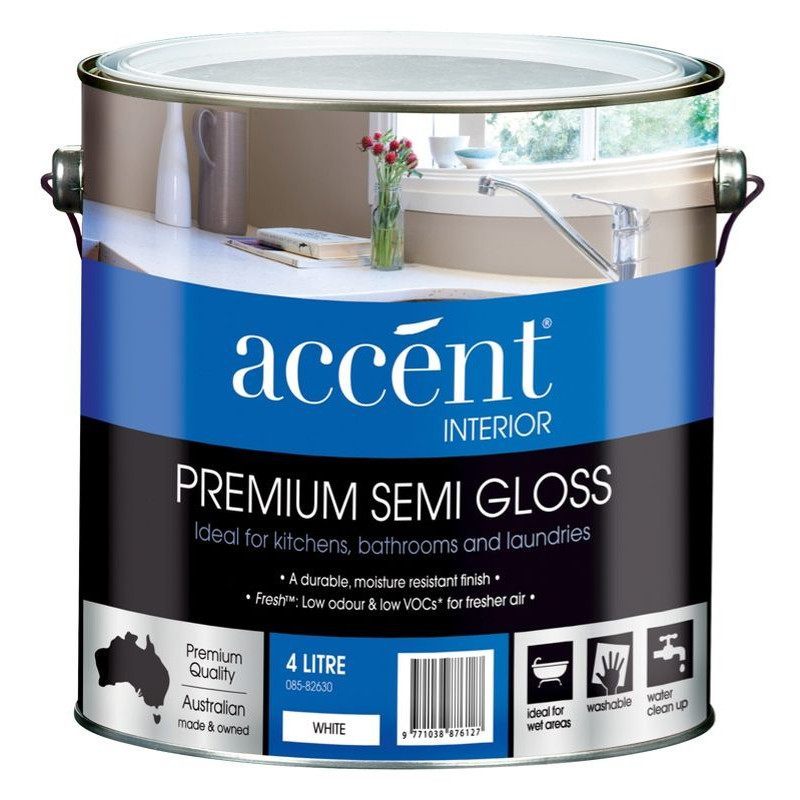
ACCENT® INTERIOR 4L SEMI-GLOSS: $59.00
Interior Paint. Stain resistant. Water clean-up. Durable. White base. Semi gloss.
ACCENT® 50MM DECORATOR PAINT BRUSH: $8.45 ACCENT® 100MM PROJECT PAINT BRUSH: $15.05
50mm. Decorator brush 100mm. Project brush.
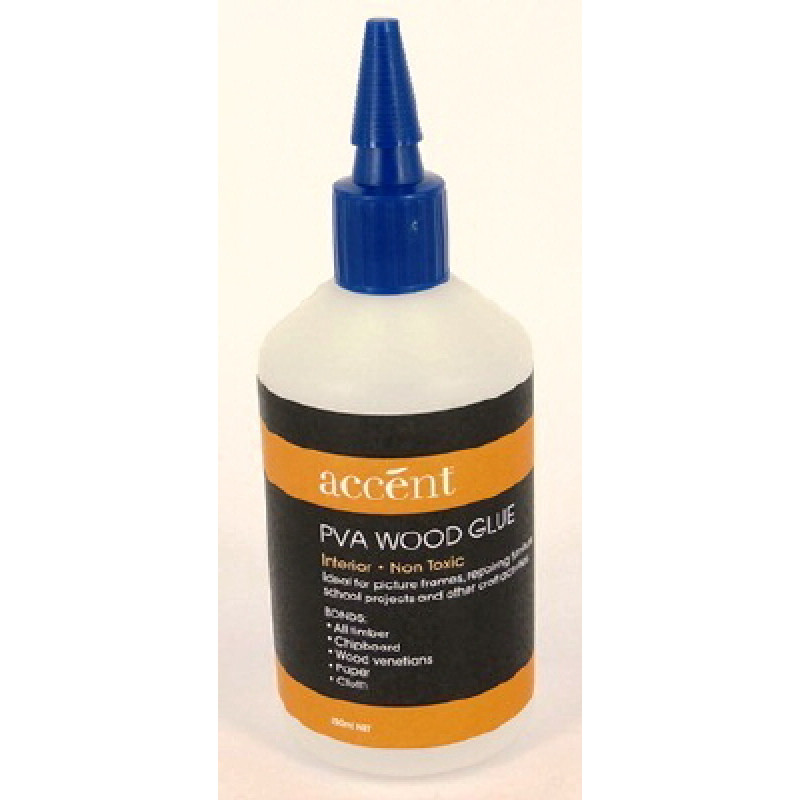
ACCENT® PVA GLUE 250ML: $4.85
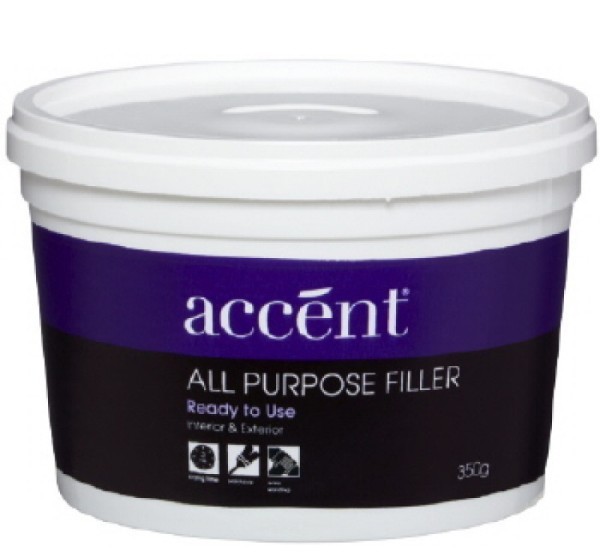
ACCENT® ALL PURPOSE FILLER RTU 350G: $8.95

FESTIVA 2240MM POWDER COATED PATIO HEATER: $179.00
Variable heat control 5000 - 12000w. Total height 2241mm. Wheels for easy portability. Comes with hose.
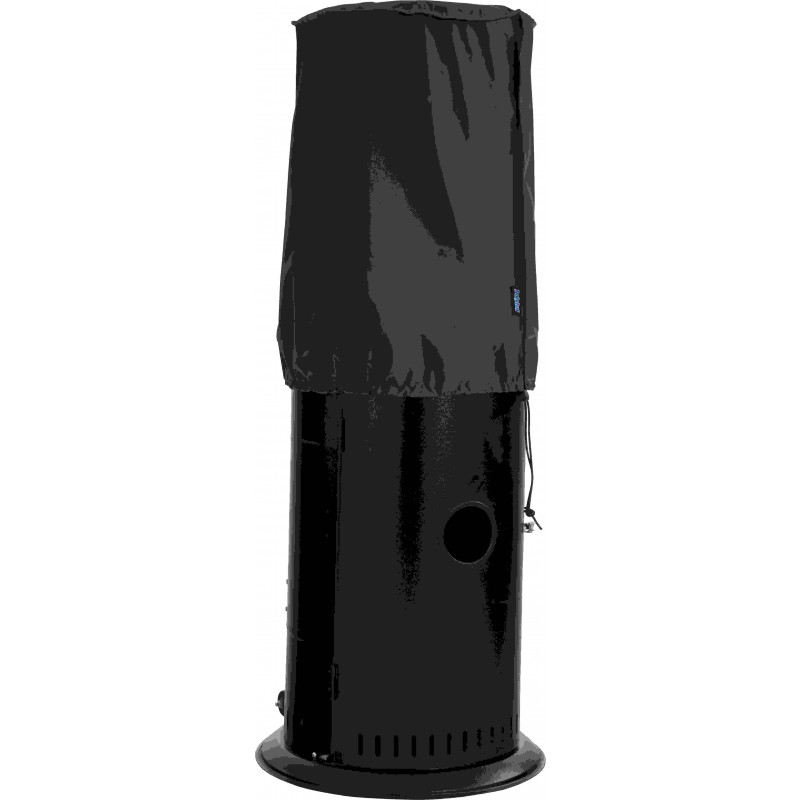
POLYTUF VERONA AREA HEATER COVER: $25.00
Water Resistant, UV Resistant, Heavy duty vinyl fabric with a bonded polyester lining. Reinforced seams provide increased strength and tear resistance. Double elastic drawstring and webbing for securing cover in place. Built in air vents to reduce risk of mould and condensation build up. 2 Year Warranty.
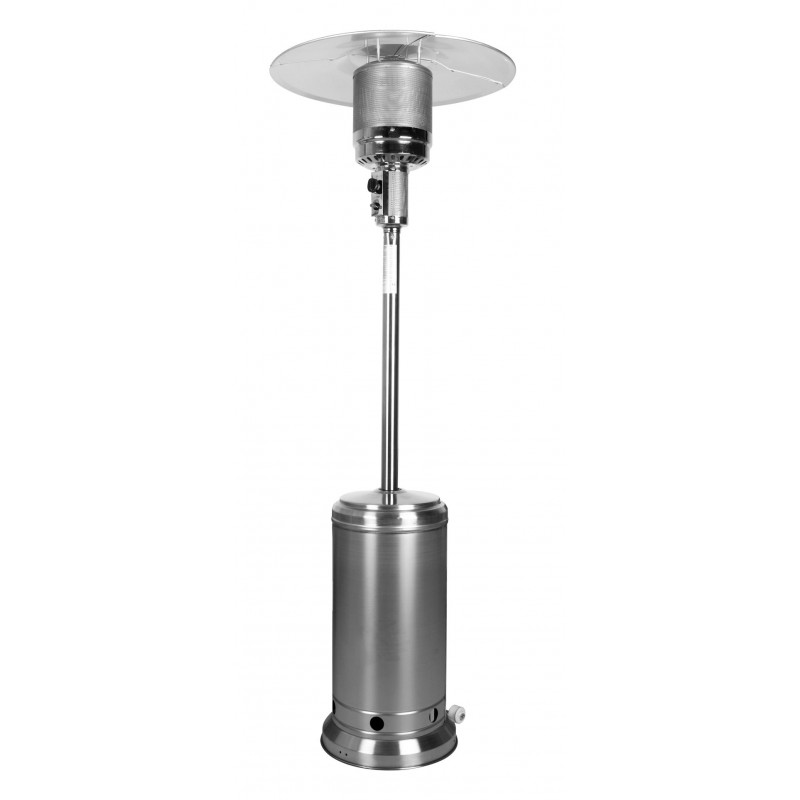
FESTIVA 2240MM STAINLESS STEEL PATIO HEATER: $249.00
Variable heat control 5000 - 12000w. Total height 2241mm. Wheels for easy portability. Comes with hose.
Click on logo to visit Johnson Brothers Mitre 10 website
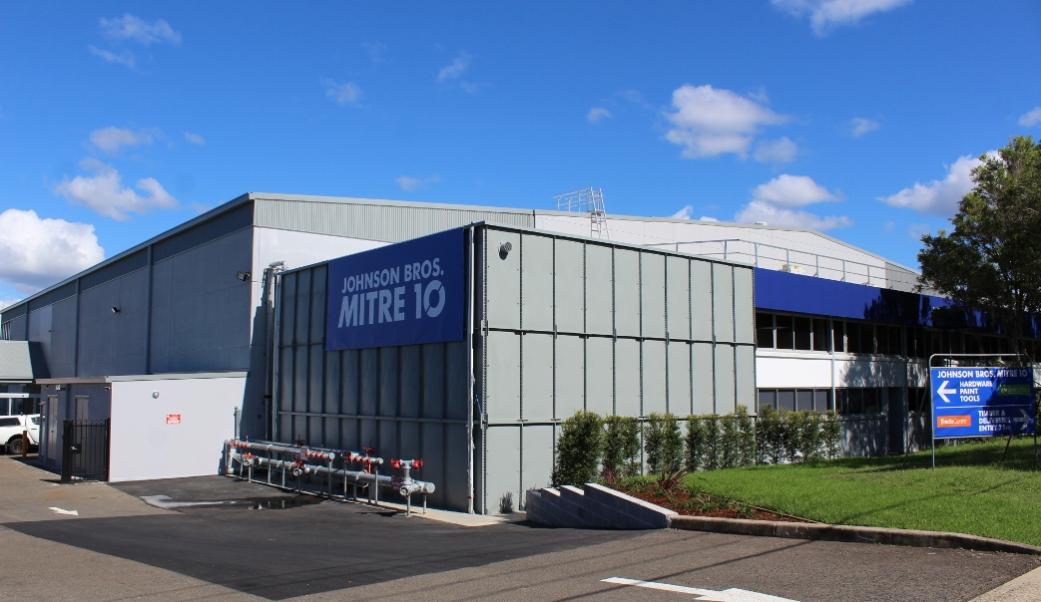
Johnson Bros Mitre 10 - Avalon (02) 9918 3315
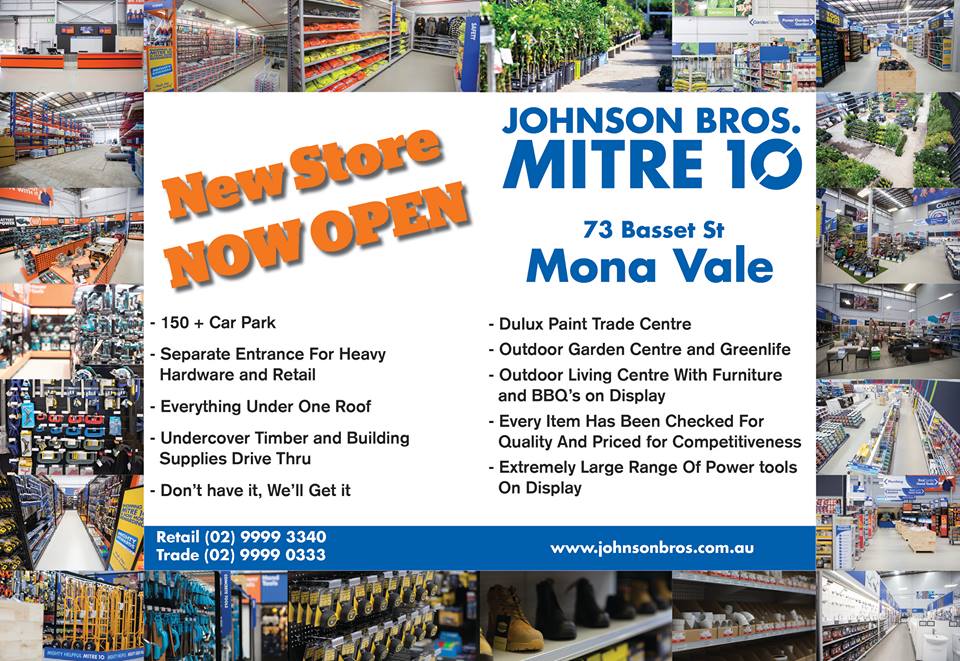
Johnson Bros Mitre 10 - Mona Vale (02) 9999 3340
JBH Timber & Building Supplies (02) 9999 0333
JBH Fencing & Landscape Supplies (02) 9970 6333
www.johnsonbros.com.au Online store: jbhmv.com.au