School Holidays DIY Ideas for Children: Little Vegetables Garden, Swing, Windchimes

Cherry tomato on vine - courtesy Connormah
The Spring School Holidays are here and for this fortnight we'd like to share some outdoor and indoors ideas; a swing - ye old ropes and wooden seat version - making windchimes with shells – a range of easy to do ideas littlies can be involved in (especially if we get wet days) or its too hot to spend too much time at the beach.


 Making Your Own Windchimes


For those looking for a bigger Spring project Johnson Brothers Mitre 10 Spring catalogue - Renovate, Make it Great, is available now with items on sale from 20 September to 1 October 2017 - read it online here - just two ideas to spruce up the home from this sale catalogue:
HUDSON 3PCE WICKER SETTING: $499.00
• Includes 3 seat lounge, footrest and 31(H) x 65(W) x 65(D)cm table with glass top. • Powder coated steel frame. • Black polyester cushions included.
All furniture require assembly. Prices may be higher in some areas due to freight. Some lines may not be in stock at all stores but are available to order.
Please note product styles and colours may vary by stores.
PRINCIPAL MISSION BEACH KITCHEN
Brighten up your kitchen with Mission Beach white-gloss doors and drawers. Great for rooms needing protection against light due to the UV lacquer finish. Principal kitchen prices shown include all cabinets, doors, drawer front, panels and kickboards as featured in the kitchen shown. Appliances, accessories, sink/tapware, splashbacks, benchtops, handles/knobs and installation are not included. The Principal kitchen images shown are used to illustrate the design/colour options available in the Principal range. Please talk to our consultants in store for a complete quote on these or other options to suit your specific kitchen requirements. From $6,998.00
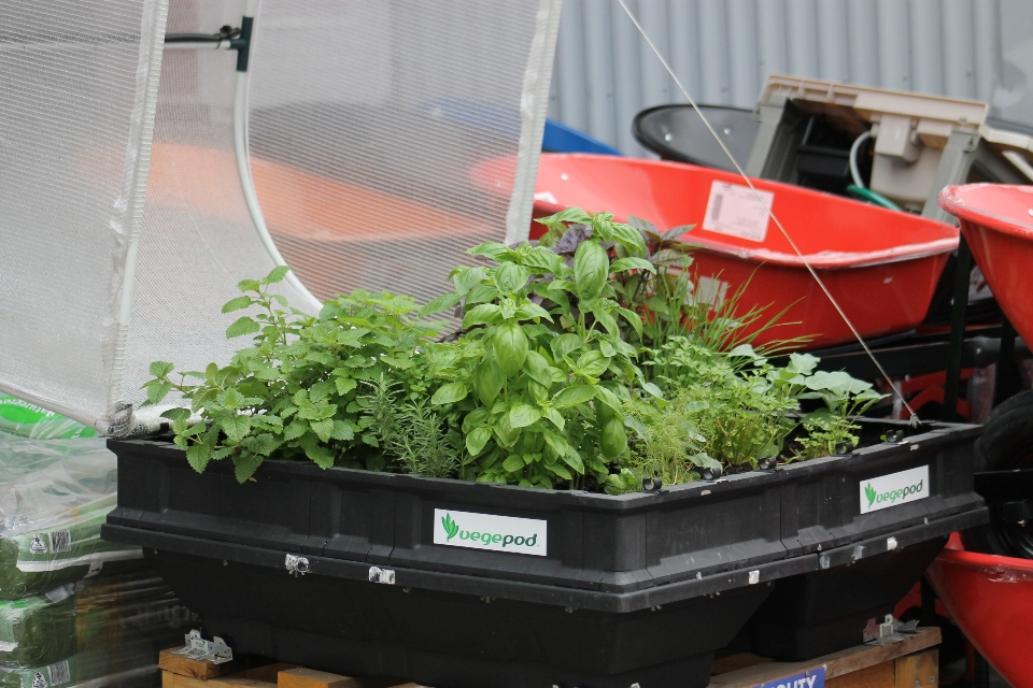
Plant out a Child's Salad Garden
Spring is a great time to get children involved in planting seedlings for food they might like to eat - cherry tomatoes, baby carrots, celery, cucumbers, capsicum and corn - all those foods they can enjoy watching grow into bursts of colour, then pick, then make into their own salad. Add in some herbs like parsley or basil, maybe even grow enough to make some pesto and this may overtake that old favourite spaghetti bolgonese.
If you have possums and bandicoots that may come and eat the feats before the youngsters can harvest, a Vegepod all of their own with help woith a good food and good eating Spring and Summer -
Vegepods are a great idea for the junior gardener or for those who like to pick fresh produce straight from their Unit balcony.
EARTHCORE 25L: Any 4 for $20.00
OSMOCOTE POTTED PLANTS FERTILISER 500G: $5.00 each
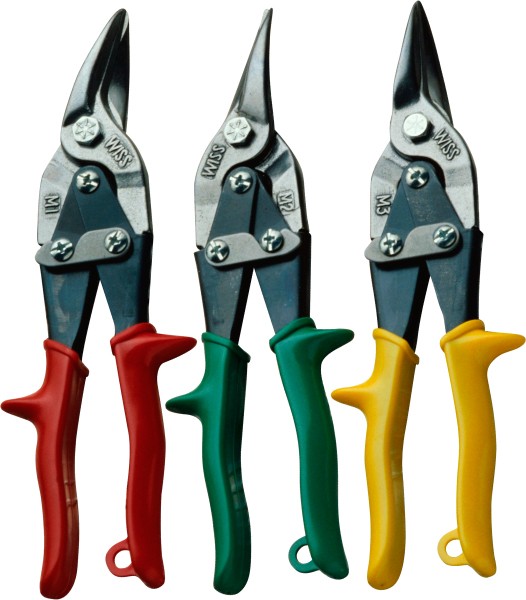
WISS AVIATION SNIPS: $23.50 each
• 248mm. • Non-slip serrated jaws. • Available in left, right or straight cut.
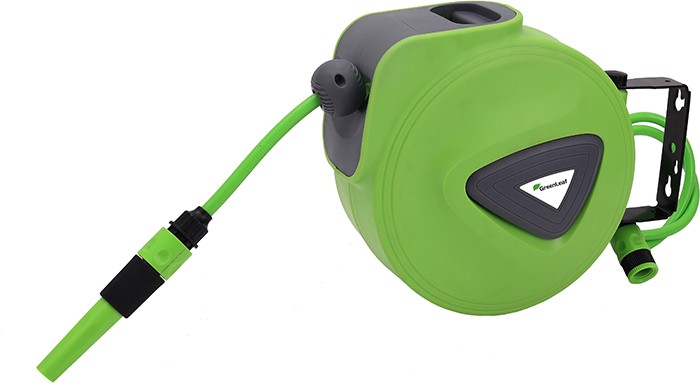
RETRACTABLE HOSE REEL: $39.00 - 10m.
Make a rope and wood swing
How easy is this?! Children will get endless enjoyment out of an at-home tree swing. A tree swing is also a great way to encourage little ones to spend more time outside. The best part? It can be made in an afternoon. All you need is a solid piece of wood, some rope, some washers to prevent little fingers getting caught where the rope threads through the wood, some colourful paint or a sealant to protect your wooden seat from the weather.
You could also recycle an old skateboard deck or even an old tyre.
We don't recommend using chain instead of rope, little fingers can get caught in chain links!
Drill four holes in the board, one in each corner. This will be the seat. Then thread the rope through the holes, tie a knot on each side and then attach the swing to a sturdy tree. If you want to ensure extra strength and safety, attached a length of wood at either end of the seat area with screws and thread the rope further down before tying off:
To protect the bough, and also ensure the swing won't break that branch, try employing one of these:
Pad the Rope
Lengths of rubber garden hose can be used to prevent rope from making direct contact with a tree. When placed between the rope and the tree, rubber hose reduces pressure on the bark and the risk of friction.
Employ Friction Guards
Arborist and recreational tree climbing equipment suppliers have specialized equipment for protecting trees from ropes. Some friction savers are flat straps up to 6 feet long; they can be attached to climbing rope to prevent tree damage and increase climbing safety. Leather cambium savers follow the same principle as a rubber hose: The cambium guards keep rope off the bark. These devices, also called tree savers, are straightforward to use. Just feed rope through a friction guard, and place the guard over a branch or around the trunk.
Use Hammock Straps
Hammock straps made from flat webbing are designed to prevent bark abrasion. Different brands of hammock straps are available, and the straps are adjustable to create a snug fit without harming a tree. Adjusting the straps as the tree grows prevents girdling, which will kill the tree; a tight rope prevents the tree from obtaining nutrients and water. Check sporting good suppliers for hammock hanging kits; a kit generally includes two straps for slinging a hammock between trees. These straps also work for suspending chairs and swings from trees.
Making Your Own WindchimesMarket days are coming up in Pittwater, as is Christmas. Here's something you can make with the children to keep, for gifts to others, or something they can help make to sell to help their local surf club or organisations like the Pittwater Friends of Soibada or their school. This will be a unique gift to give or keep and everytime it gives music out someone will remember where it came from.
Wind chimes are made from suspended tubes, rods, bells with attached lengths often made of wood or metal. They are hung outside our homes and make great ornaments for verandahs, terraces, balconies but also for gardens. Moved by the wind, they make pleasant sounds from little tinklings to rhythmic tones of wood. You don’t have to limit yourself to the usual materials. You can think outside the box and come up with something wonderful, something found in your own garden - like dried seed pods or a variety of sound makers bought from our local Greenlife Garden Centre - small pebbles for what is suspended, or use flowerpots, brightly decorated, for the alternative 'bells'.
Just remember to apply a coat of sealant as these too can be the worse for wear in all weathers. (Right - multicoloured windchimes, photo courtesy Jina Lee)
You will need:
Pipes and tubes are the same in wind chimes. Rods are not hollow and sustain notes longer. Hard metals such as steel and aluminum produce sharper tones. Soft metals such as copper produce softer tones. Metal objects are good at producing vibrations, so non-metal chimes such as glass sound more hollow. Test out the sounds of different metal pipes such as copper or aluminum, visit your local Johnson Brothers Mitre 10 store, the one at Mona Vale stocks everthing, and rap on the pipes with something that creates vibration, such as a piece of wood. Or get some pretty shell or pebbles to string all in a row.
Suspension lines. These lines, made of chain, synthetic cord, or another sturdy material, connect the base from which the chimes dangle to whatever holds the wind chime. Cords such as strong nylon are good for bearing the weight of the wind chime and can also be used when connecting the chimes and the striker. The support line material has little impact on the sound. It’s how you hang the chimes that will determine sound, so choose line materials that will last. If you want to hang the chime from a hook or a tree, buy a metal ring to tie to the lines at the top of the chime.
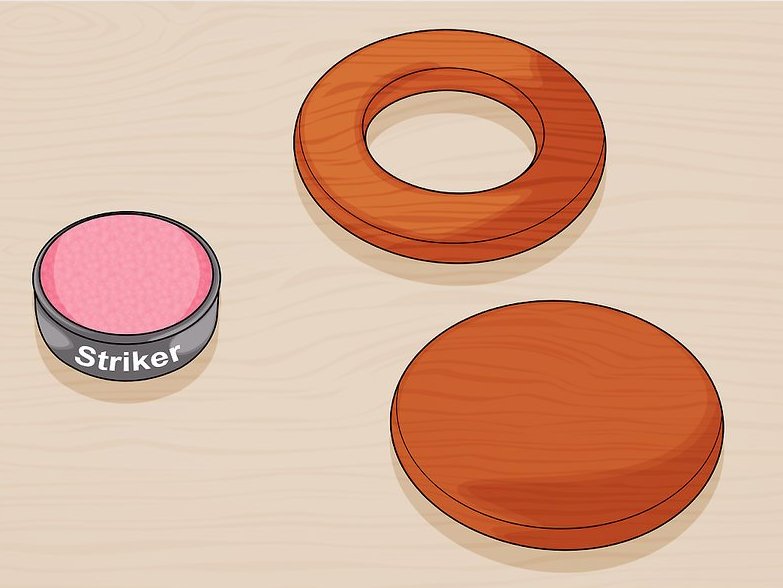
Make a striker. Also called a clapper, the striker is the piece that fits between the chimes and bumps into them to create the vibrations that cause sound. Possible choices for strikers include a round of wood or metal. The wood version is where mums and dads may have to help out with shaping and sanding. Strikers are circular so that they can hit all chimes equally, but they can also be star-shaped. These hit all chimes at the same time with less force. The weight and material of the striker, in conjunction with the qualities of the chimes, will produce a unique sound.
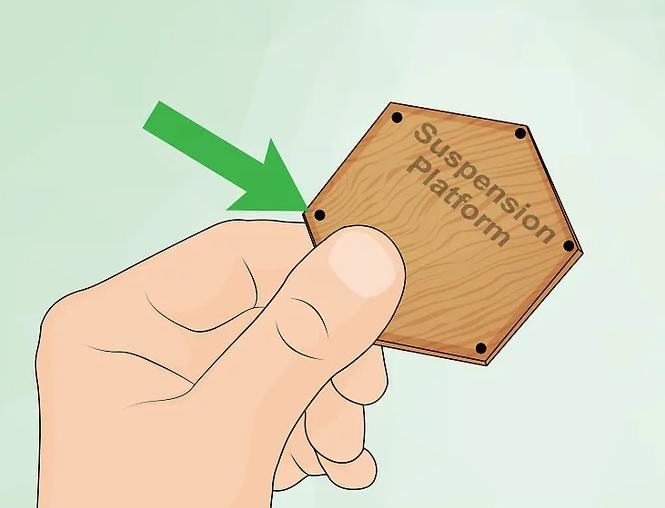
Make a suspension platform. The platform holds the chimes, letting them hang around the object that will strike them. Make a piece big enough for your design. The piece should be bigger than the striker. Suspension platforms are often made out of wood, metal, or plastic. Make one that can hold five to eight chimes at equal lengths.
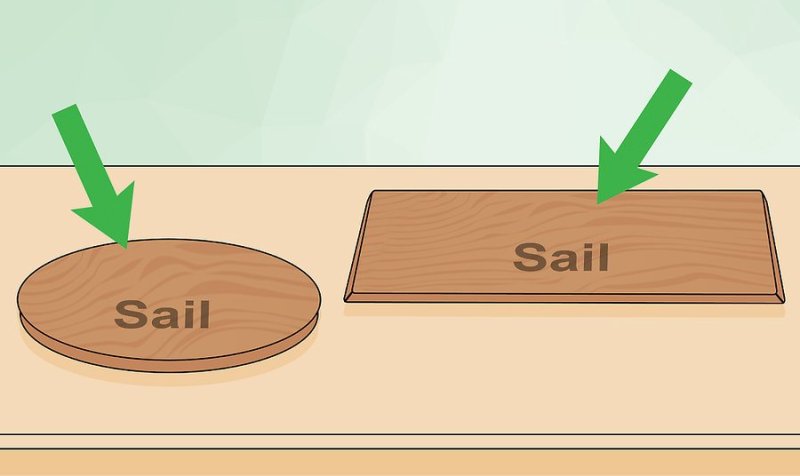
Make a sail. The sail is the part that hangs from the striker. Extending lower than the chimes, it gets caught up in the wind, forcing the striker to move into the chimes. Sails are often rectangular or rounded and made of a substance that can be moved by a decent wind, such as a block of wood.
The sail can be carved from wood into many artistic forms, but you may find it easier to choose a simple block of wood that you can drill into and hang from the striker with a suspension line. A small sail will be less durable, but a bigger sail will require more wind to move.
Secure the Suspension Platform: Mark the base. Choose five to eight points where you will suspend your chimes. Indicate the points with a marker. This is where you’ll drill holes, so the marks should indicate that the chimes are equidistant from the center with equal space between each chime. Don’t forget to include a hole for where the striker will hang. Mark the other side of the base, too, to indicate where you plan on drilling holes to make the base hang from the wind chime’s point of suspension if needed.
Drill the holes. These should be tiny holes. Your goal is to be able to run the thread on the chimes through them. Drill a hole in the center of the platform between the holes for the chime threads, then drill a hole through the striker's center and one corner of the sail.
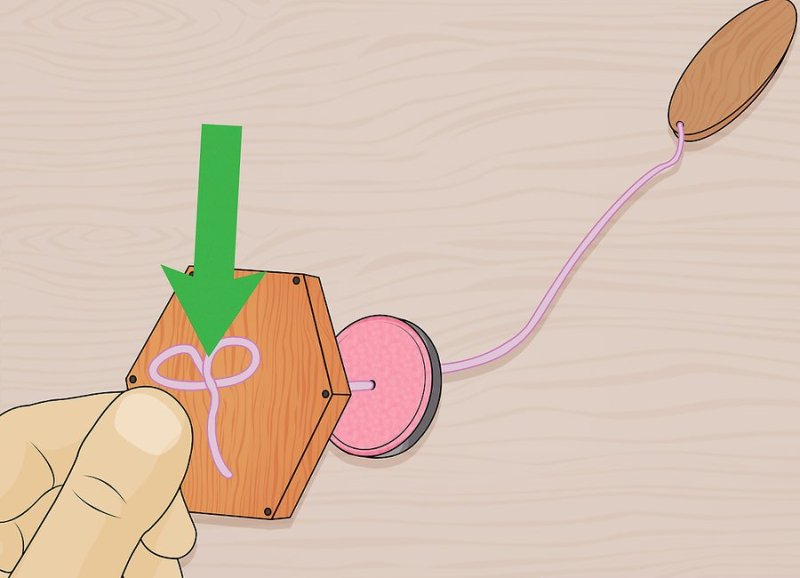
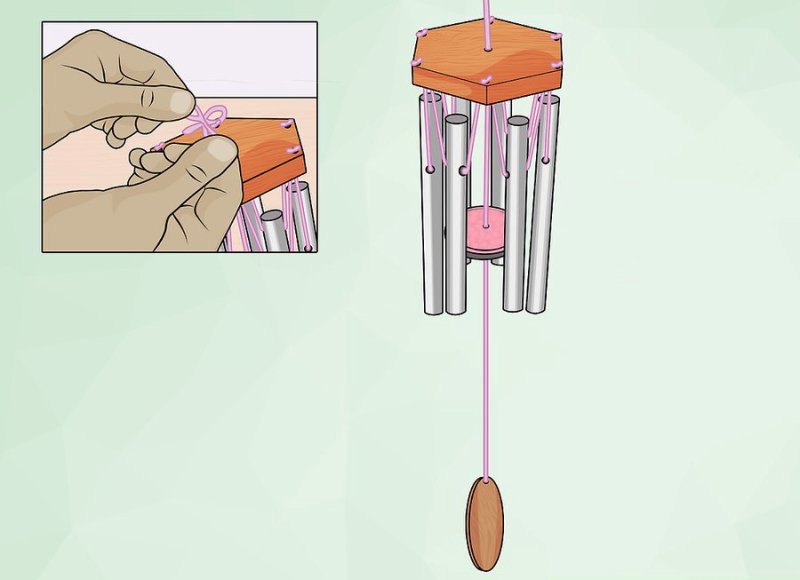
Thread the sail and striker. Cut an appropriate length of thread. This depends on how low you want these pieces to hang. For a five-foot thread, for example, fold the thread in half, then pull it through the sail and knot it. Make a second large knot where the striker will hang about 16 inches or less above, then thread it through the striker.
Try to keep the sail close to the bottom of the longest chime. The longer the sail’s support line, the stronger the wind has to be to move the sail and its extra weight. Remember that wind velocity is often stronger the higher you hang the wind chime, so a sail too close to the ground also won’t cause the chimes to sound as much.
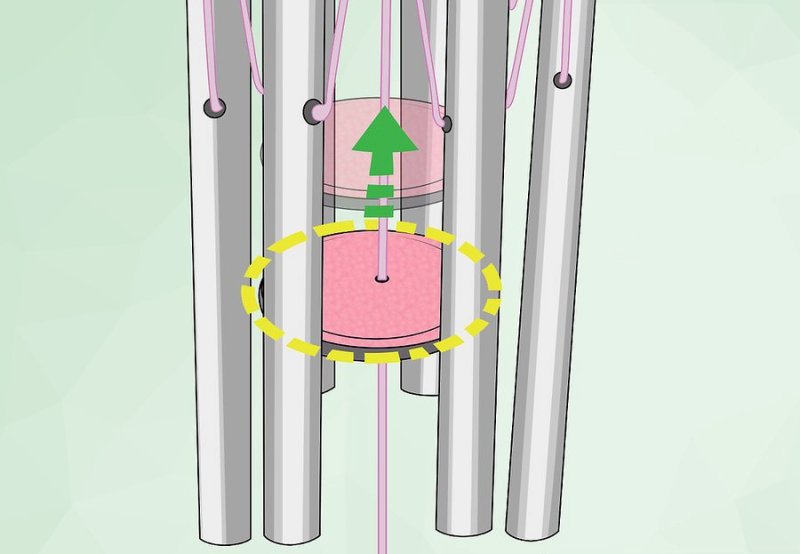
Secure the striker to the platform. Take the thread coming out of the top of the striker and run it through the hole you made in the center of the platform. On the top side, knot the thread securely. This thread, if you chose to make it long enough, can be used to suspend the entire chime. You can also choose to add other hanging implements such as hooks.
Creating the Chimes
Determine how to cut the metal. If you want a specific set of tones, now’s the time to measure. Otherwise, you can plan on making the chimes as long as you wish,. Keep in mind that shorter chimes produce higher-pitched tones. Most commercial chimes play a five-note pentatonic scale. The way you achieve the proper notes depends on the type of pipe you use.
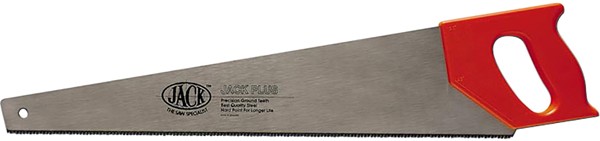
Cut the chimes. Measure out the desired length on the chime material, mark it, then start cutting it. To do this, you’ll need to have a pipe cutter, a hacksaw, or a hand saw. For hand saws, be sure to choose a blade that is made for the kind of metal you are cutting. Your local Johnson Brothers hardware store may be able to cut the pipes for you. If you have a piano, tune the chimes by playing a note and matching the sound they make when you rap on them, then cut off more of the chime as needed.
IRWIN JACK PANEL SAW: $9.95
• 500mm. • 8pt.
Sand the edges. Wrap the pipes in towels to protect them. Use a file or sander to wear down the sharp edges on points. If you didn’t cut enough off the pipes, you can sand off the excess here. Unless you’re removing significant portions of the material, which makes the pitch higher, the chime’s sound won’t change.
Drill holes into the pipes. How you wish to make the holes depends on the material you have chosen and how you wish to hang the chimes. For copper pipes, for instance, you can drill holes into the sides in the area you wish to suspend by thread then run the thread through later. Please make sure you're wearing protector googles when working with metals if you have chosen to make this kind of chime.
DEWALT 18V LI-ION DRILL AND IMPACT DRIVER COMBO: $329.00
• Compact, lightweight design to fit tight areas. • Includes 2 x 2.0Ah batteries, charger and soft bag. • DCK275D2-XE. FREE 4.0AH Battery Via Redemption* *Dewalt Battery Redemption offer for full terms & conditions please see www.guaranteedtough.com.au/terms-conditions.
PROTECTOR LOW PROFILE GOGGLES: $12.00
• Medium impact. • Anti-fog. • Hard coated. • Certified to AS/NZS 1337.1:2010.
PROTECTOR RESPIRATOR KIT: $45.00
• Superior fit and comfort. • Includes filters. • Provides protection against dust, mists, fumes and sprays.
Cut the thread. Take the suspension lines you have chosen. Measure out your desired length. It’s better to keep the chimes as close to the suspension platform as possible so that the chimes do not sway much, allowing the striker to do the work. Bear in mind the striker’s suspension line is measured to align with the chimes. The striker may have problems reaching some of the chimes if you hang them too long. Chimes that hang too low are more vulnerable in wind and move more, making the wind chime out of tune because the striker doesn’t hit them evenly.
Thread the chimes. How you thread depends on what kind of hole you’ve made. For a chime with two holes, for instance, run the thread through the holes enough so you can tie a knot. You could also choose more complicated methods, such as filling the holes with a screw that you knot the thread around or drill into end caps that you make a knot inside before gluing the caps on the chimes.
Hang the chimes from the suspension platform. To do this, run the threads through the holes you made in the platform. Knot them on the other end. When you hold up the platform now, the chimes should hang with the striker between them and the sail below. To achieve balance with the platform, try distributing the weight of the chimes as equally as possible. Hang long chimes on opposite sides.
Hanging the Chime
Test the chime. Hold the wind chime up or find a makeshift way to hang it, such as temporarily knotting a string. Provide wind or strike the chimes to see if they provide the desired sound. Check to see if all the parts hang evenly and securely.
Change the strike zone. Chances are your chimes currently are top-aligned. This means the top of all the chimes hangs from the platform and the striker hits a little below the midline of the longest chime. You can manipulate the chimes and their strings for different sounds. In a bottom-alignment, the bottoms of the chimes are all level. The strings hanging them are different lengths and the striker hits a little below the center of the shortest chime.
In a center-alignment, the striker is even with the center of all the chimes. The string lengths are all different and the tops and bottoms of the chimes don’t align.
Install a metal hook. If you haven’t run a wire through the top of the suspension platform, you can push a hook into it instead. You may need to use pliers to bend the hook over so it can latch onto the metal chain you use to hang the wind chime. Other options include running one or more of the chime and striker threads through the platform or installing a triangle of hooks to tie together for hanging the wind chime.
Find an area to hang the chime. Suspend the chime on a tree branch, from a metal ring or hook, or wherever else it pleases you. Find a location that provides an adequate amount of wind and keep the chime off the ground to achieve the desired sound. (Creative Commons Licence - Info derived fromWikihow)
The world's largest windchime was made by Jim Bolin and is located at 109 East Main Street, Casey, Illinois. The windchime was entered into the Guinness World Records as the Largest Windchime on June 22, 2012. The windchime measures 12.80 m (42 ft) long and consists of five metal tubes which are suspended 14.94 m (49 ft) from the ground.The windchime weighs a total of 16,932.4 pounds.
Photo courtesy Jud McCranie
Previously run hands-on fun for youngsters and older young adults who like bigger projects:


Click on logo to visit Johnson Brothers Mitre 10 website
Johnson Bros Mitre 10 - Avalon (02) 9918 3315
Johnson Bros Mitre 10 - Mona Vale (02) 9999 3340
JBH Timber & Building Supplies (02) 9999 0333
JBH Fencing & Landscape Supplies (02) 9970 6333
www.johnsonbros.com.au Online store: jbhmv.com.au