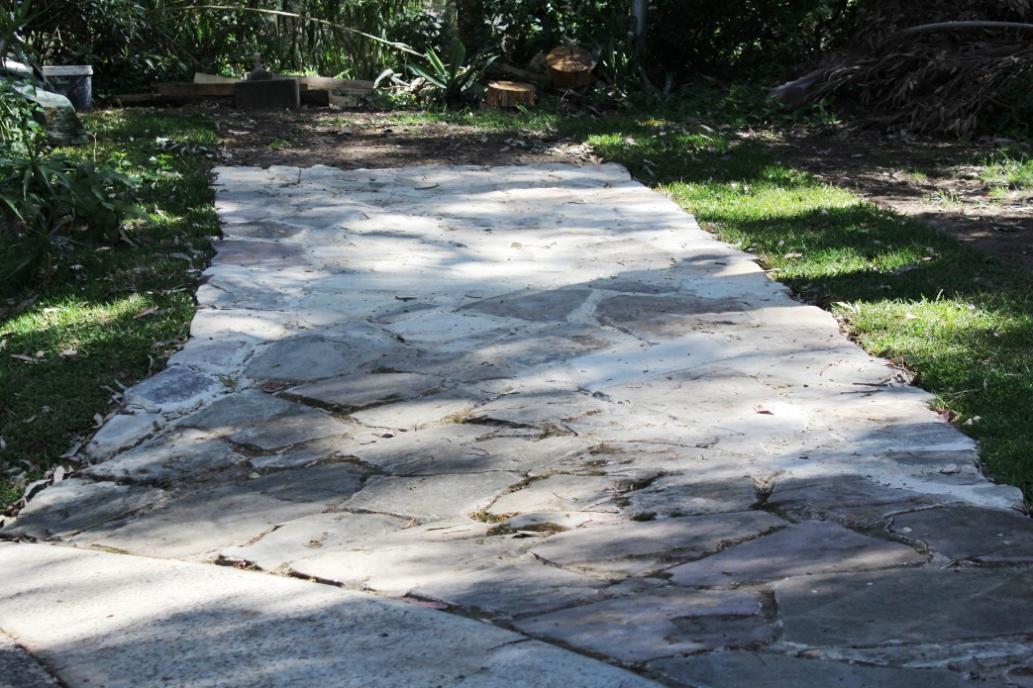
If you need an extra parking area and want something that looks informal and creates some flow in the aesthetics of your garden, then a sandstone flagging parking platform may be what suits. More concrete is not always a great look for your green areas and this idea will keep the natural look as well as being functional.
Larger pavers will also work well with this idea if you prefer something smoother. With the great range of earthier shades now available in these, this option will suit those who want something that looks more uniform and is easier to work with.
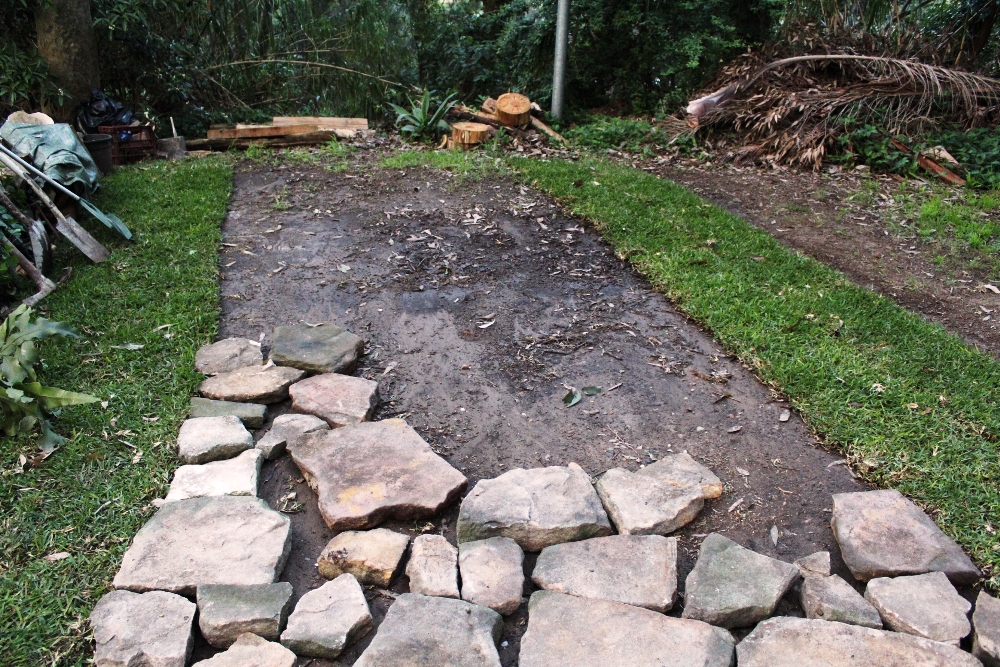
Ours was installed in an area that previously would become muddy during rain and could not be made to stay green due to being used as a place to store the car. We wanted to make something that could withstand the load of a car or small truck and restore the area, which is beneath a stand of tall spotted gums, to green.
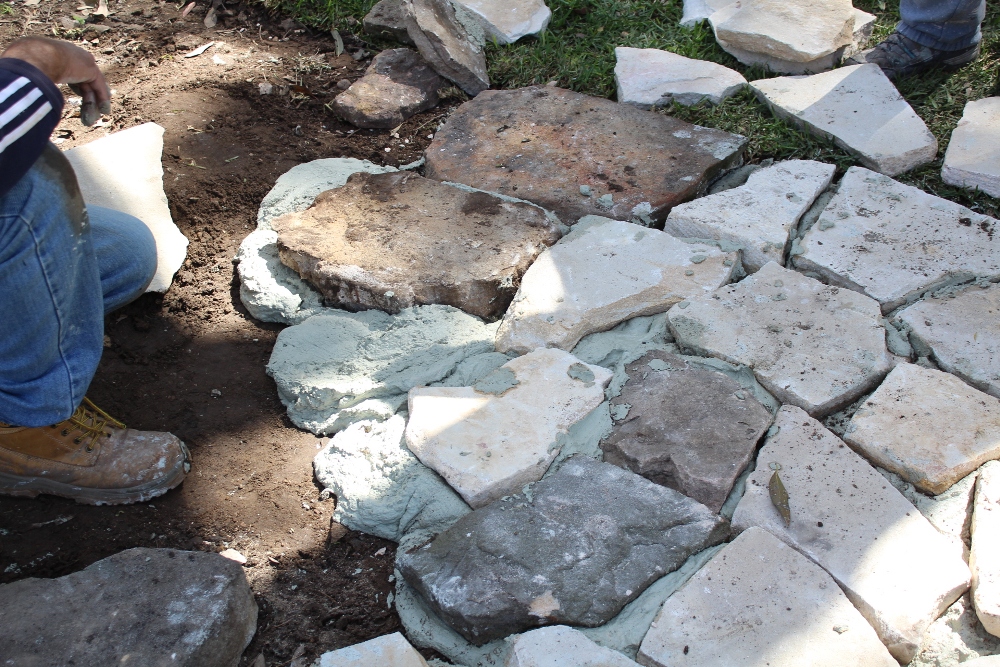
The irregular shape of sandstone flagging means you will have to look at how to fit the pieces together while doing this project.
Prior to getting your materials determine what thickness of sandstone flagging you need – the one used in this is 50mm. As this is for a car you will need to set the flagging in cement (heavy loading).
You can also use pavers for this project – Johnson Brothers Mitre 10 Garden Centre at Narrabeen has a great range. Discuss what you want to use these for and they’ll recommend what will work best to suit your parking platform.
The whole project took one day to complete with one mate to help lift the heavier pieces into place and mix the cement. The cost there was 2 x beers, 1 x bacon and egg sandwich plus a slice of cake for lunch and $150.00.
Materials For an area 6m x 1.5m
1 x Pallet Sandstone flagging $600.00
3 x Bags of Cement $ 60.00
10 x Bags of Sand ($8.00) $ 80.00
Tools
Spade
Trowel
Wheelbarrow (to mix cement in)
Gloves
Hose
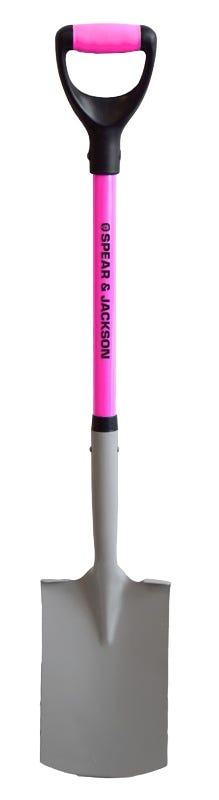
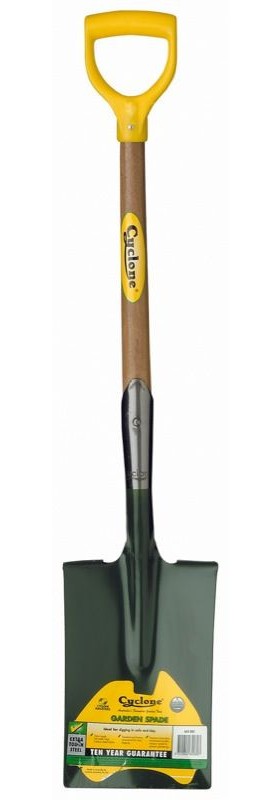
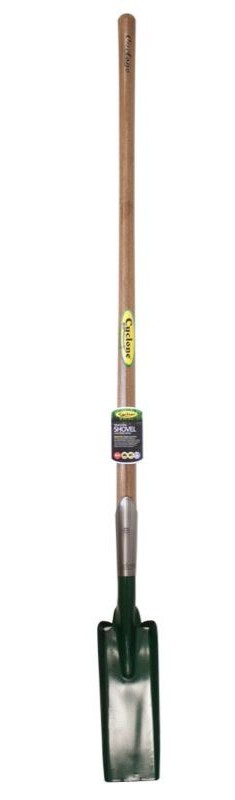
SPEAR & JACKSON SQUARE MOUTH SHOVEL: $22.98 - D handle. CYCLONE D HANDLE GARDEN SPADE: $38.90 - Tough 2mm titanium treated steel blade. CYCLONE LONG HANDLE TRENCHING SHOVEL: $57.55 - 2mm, boron & titanium treated Australian steel blade.
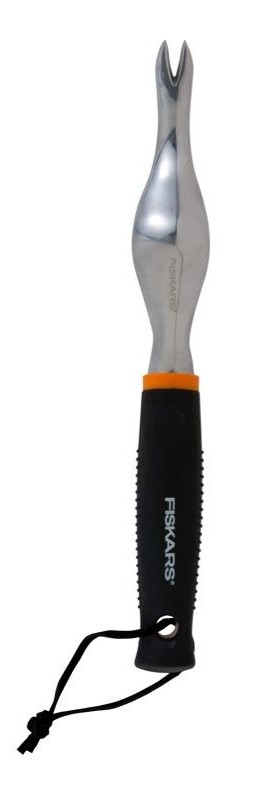
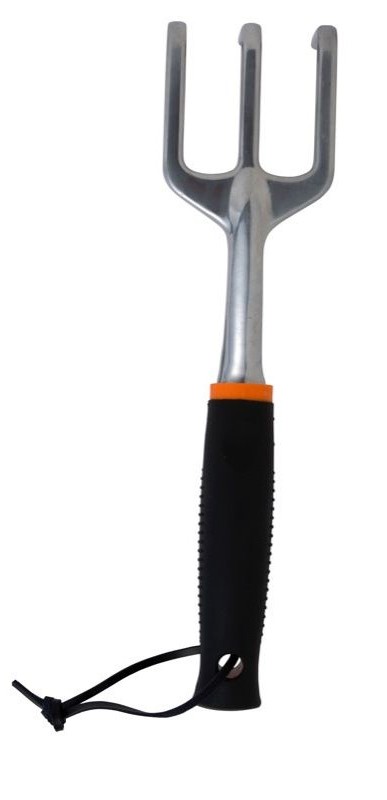
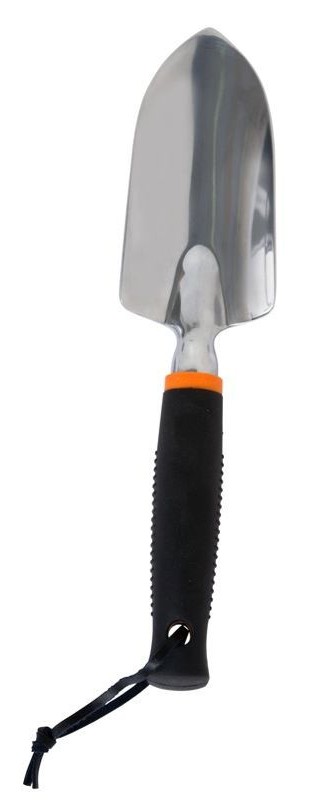

FISKARS GARDEN HAND WEEDER - FISKARS GARDEN HAND CULTIVATOR - FISKARS GARDEN HAND TROWEL - FISKARS GARDEN HAND FORK - FISKARS TRANSPLANTER: All $8.50 - Ergonomic handle. Lightweight aluminium.
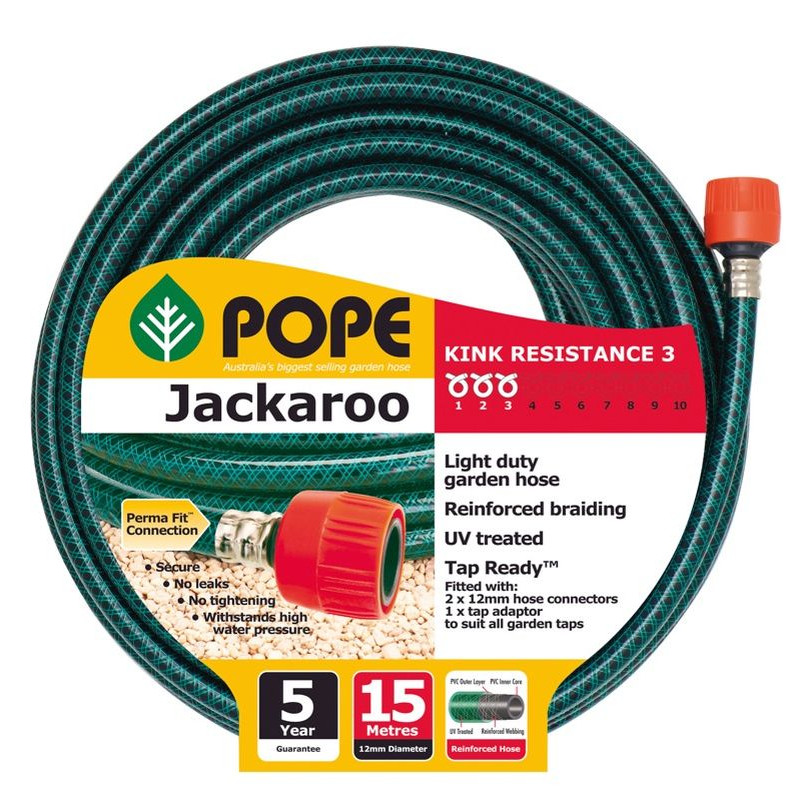
POPE JACKAROO HOSE: $18.00 - 12mm x 15m.
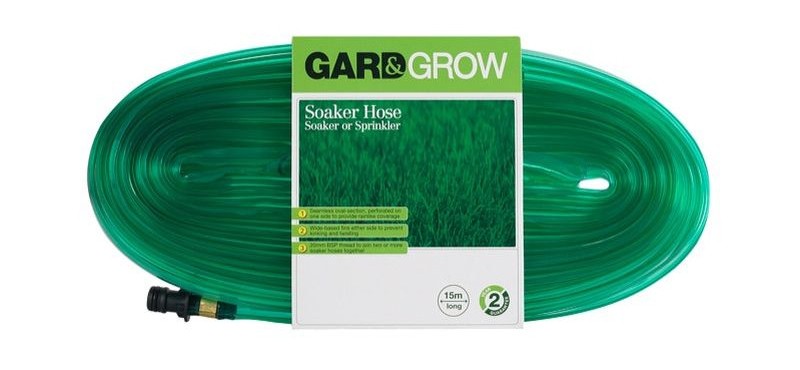
GARD&GROW® SOAKER HOSE: $19.80 – 15m
Step by Step
Ground preparation
If you want firm straight edges to your parking platform lay out some boards to the length and width required and work within that area. Tap some holds into the ground to keep these in place while you work. This will also stop cement overflowing the space you have chosen and give a nice neat finish.
Also clear the area within this boarded off area of any little stones that may stop you from creating a flat area. The ground as slightly sloped where this car platform was placed so working with the sides of the flagging to keep it looking rustic was required as well as jiggling the pieces when placed in their bed of mortar.
Using Pavers
When laying pavers the rule is to place them into a bed of sand – in this case cement will mean you are going to need to lay a bed of mortar for these as well. Think long term when laying pavers and ensure you install them properly. Over time, your project will be inundated with rain and alkaline tap water, scorched and dried by the sun, encroached by tree roots and affected by subsurface pressures of the earth.
Within the site itself, every paver at some time or another is likely to be exposed to soil, compost and leaf litter, fertilisers, cleaning chemicals, food, grease and everything in between. Choose pavers that will last under the gum trees and in the flow of water across your property.
To make a mortar bed for pavers we find this ratio most successful: 3 parts washed sand : 1 part white cement and 1 part water and/or additive. Clearly you will need to increase the Materials List if using this option and definitely have your mate to help you so the work may go much more quickly.
Layout of Flagging
Once you have chosen your flagging or pavers have a look at the sizings and how you want these to be laid. If you have gone with pavers it makes it easy to place these unless you’re going to incorporate a design within the area itself.
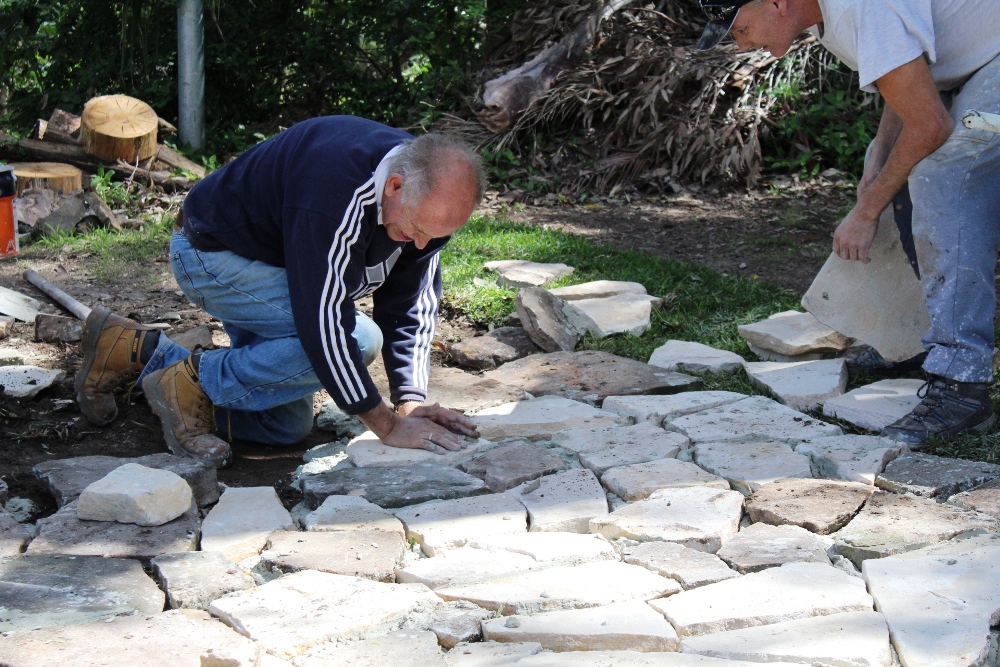
With flagging it’s a little like a jigsaw puzzle – lay out the first pieces for a small are to begin with.
Lay a bed of cement and replace those pieces moving slightly until fairly level and then fill in the gaps with your cement as you go. Make sure you clean away and drops of cement that land on your flagging or pavers as you go – once they set they will be harder to get rid of.
Mixing Cement
The rule with mixing cement is 1 cement : 2 sand : 3 gravel by volume. No aggregate was used in this project though and a low water-cement ratio was employed as this increases the strength and durability of the concrete. This does reduce the workability of the cement while making the platform but will give you something that holds together better and lasts much longer.
Another tip when using cement is to give the stones on either side a bit of a tap when filling in the spaces as this will get rid of air bubbles which will also reduce the strength and longevity of the concrete applied.
Mix the dry ingredients and slowly add water until the concrete is workable. The mix should not be too stiff or too sloppy.
A 5:1 ratio was used in this project.
Out of Bounds
Ensure no one walks on the newly installed platform for at least 24 hours – this allows the cement to ‘go off’, or set properly.
The Green Grass on either side
You can see we chose laying some new turf where the area had been turned into mud and then dirt. New turf requires watering regularly until the roots take hold. If your area hasn’t deteriorated to the point ours had then some lawn maintenance will bring it back. Boost the grass with some feeder, use the prongs of your fork to loosen up compacted areas and help rain get through and speak to trained friendly staff at Johnson Brothers Mitre 10 about which lawn patch product will help restore you lawns.
For more Lawn Care tips Visit: How to winter proof your lawn! By Paul Johnson and Spring Lawn Care
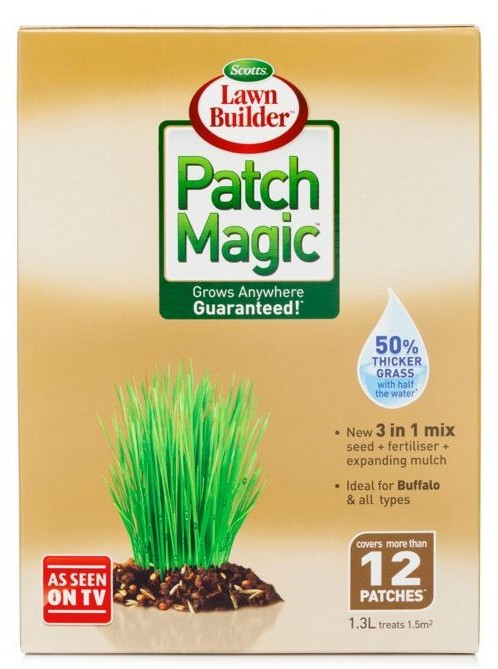
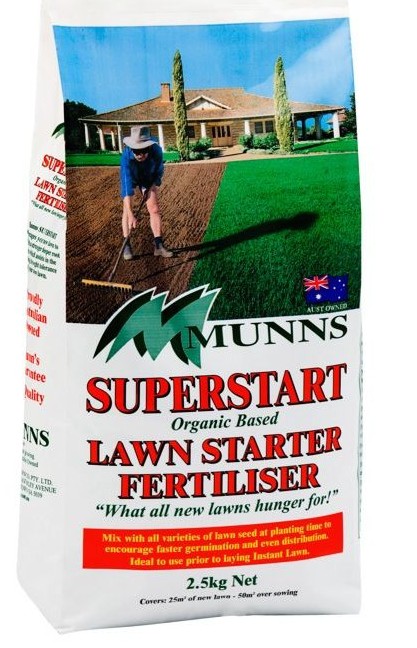
SCOTTS LAWN BUILDER PATCH MAGIC: $14.99 – 1.3L LAWN STARTER SUPERSTART 2.5KG: $9.49 – 2.5kg
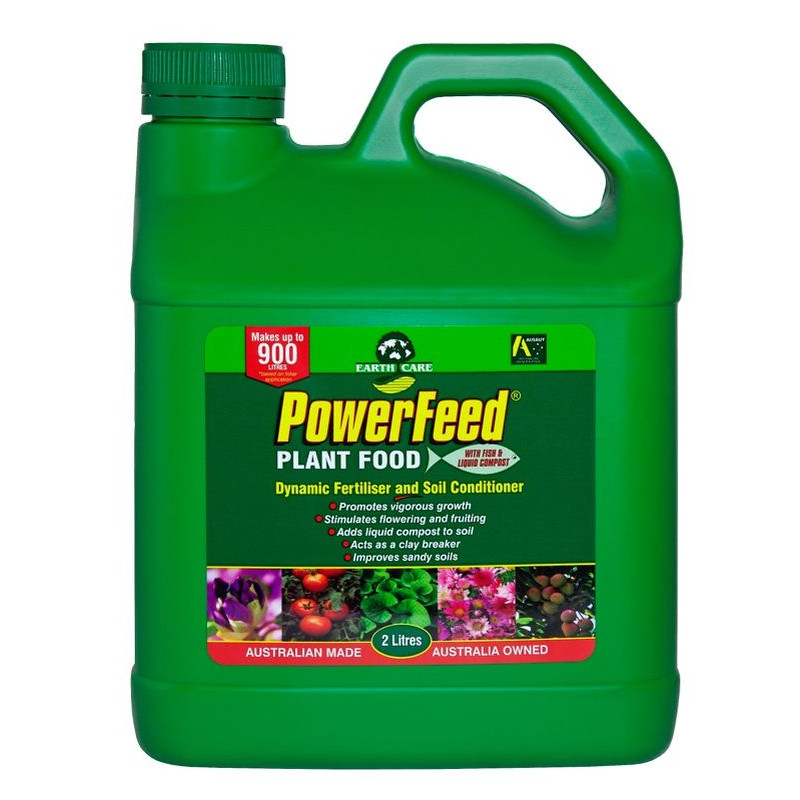
POWERFEED CONCENTRATE FERTILISER: $19.96 – 2L.
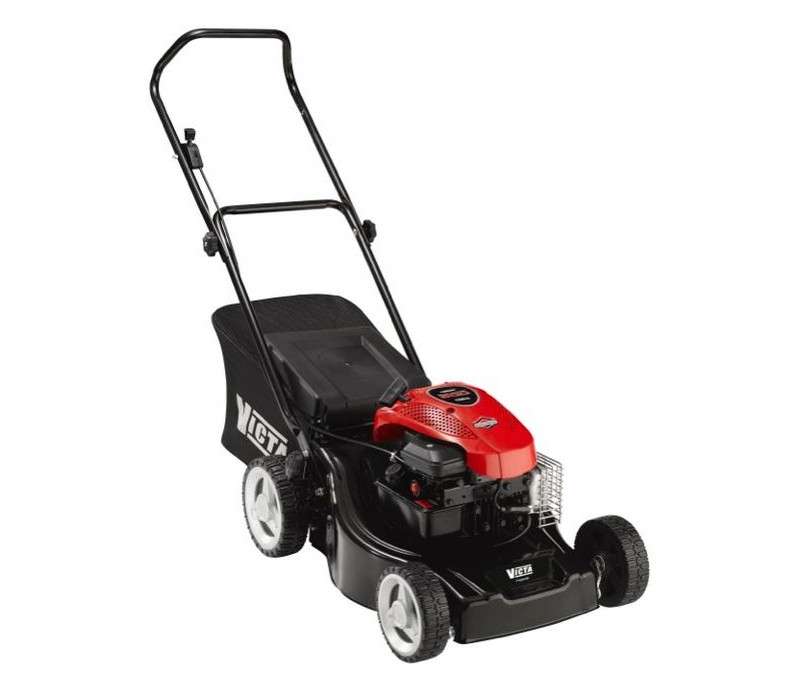
VICTA HAWK 158CC LAWN MOWER: $359.00 - 4-stroke. 16 steel chassis.
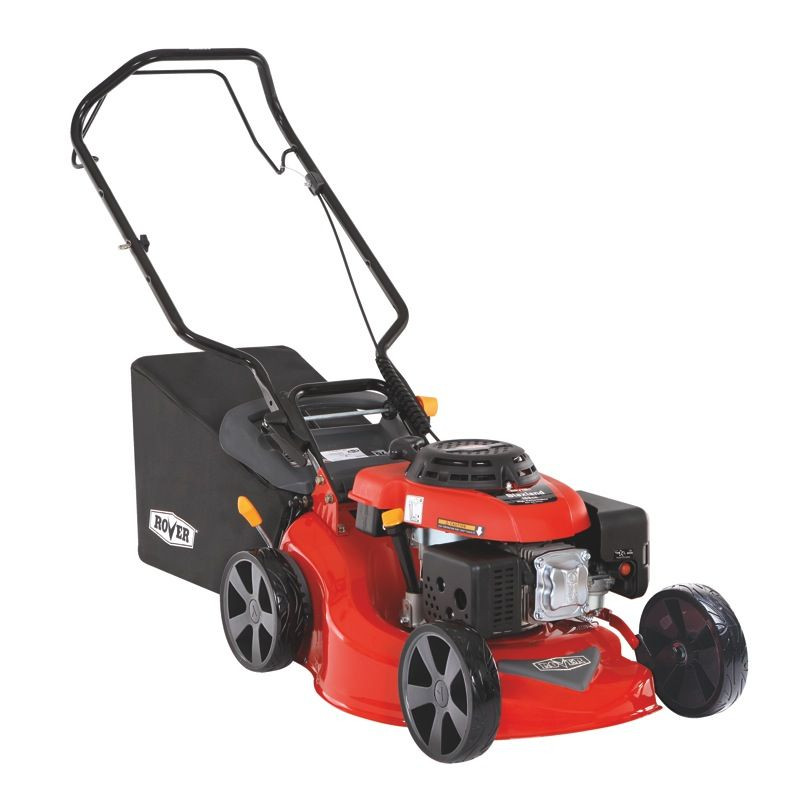
ROVER BLAXLAND 159CC LAWN MOWER: $379.00 - 46cm (18) deck. 2 swing back blades.
Finally: Welcome to the peace of not having someone doing wheelies in mud restores to your garden and something that isn’t another block of boring cement.
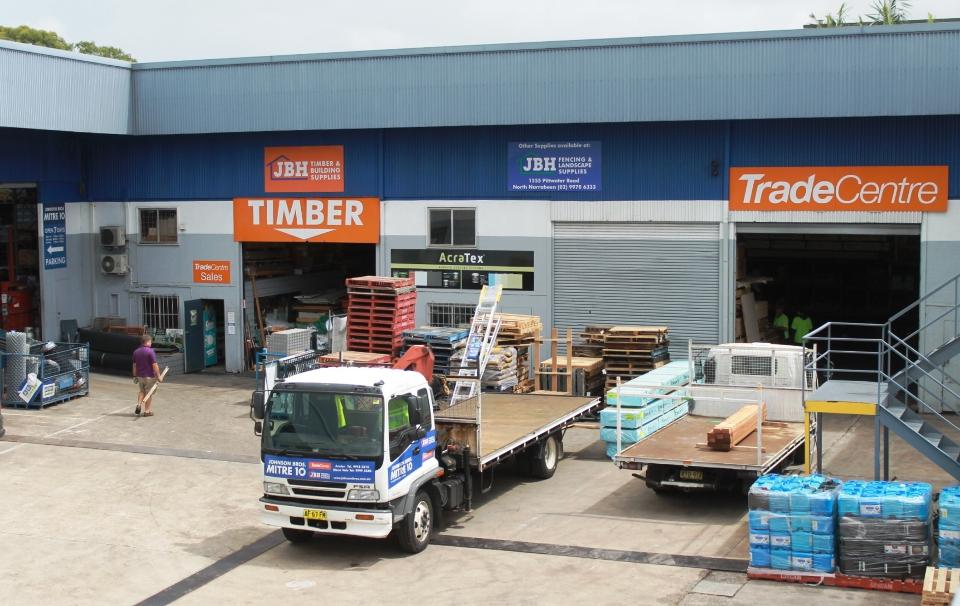
All the products for this project are from those currently on sale at Johnson Brothers Mitre 10 stores at Avalon, Mona Vale, while pavers and anything else you may need for your outdoor areas can be found at the Narrabeen Fencing and Landscapes depot. These are all high quality built to last tools that will remain useful for your next project.
Click on logo to visit Johnson Brothers Mitre 10 website
Johnson Bros Mitre 10 - Avalon (02) 9918 3315
Johnson Bros Mitre 10 - Mona Vale (02) 9999 3340
JBH Timber & Building Supplies (02) 9999 0333
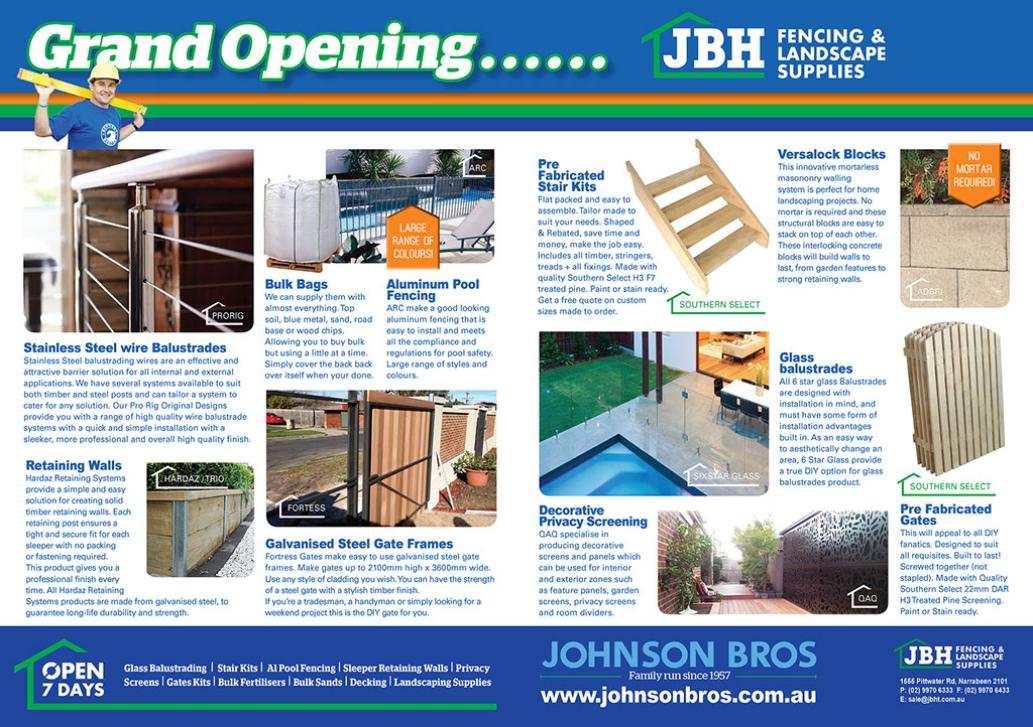
JBH Fencing & Landscape Supplies (02) 9970 6333