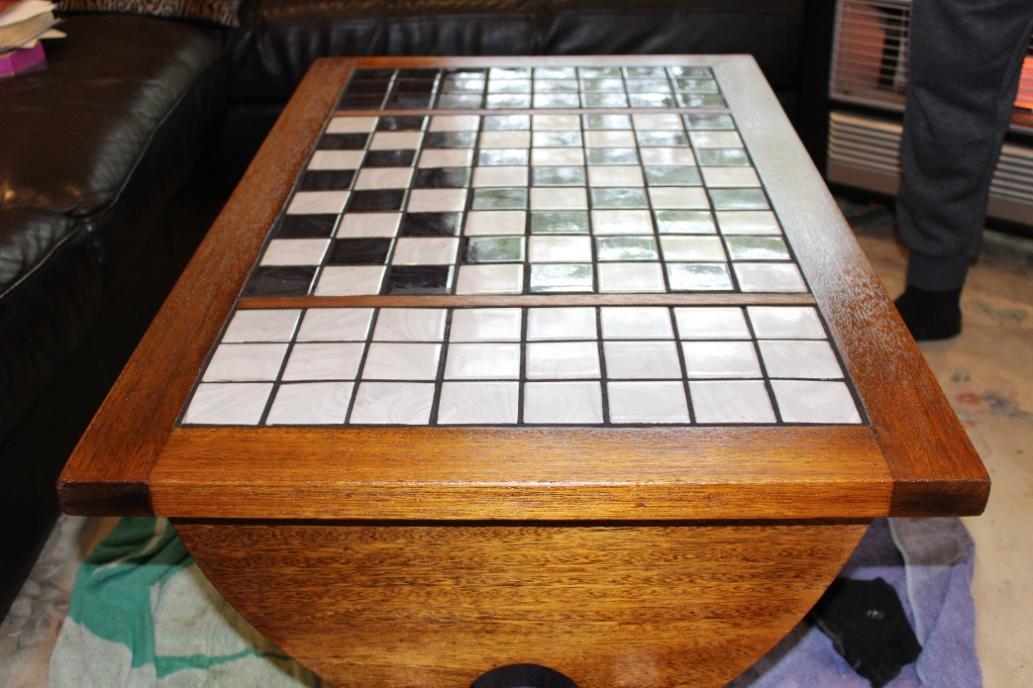
A recently found discarded coffee table with tile top inspired refurbishing this article of furniture and installing it with a built-in chess set, making it a 'chequered' coffee table. With similar items costing between $1000.00 and $1800.00, for those who like chess or checkers and who don’t like waste, this may be a good little project.
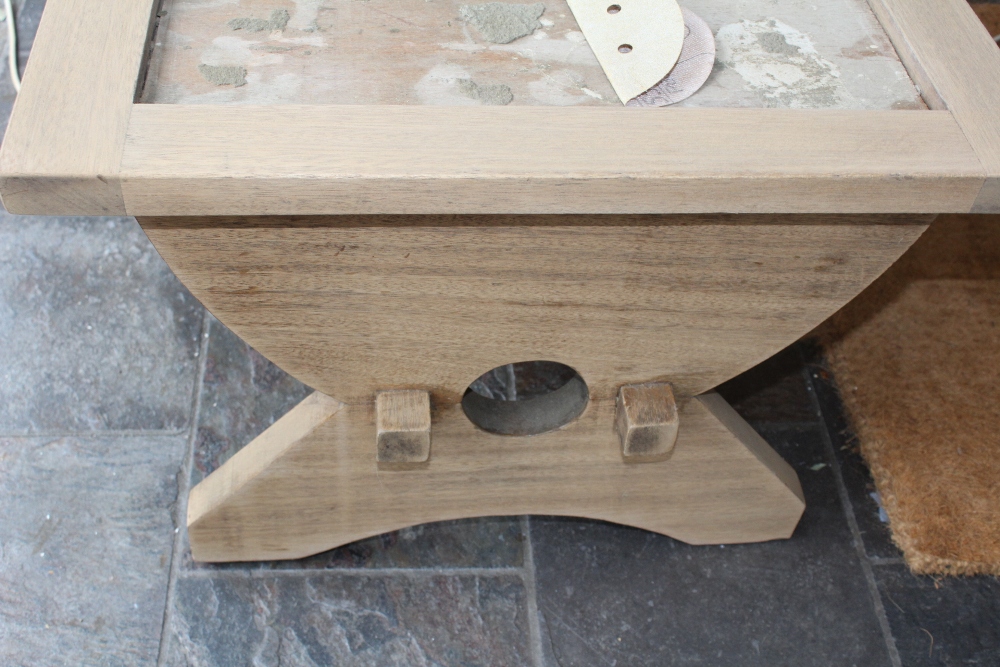
If you have a coffee table you want to use for this project, it may need shallow sides installed to allow for the installation of a built-in chess set it’s a matter of measuring your width and length and adding the lengths of wood required to create an area below the whole surface.
The one shown here has a width of 50cm and a length of 75cm.
If you don’t have a coffee table alike this you can easily construct one or find one secondhand to ‘renovate’ yourself.
We also installed two inner strips of wood to make a uniform size for the chessboard square. The extra materials set us back just over $100.00 – a lot less than a neat one thousand for starters and now we have something that will last for years.
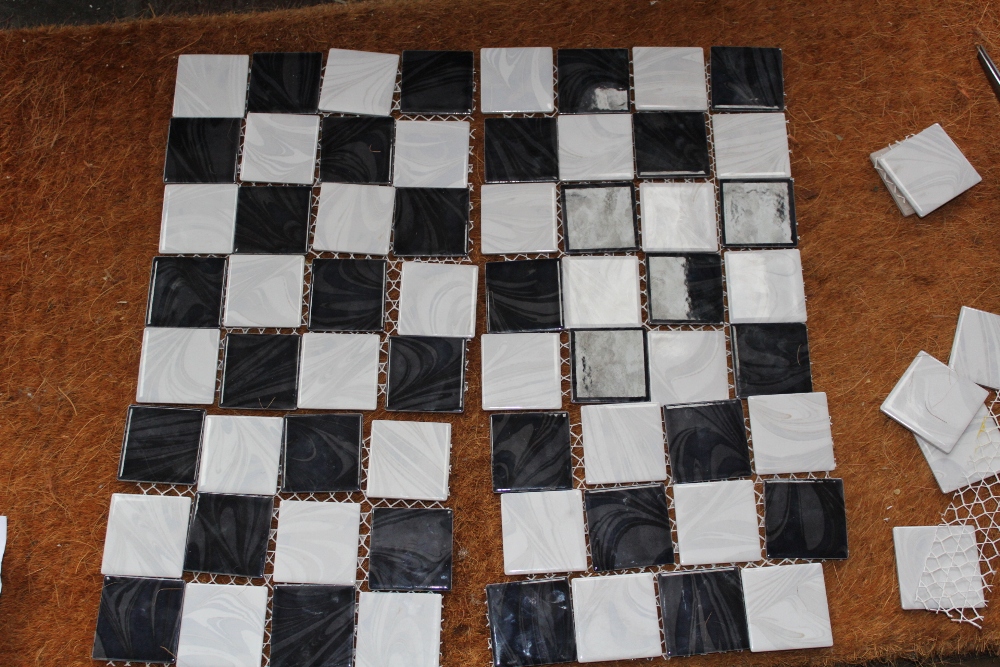
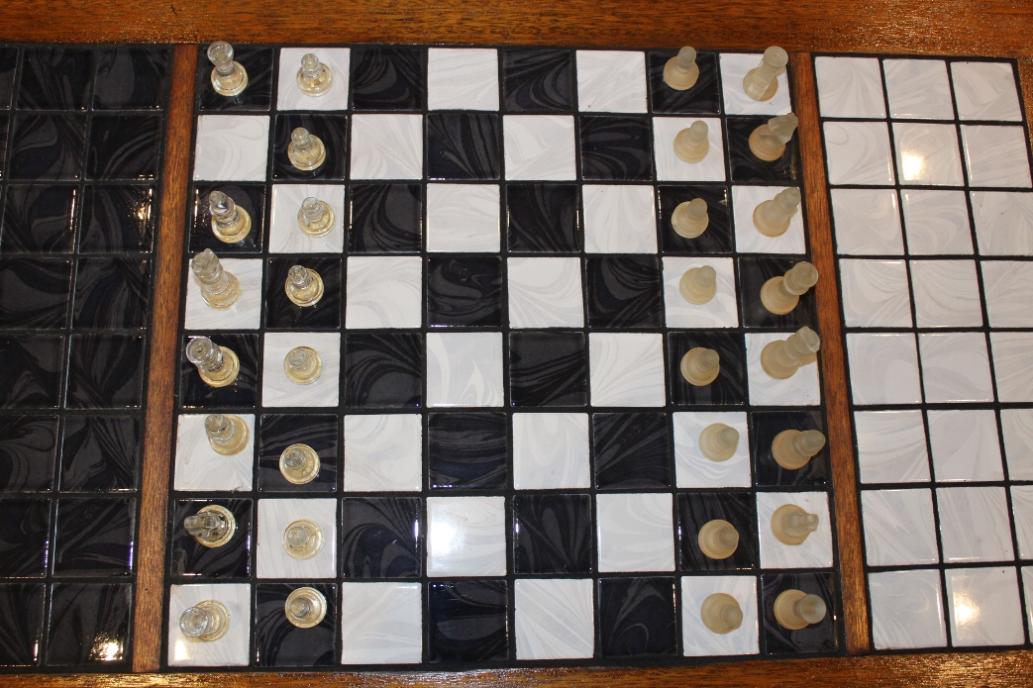
A chess board is divided into sixty-four alternating dark and light squares (conventionally called ‘black’ and ‘white’). You can see we set the ends of the coffee table with additional white and black tiles, 24 of each colour in total. There is a PDF of a chess board plan at the base of this page for you to download (22kb), print out, and use while setting out your chessboard inlay.
As you cannot buy the size tile singly we ordered:
Materials
Charcoal Tiles 58x58 0.2787 MTRS – 56 tiles will be needed in total
Chalk Tiles 58x58 0.2787 MTRS – 56 tiles
Tiles Total $44.00
Grout for tile bed $15.00
Black Grout $35.00
French polish resin $10.00
Wood strips $5.00
Wood glue $5.00
Tools
Orbital Sander
Grout trowel
Level
Tiling Sponge or old cloth/rag for cleaning
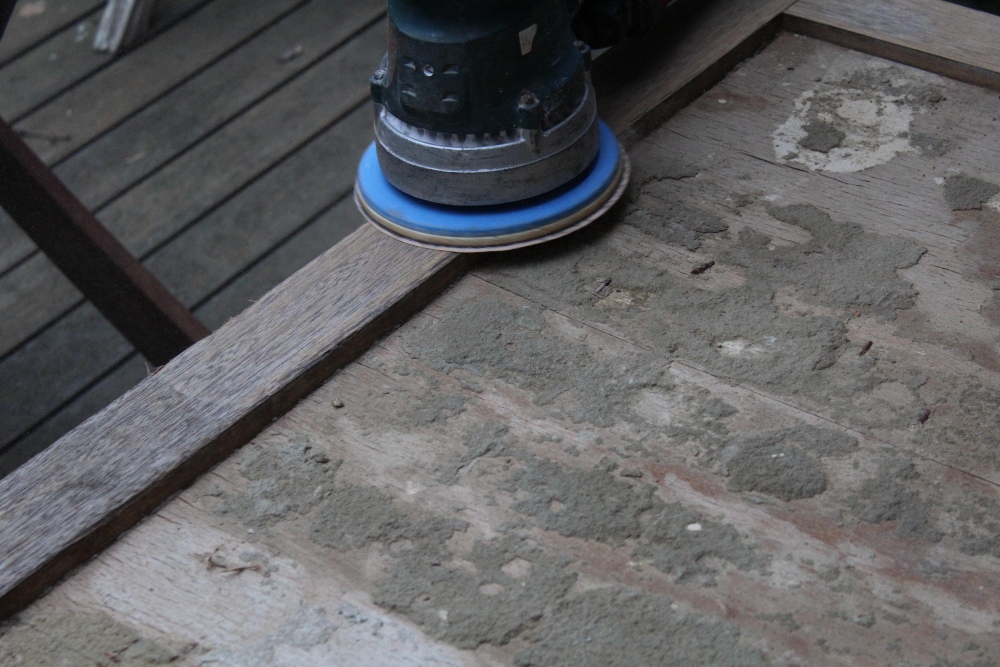
The first job is to strip off any old tiles and the grout/cement they may have been laid in. Sanding back the old wood to remove scuffed edges or old resin/wood stain and preparing it for staining/polish – you can use a wood stain if you like, we had French polish resin left from restoring older furniture so this was used.
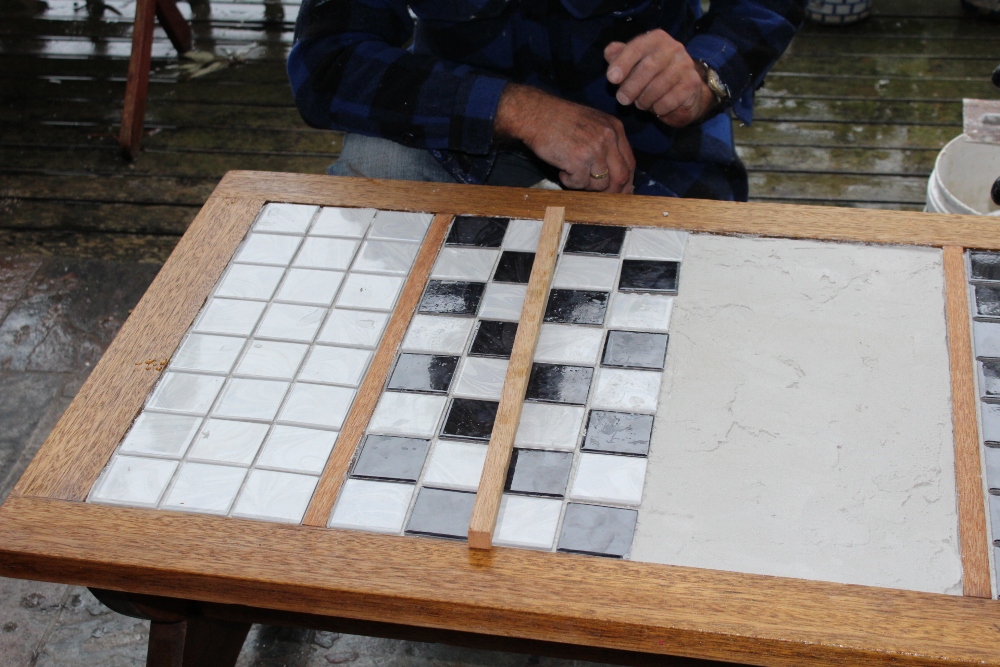
After you have done your initial two layers of staining insert the wood strips, staining these prior to installation, and glue so they are set. Check with your level they fit flush with the outer frame of the coffee table.
Lay bed of grout for tiles to be set into. Make sure you use a grout trowel to get a flat even surface.
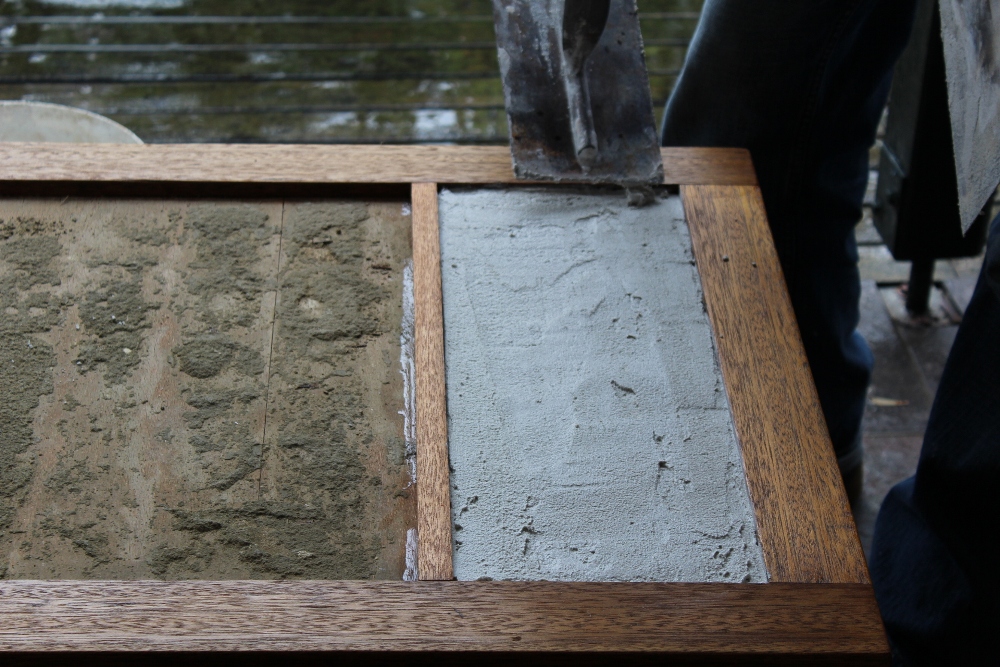
Working fairly quickly is required when using grout so do one section at a time.
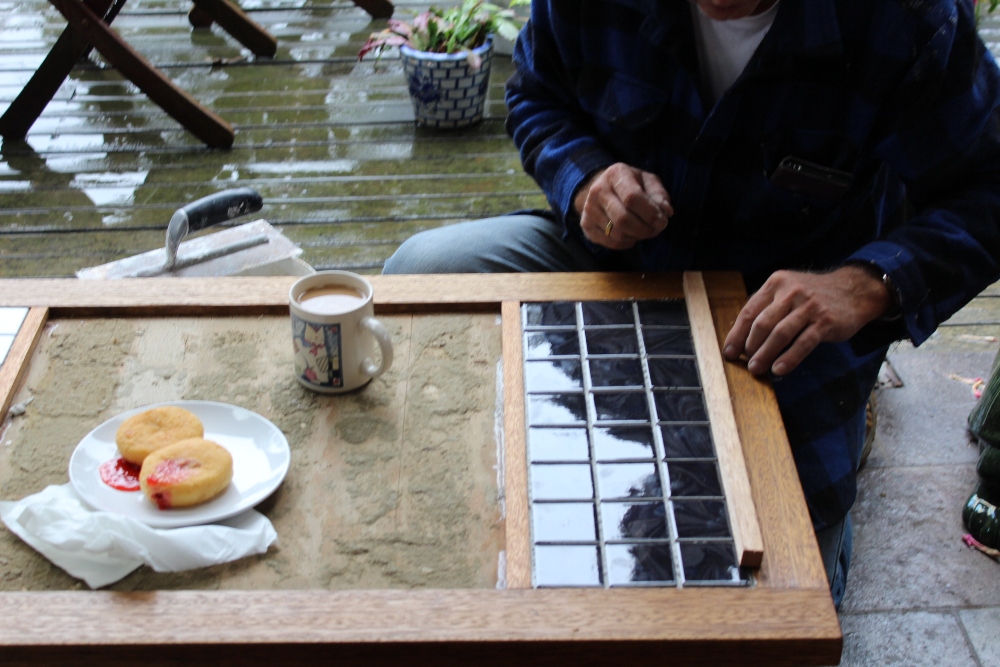
The tiles will come attached to a surface. To make your job easier when laying these ready to grout for the chessboard square, remove alternate ones from each sheet and place ready to lift onto the base layer. We kept one strip of wood handy just to ensure the tiles were flush with the edge of the table’s frames.
You can also use the grout trowel to ensure the tiles are straight once you have placed them.
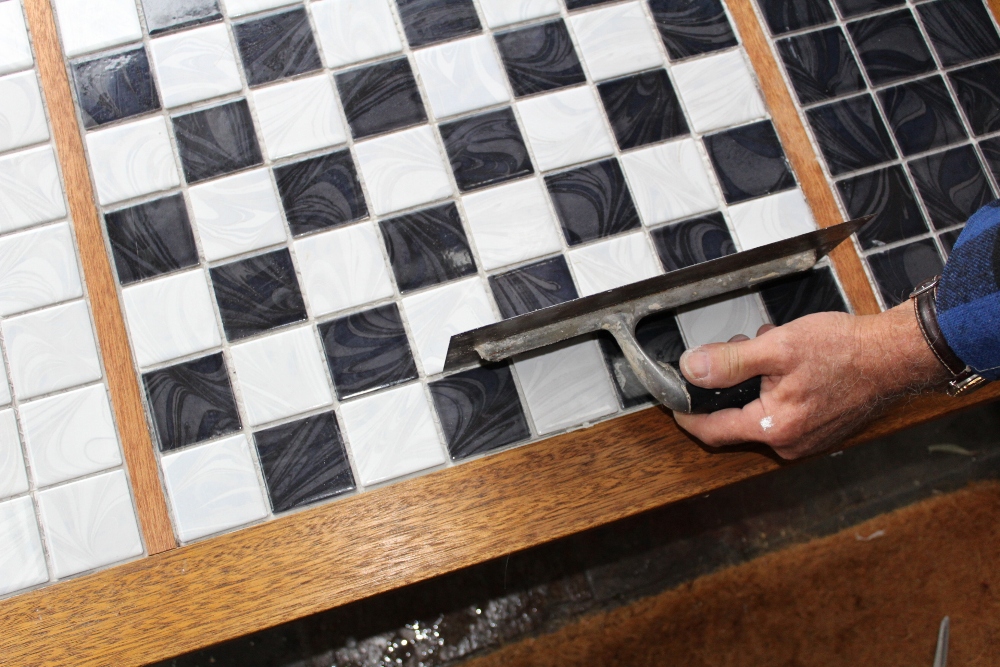
Once all the tiles have been placed and the grout has set you are ready to fill in the grout between each tile. We chose black in keeping with a traditional chess board colours and to place this throughout the end sections as well to keep the piece looking uniform.
While doing this do one section at a time, wiping away any excess that goes onto the tiles carefully.
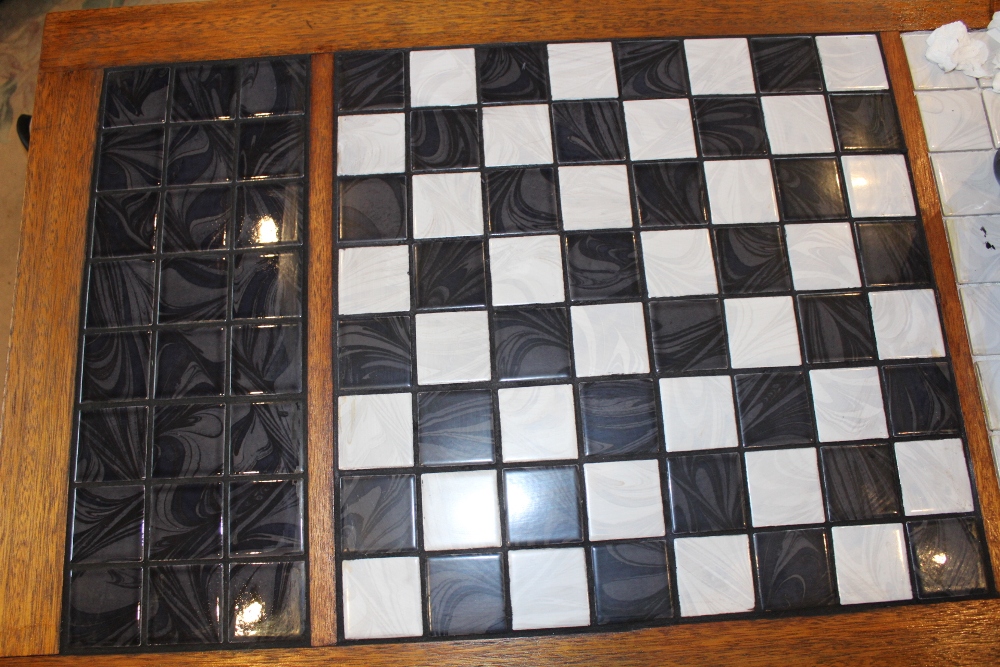
Once you have filled in the grout you can, as we did, do another two layers of the French resin to deepen the colour of the wood and protect it from liquids.
Now you have something sturdy, useful as well as something for playing games on and have given new life to an old piece.
All Materials and Tools used in this project were bought from Johnson Brothers Mitre 10.
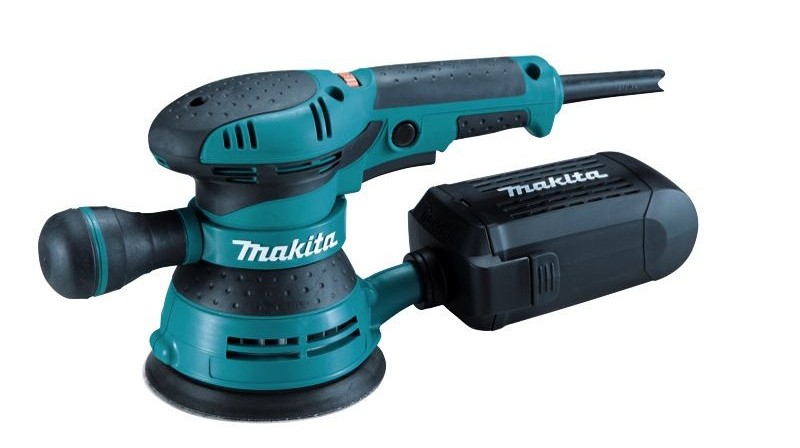
Makita Sander Random Orbital 125Mm: 300 degree rotating front grip turns around the motor housing to desired position by one hand without tool to suit most sanding application high dust extraction rate.
Selleys Liquid Nails Construction Adhesive: $4.45 - 320g
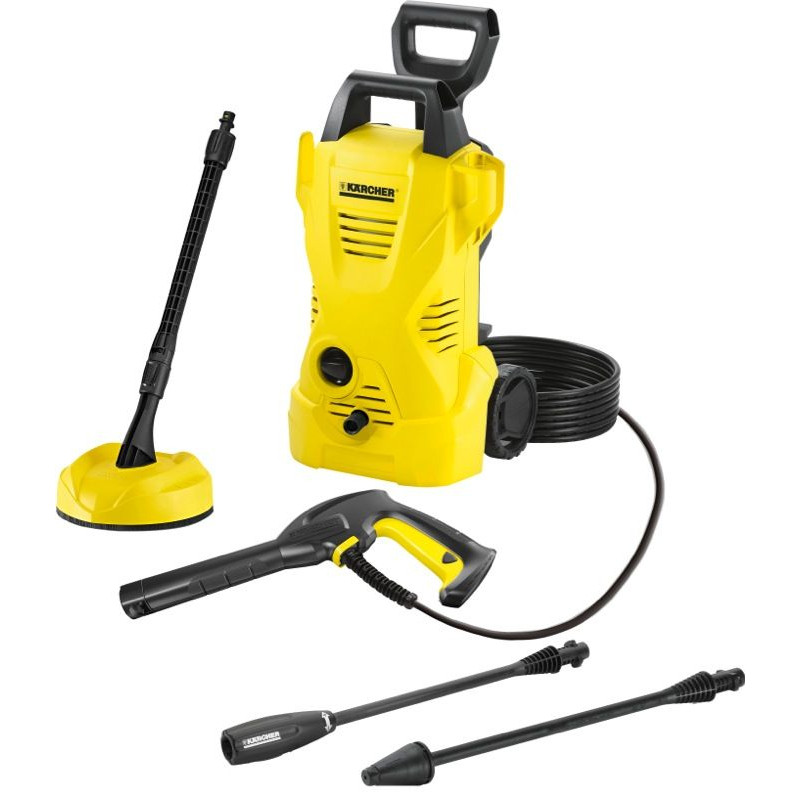
Spring Cleaning with Karcher K2 Telescopic Home Pressure Cleaner: $199.00 - Kit includes K2 gun, 6m hose, vario power nozzle, dirt blaster and T-Racer 150 patio cleaner.
Spring Spruce-up with accent® Premium Ceiling 6L: $39.00 - 6L. Ultra flat finish. (White base.)
Spring Watering with Pope Jackaroo Hose: $18.00 - 12mm x 15m. Click-on connections. 5 year guarantee.

Spring BBQ's with Heat Beads BBQ Briquettes 10kg: $17.00
Johnson Brothers Mitre 10 also have a brand new Outdoor Living range 2016/2017 catalogue now available - please visit here to view
 | Chess_Board.pdf Size : 22.99 Kb Type : pdf |
Click on logo to visit Johnson Brothers Mitre 10 website
Johnson Bros Mitre 10 - Avalon (02) 9918 3315
Johnson Bros Mitre 10 - Mona Vale (02) 9999 3340
JBH Timber & Building Supplies (02) 9999 0333
JBH Fencing & Landscape Supplies (02) 9970 6333