Backyard shed – Artists Studio
Approx: less than 10k if do labour bulk of work by self
Are you running out of room, house bursting at the seams with teenagers and their friends – or do you need a space where you can create and not be disturbed and not have to pack away everything after each creating session – or are you lacking a man’s shed?
Over the next few Issues we would like to show how you may build your own Backyard Shed in for stages:
1. formwork/concrete slab/pour – allow for it to ‘go off’ !?
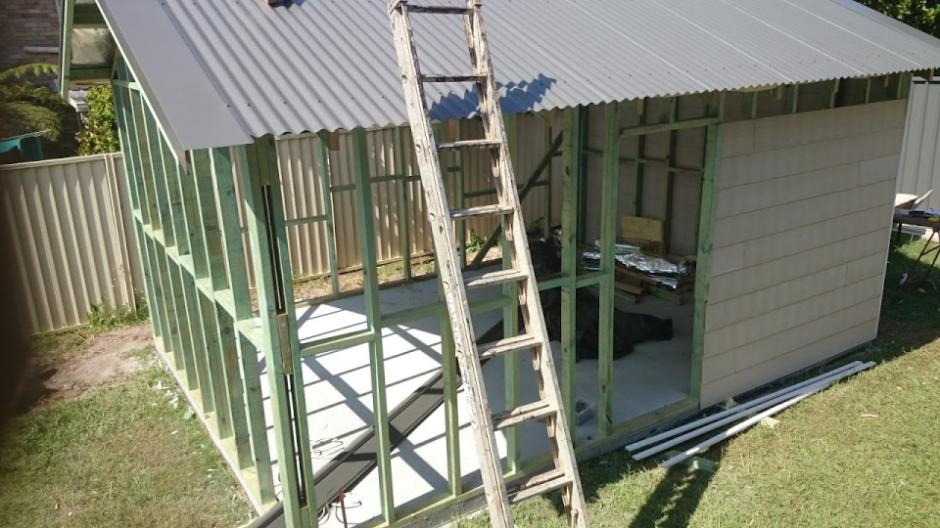
2. form up frame
3. roof (has one clearer sheet to allow light in naturally – but youcould use the skylight option here too) + guttering and rainwater tank.
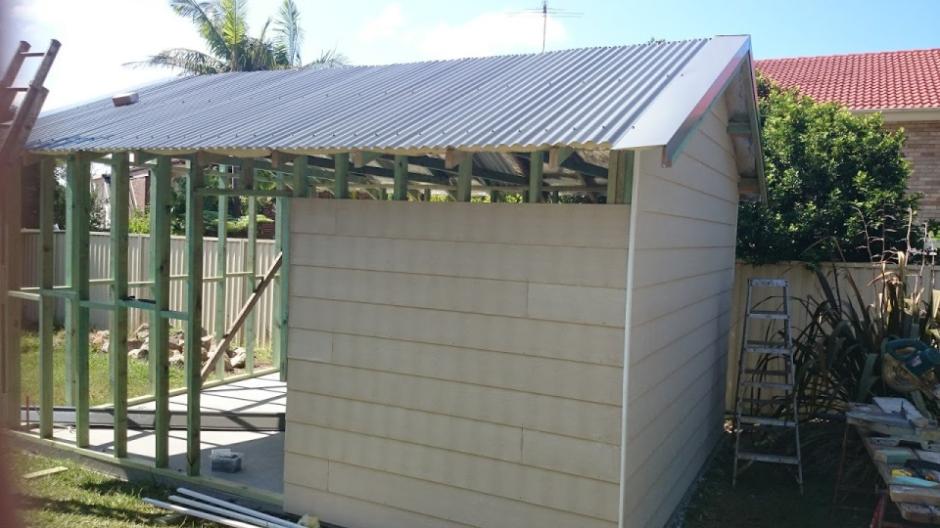
4. install walls – and paint.
In many of these projects your main cost will be the labour part, so if you do it yourself, apart from the concrete pour which we advise would be better done by a licensed contractor, you will reduce your costs to materials only and have something that will allow you to have a teenagers space, a hobby shed or for use for any purpose you’d like to put it to.
This version is 2.4metres x 4metres on a concrete slab with two windows, weatherboards, a pitch gable roof and with one of the roof sheets in clear so you have some natural light similar to a skylight, which you could install instead of you prefer, no gyprock and one door with jamb and keyed lock. When built in one go it will take around 9 days – so good for those looking for a larger weekend project that may take four weekends and provide something much needed.
Our version is with weatherboards, a gable roof - as shown above. You can purchase sheds ready made to put together from - an example -
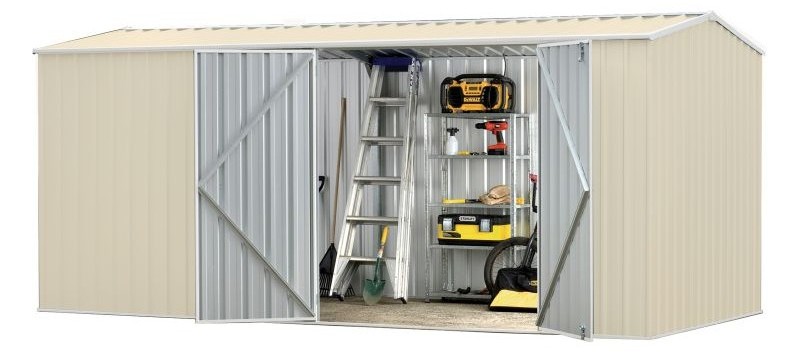
Absco Workshop Shed: $1,499.00 - 2(H) x 4.48(W) x 2.26(D)m. Easy SnapTite Assembly. Superior Quality Bluescope Steel. Manufactured in Australia. 30 year warranty. Gable roof, double door. Classic Cream.
Sizes stated are approximates only. Home delivery fee may apply. See contact store for details. Refer to your local council for guidelines regarding cyclone ratings & construction permits. If a rating of higher than that stated on the advertised shed is required, Absco Cyclone kits up to W50 are available for some models at an additional cost. Not all stores carry stock of this product, but will order it in for you. Please allow up to 14 days for stock to arrive at your selected store.
You will need to ascertain that this fits in with your local Exempt and Complying developments – details of which we’ve listed below for you for our area. Minor works such as garden sheds require that they be constructed or installed so that roofwater is disposed of without causing a nuisance to adjoining owners, so we will be including installing guttering and a rainwater tank – may as well make your garden shed an asset to the rest of your garden!
Concreting – NSW
Fair Trading issues concreting licences in New South Wales. A "General Concreting" licence is issued to qualified concreters with a wide variety of skills, including:
• Laying or placing concrete
• Excavation work needed to prepare a surface for laying or placing concrete.
• Formwork erection
• Concrete stencilling
• Stamped pattern concreting
• Exposed aggregate, pebblecreting and similar work
• Concrete repair work
• Concrete resurfacing
• Concrete retaining walls
Exceptions include excavation work that threatens the stability of a structure or neighbouring structure and the building of concrete retaining walls that require approval as "structural landscaping." Other trade licences are required for these activities, though a licensed concreter will often work under the supervision of a builder, landscape architect or structural engineer to carry out these jobs.
You are required by law to hire licensed tradies for work valued at $1,000 or more in New South Wales.
You can do all a lot of the preparation work yourself though, saving $ to invest in other parts of this project.
It's also good to install a A termite barrier, or combination of barriers (Vapour Barrier), this should be installed in accordance with the requirements of: AS 3660.1(2000).
For this size slab you can do it yourself but we would suggest hiring a professional when you're ready for the pour and screeding. If you do hire a concreter they may advise to have the concrete delivered to you. Tell the company the purpose of the concrete and they will know which grade to use and how much will be required - as will your concreter.
Before you get started
Ensure there are no pipes or services below the ground; contact Dial Before You Dig on 1100 or via their website www.1100.com.au for advice on the locations of submerged pipes and cables.
Mark and Measure the Area for the Slab
Figure out precisely where your concrete flooring will be located. Mark out the exact area with string line and stakes. Use a measuring tape to get the exact measurements of the slab concrete that you will need. These measurements will be used to calculate the amount of concrete that you will need to order.
The steps for making this calculation are as follows:
Determine the area of the slab floor, which is measured as length times width.
Calculate the area in cubic metres. To do this, multiply the area in metres squared by the desired thickness of the floor in metres.
Example: If your shed concrete slab needs to measure 2.4 metres by 4 metres, its area is 9.6 metres squared. For a thickness of 200 mm, you need to multiple 9.6 by 0.2, which results in a total of 1.92 cubic metres.
Make sure to add an extra 10 percent to accommodate any errors or mishaps; in this case, you would multiply 1.92 cubic metres by 1.1 to arrive at a total of approximately 3.5 cubic metres, which is the total amount of concrete that you will need to mix or order.
Create the Formwork for Your Concrete Pad
The next step in laying a concrete slab for your garden shed is creating the formwork that will support the wet concrete while it dries, sets and cures. The measurements that you made in the preceding step will come in handy here. First, make sure to have the right tools and supplies on hand. In terms of tools, you will need a hammer, timber pegs, a level, a measuring tape, digging tools and a carpenter’s square. In terms of materials, you will need timber that is the same height as the desired thickness of your concrete floor slab. Based on our example above, two of the lengths of timber will need to measure four metres; the two other pieces will need to measure 4.2 or 4.8 metres in length. The end result needs to produce an internal measurement that adds up to the desired dimensions of the garden shed slab.

Once you have assembled the appropriate tools and supplies, place the pieces of timber in the right formation. Before you nail them together, use a carpenter’s square to ensure straight, true right angles. Position the completed framework precisely where you want to build a concrete slab. Mark the area so that you can see exactly where you will need to dig.
Prepare the Ground and Position the Framework
Now that you have marked the area where the concrete slab for your garden shed will go, you need to dig it to accommodate the required depth and dimensions. Dig out the marked area so that the top of the slab will be at the right height. In most cases, this means that you need to dig deep enough so that the concrete is flush with ground level. Remove any roots or other obstructions. Level and compact the subsoil to reduce the risk of settling and slippage. At this point, you will be able to position the framework. Double-check to make sure that it is absolutely level. Hammer in one timber peg per metre. Saw them off so that they are level and do not protrude.
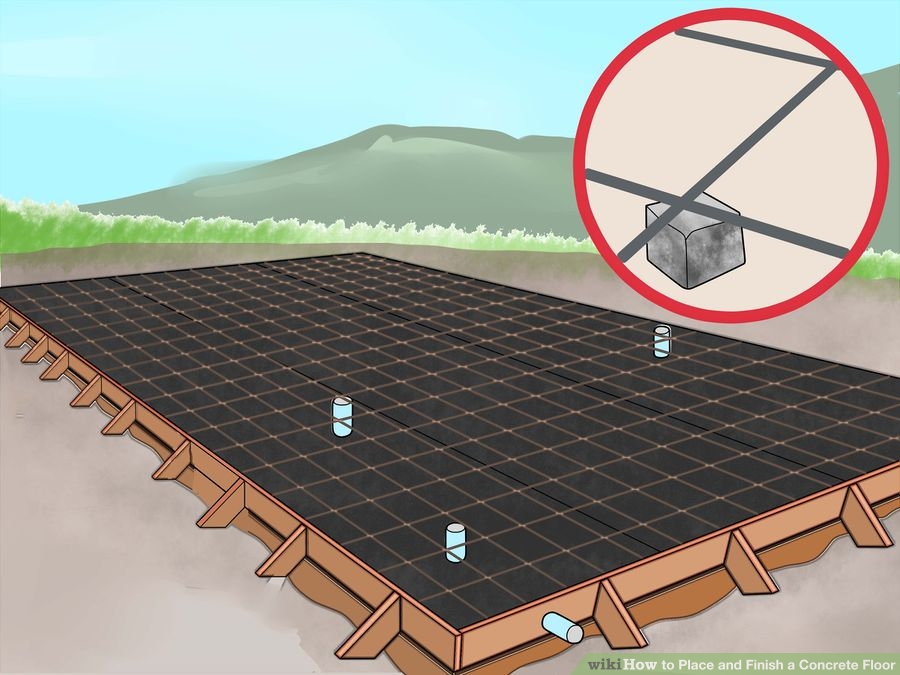
Prepare the Slab Bedding
Place a bed of road base or crusher dust 6-7cm thick, rake it to a level surface and tamp it down firmly all over to a thickness of 5cm. This provides a stable surface for the slab.
If reinforcing mesh is required, cut it to fit inside the formwork allowing 5 cm clearance between the boxing and end of the bars so the reinforcing is completely covered in concrete. Use plastic bar chairs placed closely together to support the reinforcing mesh and hold it in the centre of the slab. The reinforcement must be at least 5cm above the compacted base and 4 cm or so below the top of the slab.
Install termite barrier or Vapour barrier if required. If you are going to want services like electricity conduits or a wastewater pipe you need to install conduits for these prior to pouring to concrete.
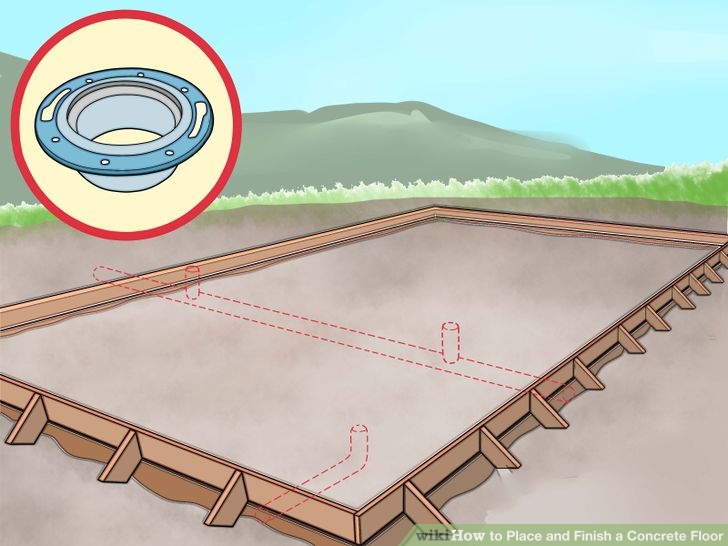
Install any roughed in plumbing or electrical pipes, as well as sleeves for air conditioning piping and wiring.
You are now ready for your licensed concreter to complete the last steps:
Pouring the Slab, Finishing the Concrete Slab Surface, Edging the concrete and adding a control (Expansion) joint, Curing the Concrete Slab (protecting the surface against moisture loss) .
You can then removed the Formwork yourself- Formwork may be carefully removed after 24 hours. You can walk on the surface after 3 days but avoid any heavy loads for at least 7 days.
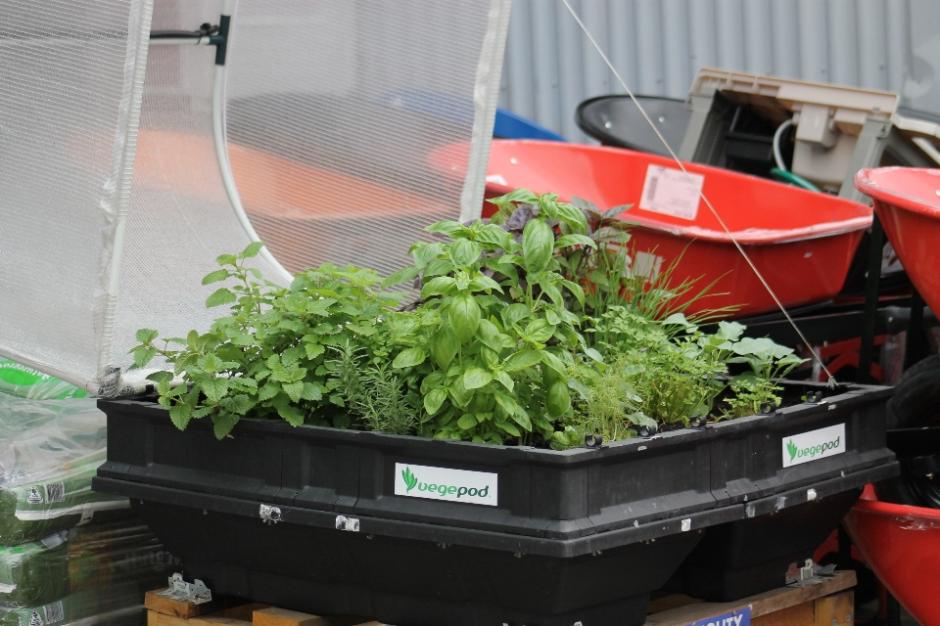
More Garden Ideas from Johnson Brothers Hardware Mitre 10
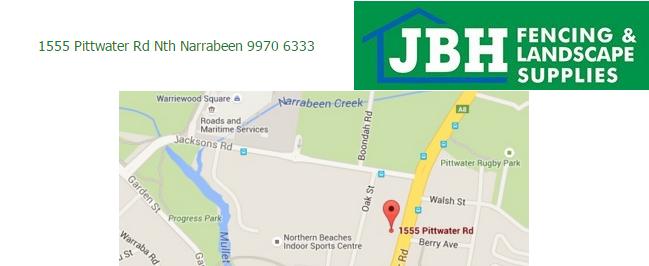
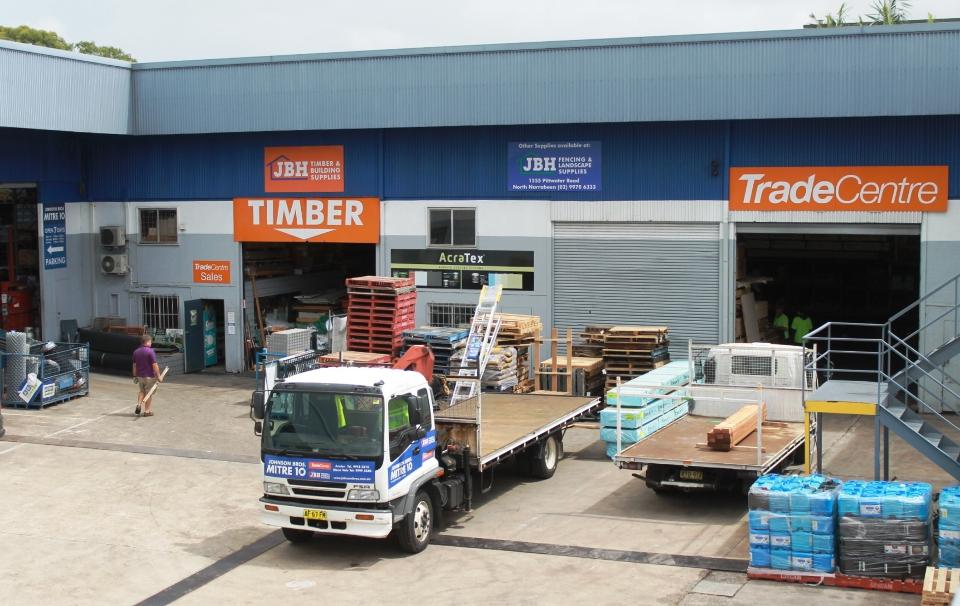
New Stock at JBH Fencing and Landscape Supplies., 1555 Pittwater Road, Nth Narrabeen NSW
New Concrete Sleepers
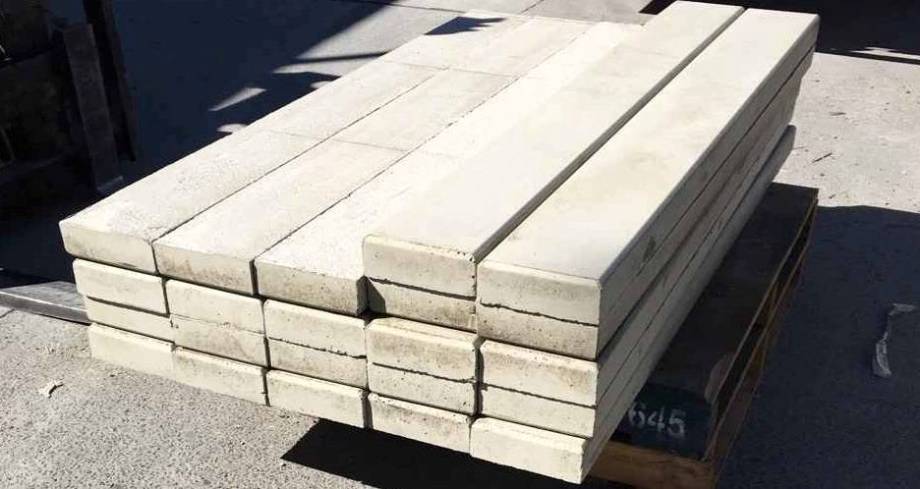
These substantial 1.8m x 200mm x 70mm concrete sleepers are now available at our Narrabeen JBH Fencing and Landscape Supplies
They are made locally using reinforced concrete and weigh 62kg each. Place your order now for delivery or pick up at our Narrabeen yard from the 31st.
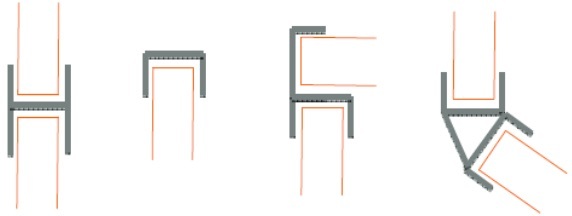
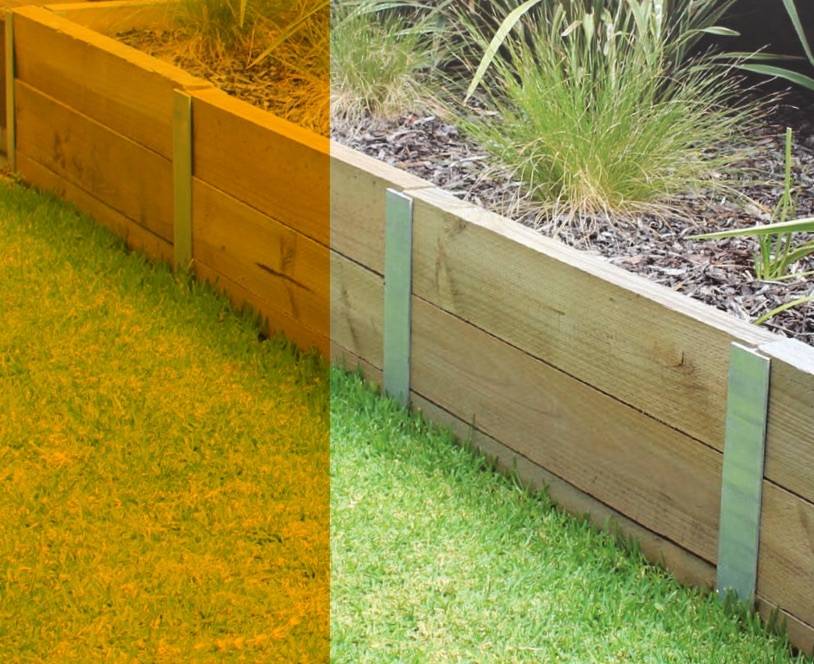
Retaining Wall Systems
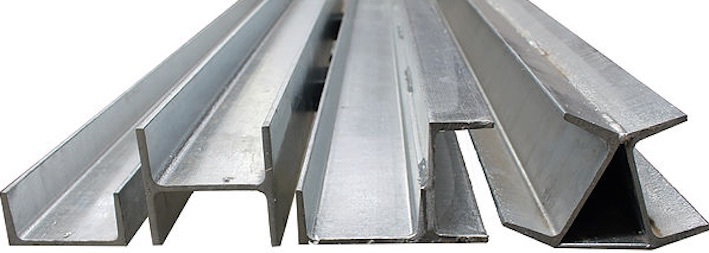
We now supply a larger range of steel retaining wall posts and end sections for use with the 70mm concrete sleepers and 75mm timber sleepers. The steel is hot dip galvanised to AS4680 ensuring longer life and durability.
We now supply a larger range of steel retaining wall posts and end sections for use with the 70mm concrete sleepers and 75mm timber sleepers. The steel is hot dip galvanised to AS4680 ensuring longer life and durability.
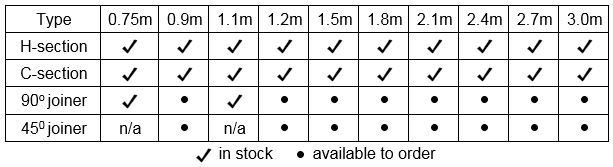
Available profiles:
Available lengths:
These posts are also made locally using 100% Australian steel supplied by Bluescope and are fully compliant with all the relevant Australian Standards and the Building Code of Australia (BCA).
Click on logo to visit Johnson Brothers Mitre 10 website
Johnson Bros Mitre 10 - Avalon (02) 9918 3315
Johnson Bros Mitre 10 - Mona Vale (02) 9999 3340
JBH Timber & Building Supplies (02) 9999 0333
JBH Fencing & Landscape Supplies (02) 9970 6333