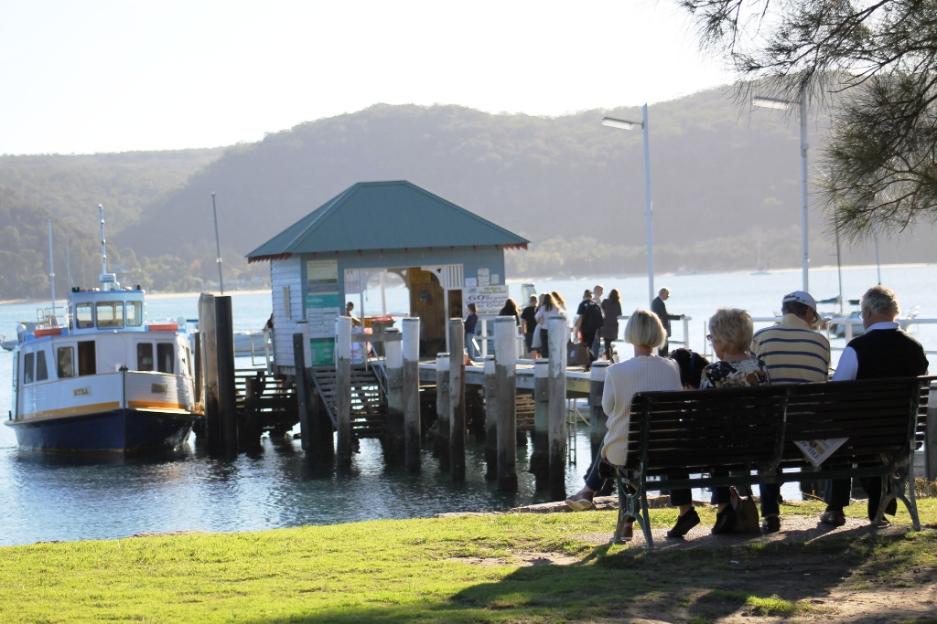
Summer commences this week and many of us will want to spend more time outdoors under shady trees enjoying each cooling breeze.
Warmer weather means barbecues and the next few weeks will see us inviting friends and family home to share good food and laughter. Sometimes we may find we have too many people and not enough seats.
To begin a focus on outdoor furniture for this season, paused only be a Christmas special DIY page for our last Issue of 2015, we share a few ideas on how to make your very own Park Benches – for the garden. These can be adapted to sizes that suit you and your garden or parts of them utilised to repair park benches you may already own – like those wonderful old cast iron ends with the slats that have seen too many Summers and need replacement. We have performed one such repair on a few iron ends others didn’t want and now have two wonderful sturdy originals with refurbished slats.
We would suggest you stain with your choice of colour all pieces of timber prior to assembling(or paint the timber if that is your choice) and ask the trained friendly staff at Johnson Brothers for which outdoor timbers may best suit your requirements. There’s a great range of treated woods nowadays, made to last the test of time.
It’s also good to choose stainless steel screws for furniture built for outdoor use and as these are going to be made to last more than just a little while, think about what you want it to look like when finished – rustic?; use some wood with a bark surface left on or some sleepers for something more solid that will age well – sleek?; choose some outdoor decking woods that will look great stained and even look like they’re part of that grove they’re placed in.
Outdoor Benches to Create a Corner Booth – for Patios, Balconies in Flats or outdoor areas.
These wood benches can be used to make a corner booth can be made from this simple design. These take a couple of hours to make using basic tools (drill, saw etc.) and materials. Make two and you can create a corner booth that’s portable and can be made larger or smaller to suit what you want. Use good timbers and fittings and pay attention to detail and you will have something solid, special and long wearing.
This idea is adapted from a similar one by Isabelle of Engineer Your Space - a great website filled with good ideas and well worth a visit.
To make One of these simple benches
Bench dimensions: 142.24 centimetres long x 41.275cm wide x 45.085cm high.
Materials needed:
6 x 2.54cm x 10.16cm x 183 cm boards
1 x 6 cm x 8cm x 183 cm stud
Your choice of stain or paint
Decking screws (22 x 3.175cm, 8 x 5cm)
Mask, Sandpaper

DeWalt 18V Li-Ion Compact Drill Kit- $399.00: 2 Speed 0-600/ 2,000 RPM. 0-10,200/ 34,000 BPM. 60Nm. 13mm Chuck. Single LED with delay.2 x 4.0Ah Li-Ion batteries. Multi-voltage charger. Belt clip. Magnetic bit holder Heavy-duty kit box.
Step 1: Cut the boards and stud to size.
Cut list:
Frame (2.54cm x 10.16cm ): 2 x 139.7cm, 3 x 35cm
Top (2.54cm x 10.16cm ): 4 x 142cm
Legs (6cm x 8cm): 4 x 43cm
Step 2: Paint or stain the wood
It’s best to apply at least two coats and sand well and dust with soft cloth prior to staining. Please ensure you wear a mask when doing this to protect your lungs from fumes.

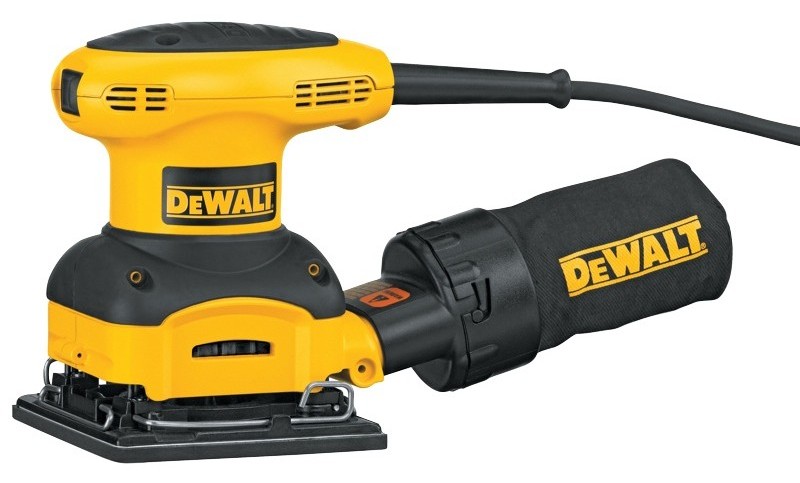
DeWalt 280W Random Orbital Sander - $155.00: 125mm. Variable speed. 7,000-12,000 RPM.14,000-24,000 OPM. Controlled finishing system controls pad speed. Fabric dust bag with built-in extractor ports. Heavy duty kit box.
 Step 3: Build frame
Using clamps to hold the pieces together, align your two lengths and two ends and place the third(3) crosspiece in the centre between these two ends. Adding wood glue before doing this will make the joints stronger. Drill two pilot holes and put in screws (use 3.175cm screws).
After the four sides are put together, add the middle piece for extra support.
Step 4: Attach top
Place one of the top 2.54cm x 10.16cm on top of the frame so that it extends 2.5cm past the edge of the frame at the ends and on the sides. Drill pilot holes and screw in place.
Screw in place the remaining boards, using a scrap piece of 2.5cm x 10cm as a spacer – or mark where each will be placed with a pencil, drill test holes and then attached remaining Top boards.
Step 5: Attach the legs
Using clamps, secure one leg to the inside of one corner of the frame. Then drill pilot holes and screw in place (use 5cm screws). Done!
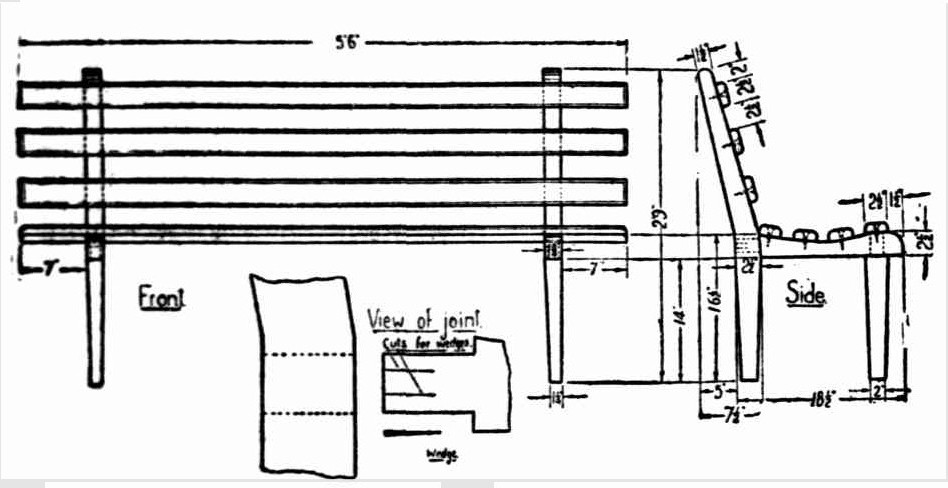
A Garden Bench design from 1936
We love a classic and this simple design may interest old and young alike. The 'rails' or slats can be adapted to repair your own already 'in garden' benches.
The spokeshave referred to was a tool used to shape and smooth wooden rods and shafts - often for use as wheel spokes, chair legs (particularly complex shapes such as the cabriole leg), self bows, and arrows. It can also be used to carve canoe or kayak paddles. You can still track some down today but a plain old plane would suffice, a small sander or some elbow grease and sandpaper will work too.
Please ensure you use a mask and eye protectors when using these tools.
DeWalt 230W Palm Sander - $119.00: 14,000RPM. 28,000OPM. Dust sealed switch, dustbag, heavy-duty kit box.
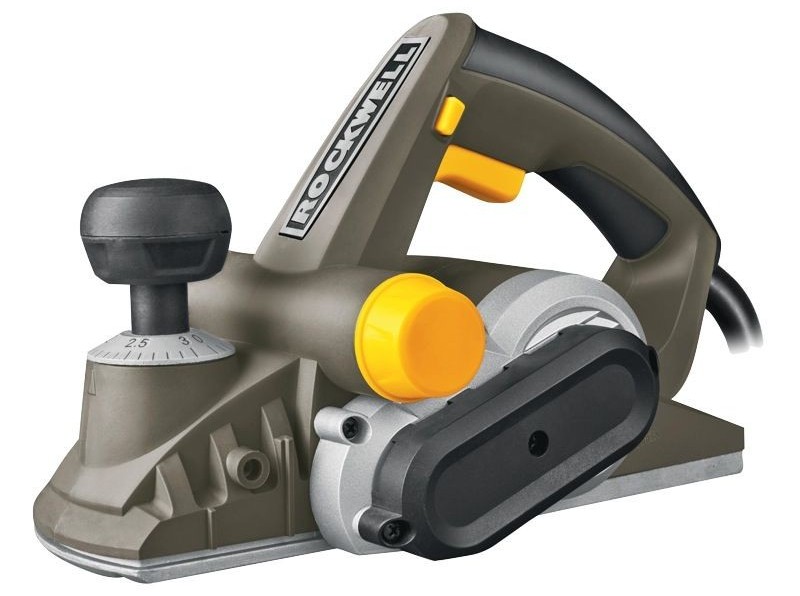
Rockwell 900W Planer - $69.00: 82mm. 0-3mm depth adjustment. Up to 0-16mm rebate depth. Includes aluminium base, dust collection and rubber overmould grip
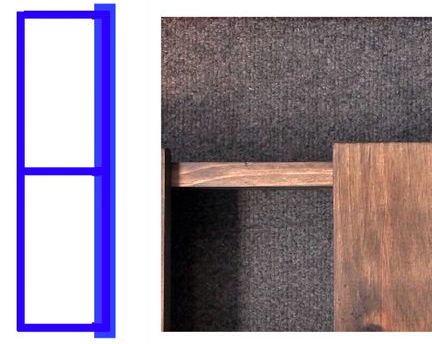
The tenon is cut to fit the mortise hole exactly and usually has shoulders that seat when the joint fully enters the mortise hole. The joint may be glued, pinned, or wedged to lock it in place. This joint is also used with other materials.
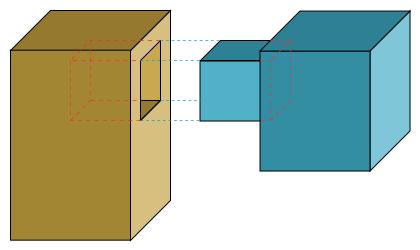
Diagram of a mortise (on left) and tenon joint courtesy GreyCat
Glasspaper is what we nowadays call ‘sandpaper’.
Measurements for Easy Garden Bench in centimetres
2 pieces 2ft. 9in. x 8in = 2 pieces of 84cm x 20.32cm
2 pieces 1ft. 7in. x 2 ½ in x 1 ½ in = 2 pieces 48.18cm x 6.35cm x 3.81cm
7 pieces 5ft. 6in. x 2 ½ in. x 1 1/2in. = 7 pieces 167.28cm x 6.35cm x 3.8cm
We hope you have fun making this built to last park and garden bench using this design from a few generations ago – and gain a few more generations of families enjoying their time together in a little Park Bench Philosophising!
A Garden Seat for Cool Evenings
(By an Amateur Carpenter.)
Now the evenings are so delightful people turn their thoughts to out of doors. While the children frolic on the lawns their, elders find pleasure in sitting about and chatting.
When visitors arrive and seating accommodation is taxed a seat with room for three or four is an asset. There is only one difficult joint, a mortise and tenon, for the remainder is merely accurate marking out and screwing. This is not beyond the ability of the average handyman.
Wood free from knots should be selected. The cutting list is as follows:— :
Legs— 2 pieces 2ft. 9in. x 8in.
Crossbars— 2 pieces 1ft. 7in. x 2 ½ in x 1 ½ in.'
Rails— 7 pieces 5ft. 6in. x 2 ½ in. x 1 1/2in.
The first stage is to set out the rear legs, and it will be noticed that there is much waste. From this can be sawn the two front legs and the remaining pieces' saved and used for other work. If a pattern of each leg is cut from brown paper and taken to the mill when ordering the wood the legs can be cut to shape with a bandsaw for very little extra cost.
Presuming this work is done in your own workshop, the leg shape is cut just to the line with a ripping saw, taking particular care to keep the saw at right angles to the working surface. The saw cuts can then be planed to the line, and where the plane will not reach it can be spoke shaved, rasped, and filed down. The shape on the top of the leg is sawn and spokeshaved to the line.
THE crossbar is mortised into the rear leg, and this mortise can now be marked out with a mortise gauge or with a try-square and rule. Place the two legs together as a test for their exactness and to compare the joint markings. The mortises can be cut through from each side and cleaned up with a firmer chisel. Each leg is tapered from the lower edge of the mortise to the bottom. The amount of taper is optional, too much however will make the leg appear too delicate. File the base of each leg to give it one-eighth of an inch rounded bevel. The front legs are mortised into the crossbars, and these joints are marked out, chiselled through, and cleaned out to the line. The tenon is marked out on each front leg and is sawn out.
Each tenon is then fitted into its corresponding mortise. Good fits are essential. Taper the front legs as with the back, and file the bottom edge to remove the sharpness. This completes the legs, and they can be smoothing planed and glass papered to finish off.
The next step is the crossbars, one end of each having already been mortised to take the front legs. Mark out the tenons to fit these crossbars into the rear- leg mortises and saw them put, cleaning them up to fit each mortise. Now proceed with the shaping of these crossbars, this shape being to provide a more comfortable seat. These are marked out and the waste wood removed with either a bow saw or by sawing and chiselling from each end towards the centre saw cut. The shape is then finished down to the line with a spoke shave, file and glasspaper. Mark out and saw and spoke shave the shape on the front of these crossbars, and they can be cleaned up and glasspapered.
EACH leg group can be fitted together and placed one against the other to test their exactness. Each tenon is sawn down in two places to make slots for driving in wedges. Having made sure that all the fits are accurate, the two frames can be glued and the glued wedges driven in. Before the glue sets test the two frames to see that they are exactly 'alike in their angles. Do not have the wedges too thick. The seat rails are all sawn to the correct length, and the ends planed to ensure a better finish. It will be noticed that these rails are shaped off on the top edges. This rounding is done with a plane and finished off with a finely set smoothing plane. A similar rounding can be carried out on the ends of the rails if so desired, the aim being to remove all sharp edges. These rails are cleaned up and thoroughly glasspapered. Mark on each rail the positions which the legs will occupy, and bore holes in the rails for screwing them on. Now mark on the leg frames the position of the rails.
I WOULD suggest 1 ½ in. screws, and the screw heads must be well countersunk. Screw the front and top rails into position, and then carry on with the others. When the screwing is completed the holes are filled in with putty or plastic wood, and allow it to harden. The whole work is then glasspapered in readiness for painting. A Garden Seat for Cool Evenings. (1936, January 24). The Daily News (Perth, WA : 1882 - 1950), p. 10 Edition: FINAL. Retrieved from http://nla.gov.au/nla.news-article83649789
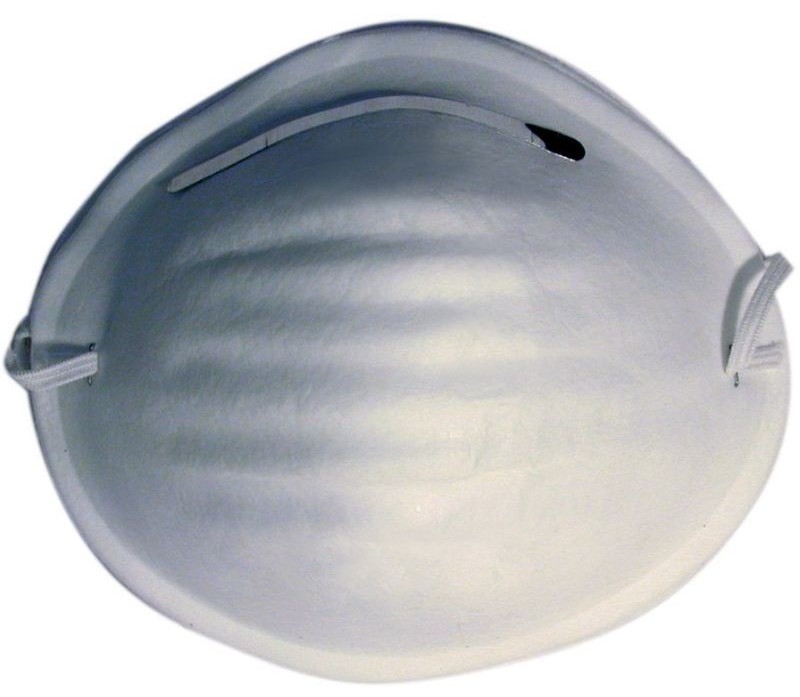
Buy Right® Paper Mask Filter - $2.98: 10 Piece. Light weight moulded. Provides breathing relief from irritating effects of non toxic and airborne particles, 10 piece pack

3m Aluminium Market Umbrella - $89.00: in Red, Turquoise, Yellow, Taupe, and Charcoal. 8 aluminium ribs. Crank open/ close system. Tilt function.
The products shown on this page to help you get these benches built are all available at Johnson Brothers Mitre 10 stores. If you have queries about alternatives, simply discuss with their staff for the best product and services advice.
Click on logo to visit Johnson Brothers Mitre 10 website
Johnson Bros Mitre 10 - Avalon (02) 9918 3315
Johnson Bros Mitre 10 - Mona Vale (02) 9999 3340
JBH Timber & Building Supplies (02) 9999 0333
JBH Fencing & Landscape Supplies (02) 9970 6333