July 26 - August 1, 2015: Issue 224
Shoring Up an Under House Earth Bank – Installing a Basic Retaining Wall
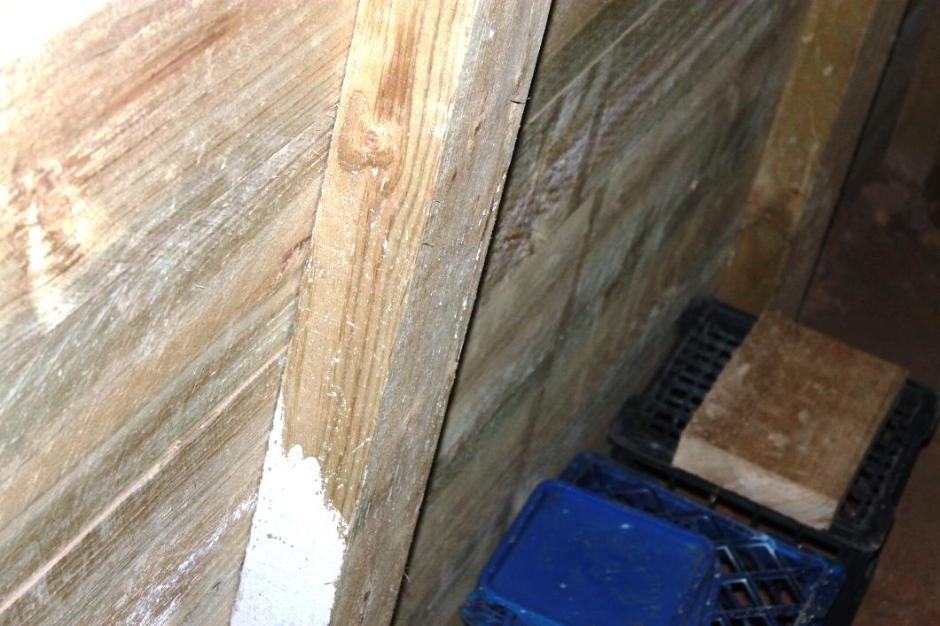
Recent rain made it obvious we needed to shore up a bank of earth beneath the house and install a retaining wall. Water runs through soil and will gather under a house, shifting the earth, which then places pressure against walls that will then begin to move
your house with the slope and run of water and create permanently damp walls.
For this DIY Project you will need:Pittwater has a hill and valley landscape and many homes will find they need to prevent this occurring at some stage by removing the soil and build a retaining wall beneath your home, in the cavities between floor and foundation walls.
Work lights; Spade/shovel; Wheelbarrow; Spud Bar (to loosen compacted clay soil); Cement; 2 x 2.4 long 100x200 Treated Pine posts (cut to length to suit on site); Treated Pine Sleepers – standard size – measure to height to determine how many you will need + 1-2 feet above earth level (you can also build a retaining wall in bricks in Besser or Cinder bricks but this will cost more and take longer).; Bolts to secure Posts to Sleepers.

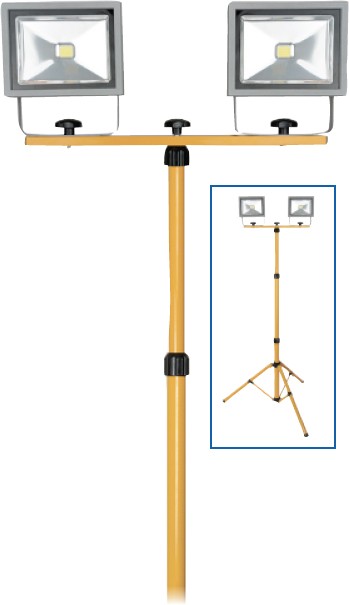
Left: Mirabella LED Tripod Work Light: $119.00 each - • 2 x 20W globes. • Total 2700 Lumens output. • 240V. • 10Amp. • Adjustable tripod.
Steps:Right: Cyclone Hardcore Post Hole Shovel: $67.00
1. Measure the area and height and width of the area that needs to be protected. Ensure you go the fill length of any wall and the height should allow at least 1-2 feet for further soil shifts against the back of the wall.
2. You need to measure where posts (uprights) will be so they sit at approx 1500 apart.
3. Dig out the earth where it is resting against brickwork or walls. You can leave it beneath the house but if you have a spot in the garden where you want to build a new garden bed, extract the dug soil and place it aside to mix with compost ready for late Winter plantings.
4. Dig holes to a least 800mm for Posts. Mix Cement and place post in prior to concreting around it. Ensure it is straight using a Level or String line. Allow cement to cure for at least 8 hours or use quick-set concrete.
5. Install Sleepers behind posts and ensure they are fitted tightly together.
6. Make your Earth Retaining Wall last longer by bolting the posts to the Sleepers at 200mm.
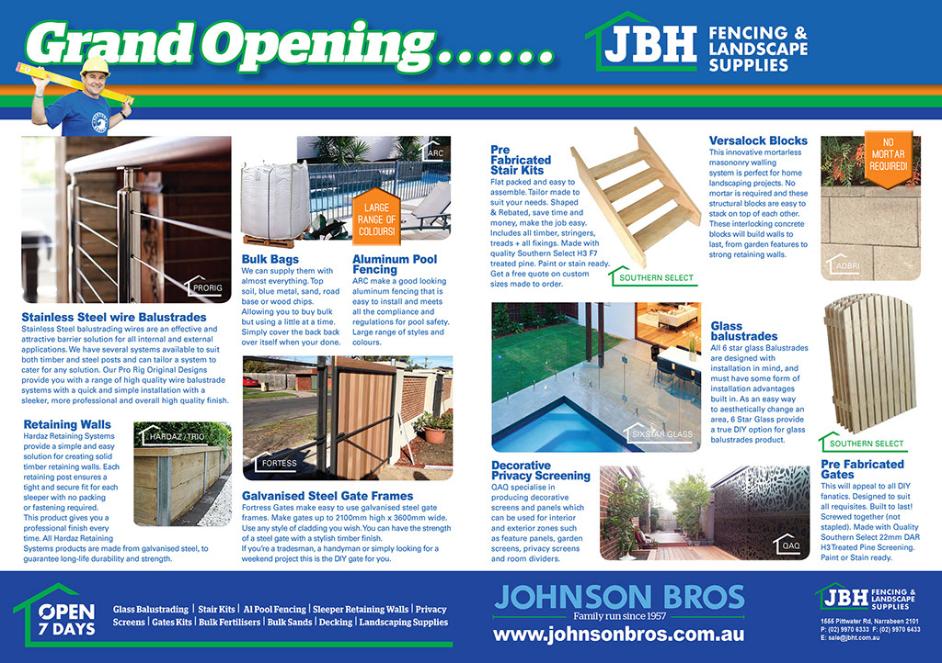
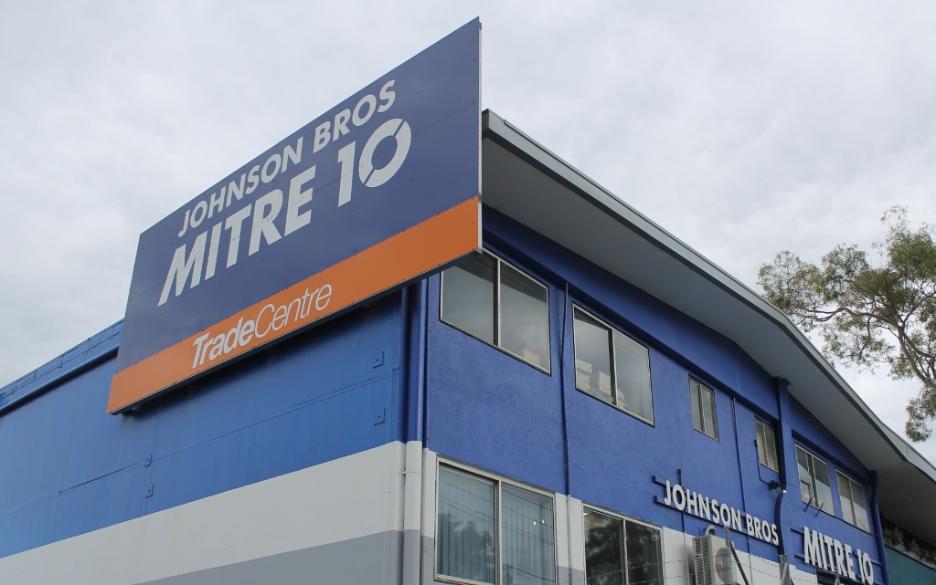
Johnson Brothers Hardware Mitre 10 stock everything you will need for this project - they have supplies at Narrabeen, Mona Vale and Avalon and can arrange to have timber required delivered. The current catalogue, available online, and on special until August 2nd, has the items we feature this Issue to make doing a little Winter chore easier and cheaper then wasting time, petrol and costing you more elsewhere.
There's still a great range of Makita and Rockwell power tools on sale so if you're Tax Refund is on its way, it may be time to have a look at what needs replacing at home.
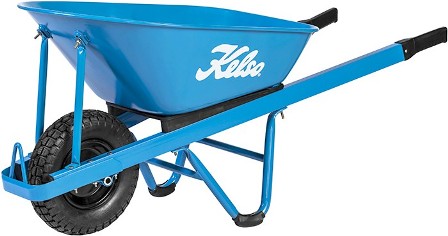
Kelso Steel Wheelbarrow: $199.00 - • 100L. • 32mm tubular welded legs. • Powder coated steel handles. • Steel rim pneumatic wheel. • Ready to assemble. • Also available - Poly Tray $199.00
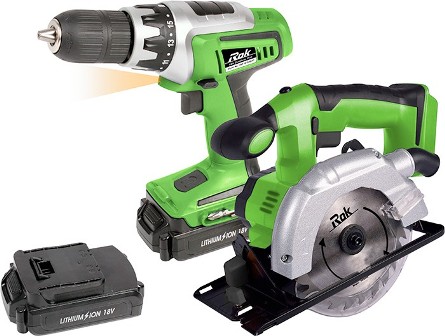
Rok 18V Li-Ion Cordless Drill and Circular Saw Combo: $149.00 - • Drill - No load speed 0-550RPM, torque settings 16+1. • 13mm keyless chuck. • Circular Saw - No load speed 0-4,000RPM, blade 140mm. • Includes 2 x 1.3Ah batteries and charger.