Fixing Your Fence
Recent storm activity has meant a fair amount of time fixing fences for many people. Although some of these jobs have been major, and required insurance claims, others have been minor and possibly something you can do yourself in a few hours.
There are three main types of repairs and maintenance usually required for fences â wire ones that are sagging, fence posts that have rotted or shifted from their foundations - causing a fence to 'lean', and palings that have deteriorated or, just lately, been broken by large branches.
Fixing a Sagging chain link fence
 Tools: Standard claw hammer; Heavy-duty wire cutters or bolt cutters or chain link cutters; Gloves and Safety glasses, Heavy-duty hacksaw; Pliers; Tie wires; Replacement parts if required; spirit level
Fixing Sagging chain mail fence
Sagging in chain link fences usually occurs when one or more sections have detached from the top rail or the top rail itself has shifted. If the top Rail has moved, detach the chain links and re-straighten before reattaching. If the sagging is caused by sections that have rusted out from the top rail these will need to be refitted with new. To pull these sections straight and hold them in place while you fit new ties or cleats, place a length of wire through the chain link, loop this over the top rail, then, taking a claw hammer, loop the wire around the claw and wind until the section is straight and up. Refit the cleat or wire tie and then simply disengage or unwind the holding wire.
Fixing Posts and Rails
Rails and posts are common weak spots on chain link fences. Depending on the post material, rails and posts can rot, rust, bend, or break. Broken rails and posts are built to slide out easily, but it may be necessary for you to cut bent ones in half in order for the rails and posts to come out. Because most chain link fences use aluminium or steel poles, this also means removing the top joints by pulling the post up at the top. Designed as such they make it easy to slide a new post into the empty spot. Most chain link attaches using metal wires or specific metal bands so if these have deteriorated it is simply a matter of replacing them.
Fixing Broken Links
Broken links are easy to repair. Links result in small holes, usually against the top or one of the poles. You can now purchase link repair kits, use heavy-duty metal wire, or use another link from a section of unused chain link. Bear in mind that there are many different types of chain link with different sizes, different types of woven mesh, and sometimes even double woven mesh, and each of these are different to repair. It would be a good idea to take one with you to compare when purchasing replacements.
 Broken Palings
Remove the old palings off the rail that runs horizontal by using a jemmy or crowbar with a flat head. Measure and cut your new palings â remember the carpenterâs creed of âmeasure thrice and cut onceâ here so you donât waste timber.
Rest the paling on the base of the fence and use your spirit level to check it is straight prior to nailing in.
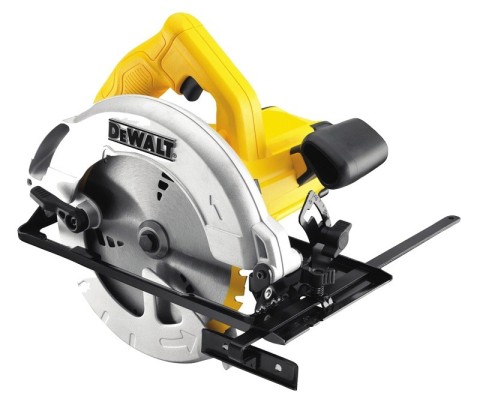
Right: Dewalt 1350W Circular Saw: $129.00, 65mm depth of cut. 48° bevel capacity. 3.7kg. Dust blower. Steel base
The best practice is to nail one cleat through the top rail right hand side and then one into the base on left hand side, and then attach the opposite at top and then base again and at lest one halfway up before those in between â this holds the paling in place and straight while you place the others.
Rotted and broken posts
One of the main areas to maintain to keep your fence upright and strong are the posts. If these have rotted they will need replacing â make sure you treat the base and at least a foot up with a protectant or buy Treated pine or a similar timber as a replacement â these products are made specifically for these conditions and will last longer. You will also need to determine if the post was originally set in concrete â many suburban fence posts are erected this way as this too promotes a longer lasting fence. You will have to dig the post and the cement out, which may be tedious but it will stop your fence getting worse or even turning into a leaning fence. Retain the old post to measure against the replacement.
Make sure the depth is correct by measuring as you would for a new hole. Set the new post in the hole and then use a small level on top and adjust the post until it sits level in the hole.
Mix a bag of ready mix cement according to package directions. Pour it around the post to the top of the hole. Let it dry 24 hours and then re-attach the fence palings to the post with braces or bolts.
Fixing a Leaning Fence
A fence will begin to âleanâ over time due to wood rot or simply because strong winds and water through soil will push it one way or another. When a fence becomes like this it also becomes a safety hazard that is easily fixed.
Dig a shovel in the ground next to a leaning post and down far enough so you can push it back upright. Dig the dirt away from the side of the post where it leans towards and keep this soil close to these posts.
Drive a 90 cm long stake into the ground with a sledgehammer until a foot stays are above the ground. Position each stake 6 feet out from each leaning post in the direction opposite the lean and parallel to the fence's plumb position. Make sure these are all parallel or aligning to each other.
Push the post upright until level, remember to use your level once more, this time placing next to the post to check it is straight.
You will need an extra set of hands for this bit: ask them to hold the post upright as you extend an 1.2m-long 2-by-4 diagonally from the top of the post to the lower end of the parallel stake. Wedge its lower end into the ground securely so it does not shift and to the lower corner of each stake. Rest the other end against the fence post and drive a holding nail from brace lumber into now upright post - this acts as a temporary brace that holds the leaning post in plumb position.
Mix concrete as per the instructions and pour it into the excavation around each leaning post. Leave the concrete to cure for up to 24 hours.
Before replacing the dirt, treat the base of the posts above the set concrete with a stain to keep them stronger and less prone to dampness and associated wood rot. Remove your braces â job done.
Maintenance
 The reason a lot of fences deteriorate quicker then they should is poor maintenance. Timber exposed to all weathers, like a wooden deck or verandah, requires a re-stain to seal the surface and prevent rotting, warping or deteriorating of rails and posts. Itâs hot work so well suited to this time of year. Many of the deck staining products will work well when used to re-stain your fence, just discuss with JBH staff what type of timber you have and which would suit it.
Cleaning your fence with a high pressure water cleaner first will ensure you donât have any patches appearing after the stain is reapplied. Allow at least 24 hours for the timber to dry after cleaning before you begin re-staining.
A roller can be used for larger flat sections to begin with but make sure you go in with a brush to and get all sides and crevices. Once completed your fence will look close to what it did when first installed, making your garden look great and stopping the cost of replacement for a number of years.
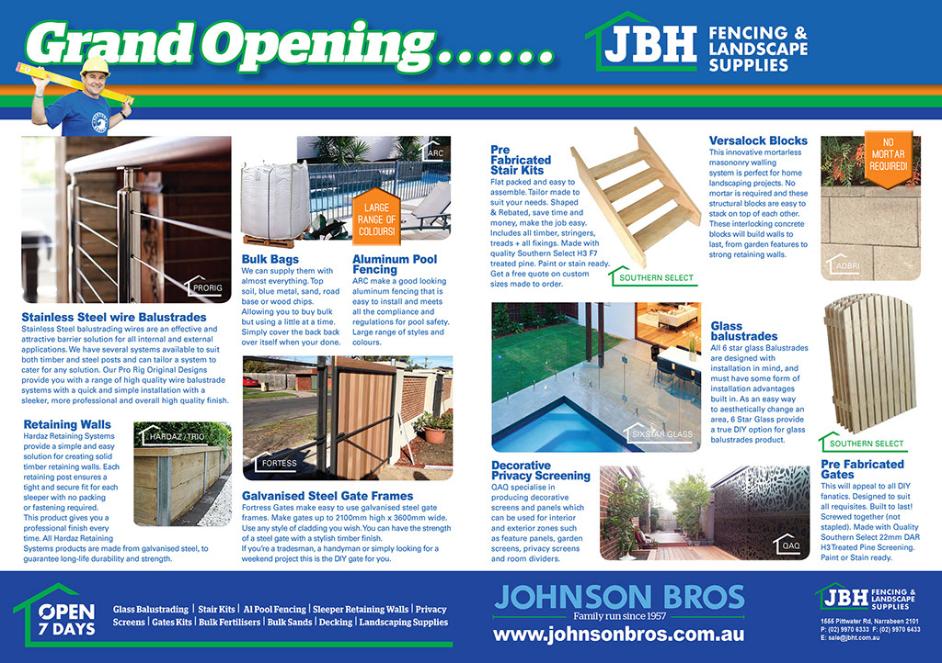
The stains, fencing equipment, timbers and tools you will need for these simple DIY jobs can all be found at the Johnson Brothers Mitre 10 stores at Narrabeen, for Fencing and Landscape supplies, at Mona Vale, for timbers and tools and stains, and at Avalon for tools and finishes for maintenance.
JBH also offers a home delivery if you need more than a few palings and posts and have an online quote service so you can do your costings prior to beginning. If you prefer to discuss face to face, each store is staffed by friendly trained people who will be able to recommend what is best for your fence.